


Original Instructions
IMPORTANT! Please read these instructions fully before starting assembly.
October 2018
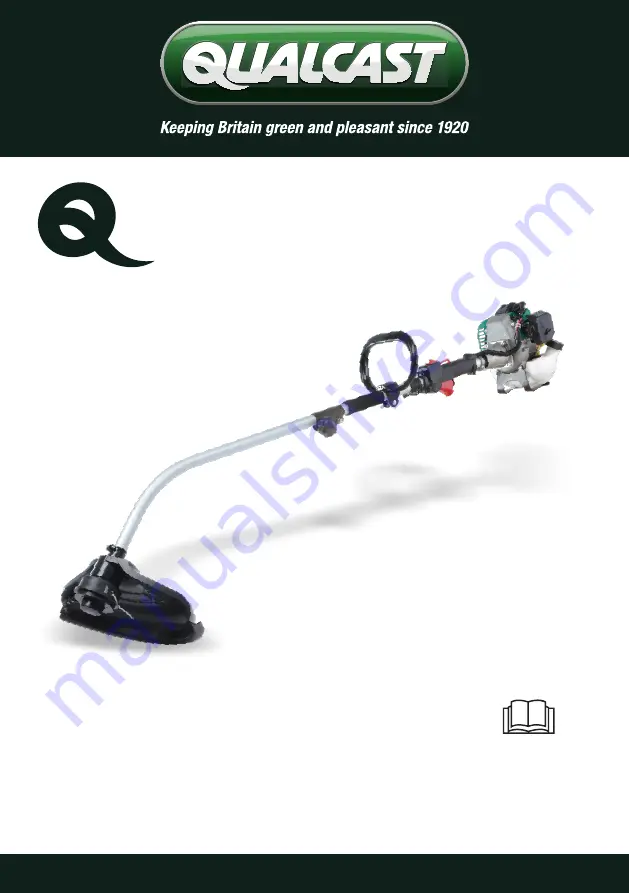
38cm 25.4cc
Petrol Grass Trimmer
495408
GT
P25
These instructions contain important information that will help you get the best
from your product, ensuring it is assembled correctly and safely. If you need help
or have damaged or missing parts, call the Customer Helpline on
01904 727 500.


