


11
10
Customer Helpline
0845 034 2279
www.gardenservicecentre.co.uk
Customer Helpline
0845 034 2279
www.gardenservicecentre.co.uk
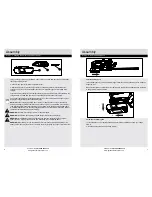
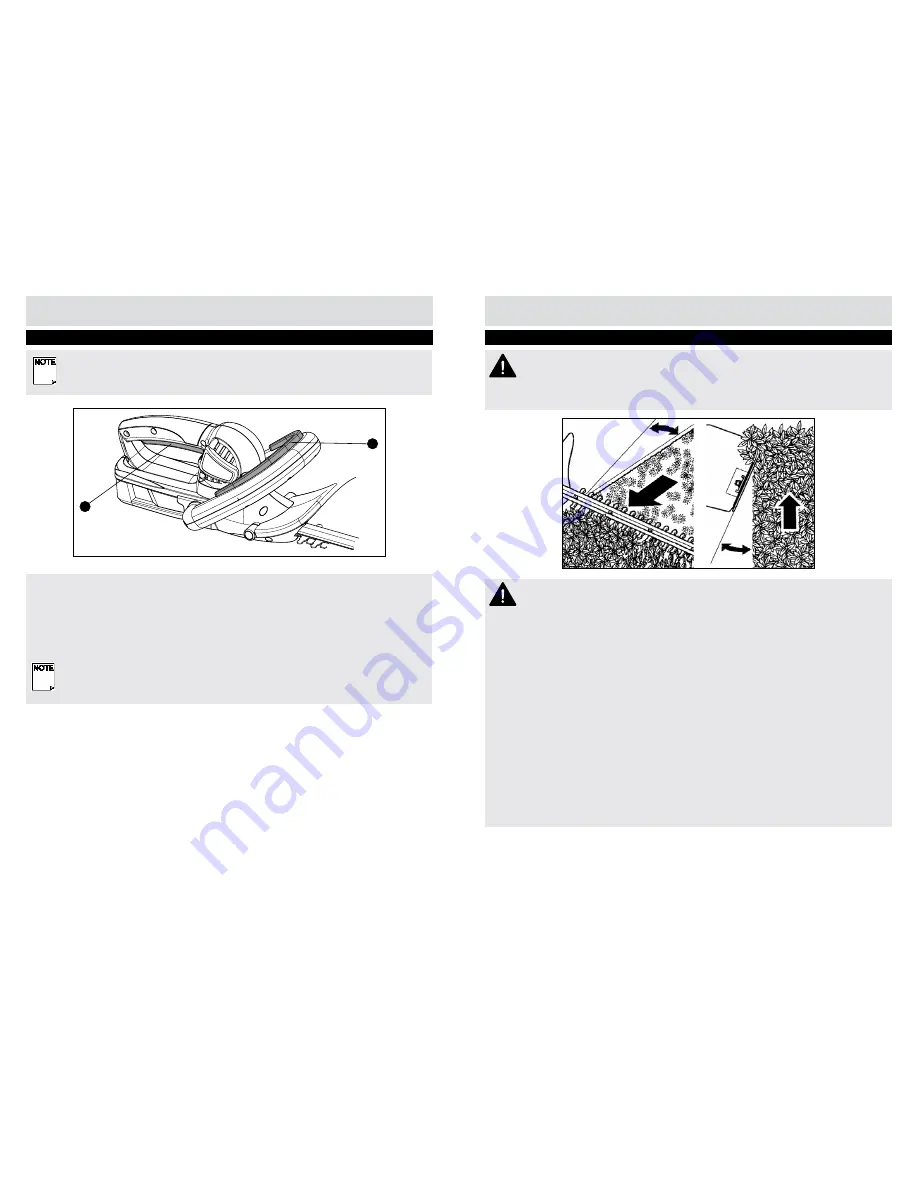
Operating the Hedge Trimmer
Step 2 - Cutting
WARNING !
Cut and remove branches DO NOT exceeding the cutting capacity of this product .
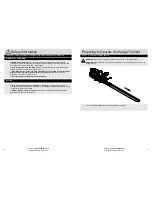
With its unique design the trimmer can be used to trim and shape hard to reach areas of hedges
and bushes such as those shown in figure below .
NOTE!
For your safety, this tool is equipped with a double switch system. This system prevents
starting the tool inadvertently. You must push the front handle switch(C), and then press the On/off
switch (D).
Operating the Hedge Trimmer
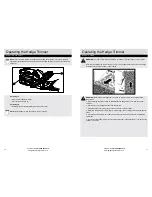
Step 1 - Switch on /off
Switching on
• Push the front handle switch (C).
• Press the On/off switch (D)
Switching off
• Release both front handle switch(C) and On/off switch (D).
NOTE!
Never attempt to lock the switch in the “on” position.
D
C
15
0
15
0
WARNING !
Before using this hedge trimmer, make sure that you have read all of the safety
instructions.
1. When trimming, the blade should be tilted towards the hedge. Always trim from the bottom
upwards.
2. Trim the sides of the hedge first and then trim the top.
3. If the branches are very long, they should be cut back in several stages.
4. Make sure that there are no hard objects in the hedge, such as railings, that could damage the
blade.
5. If the blade becomes jammed, switch off and disconnect the battery pack before clearing the
obstruction.
6. Do not force the hedge trimmer to cut over sized branches. These should be cut by hand using
secateurs or shears.


