
5
4
Customer Helpline
0845 034 2279
www.gardenservicecentre.co.uk
Customer Helpline
0845 034 2279
www.gardenservicecentre.co.uk
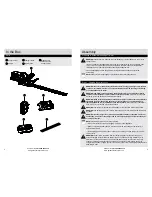
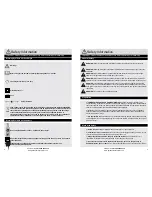
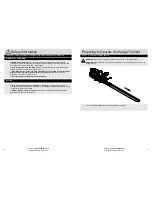
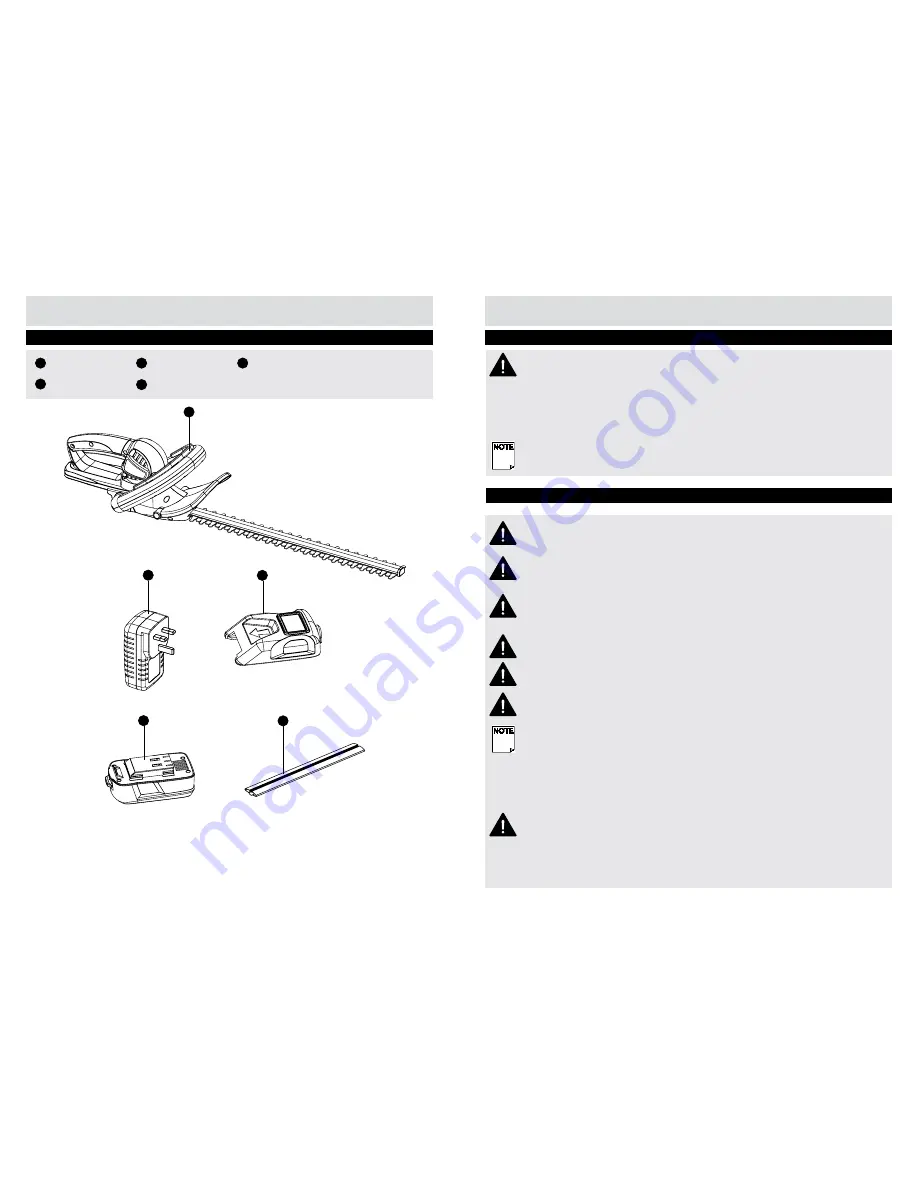
In the Box
Parts
A
A
Hedge trimmer
B
Charger
C
Charger station
D
Battery pack
E
Blade Sheath
attached on the
hedge trimmer
WARNING!
Always take care when removing the packaging to prevent damage to you or to the
hedge trimmer.
1. Remove all parts of the hedge trimmer from the box and carefully remove all packaging. Take
care not to lose any instructions which may be affixed to the parts .These provide important
information which will be required while assembling the hedge trimmer.
2. Keep all packaging until the hedge trimmer is fully assembled and has been operated
successfully.
NOTE!
Always recycle the packaging in accordance with local recycling schemes.
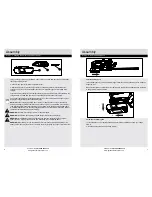
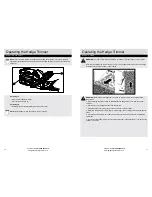
Assembly
Preparing to Assemble the Hedge Trimmer
B
C
Step 1 - Charging the battery pack
WARNING! Be sure to read all safety instructions before using your charger. This product
is not user serviceable. There are no user serviceable parts inside the charger. Servicing
at an authorized service center.
WARNING! The battery pack needs to be charged before first use and whenever it fails
to produce sufficient power on jobs that were easily done before.
After several charge and
discharge cycles, the battery pack will attain full capacity.
WARNING! Read all of the instructions in the battery charger section of this manual before
attempting to charger the battery pack for your tool. Always use correct battery pack
(pack supplied with tool or replacement pack exactly like it).
Never install any other battery
pack, it will ruin your tool and may create a hazard.
WARNING!
The charger is required to avoid damage to static sensitive internal components.
WARNING!
The battery may become warm while charging. This is normal and does not indicate
a problem.
WARNING! Use the charger in normal room temperatures whenever possible. To prevent
overheating, do not cover the charger and do not charge battery packs in direct sunlight
or near heat sources.
NOTE!
If the battery pack does not charge properly
---(1)Check current at receptacle by plugging in a lamp or other appliance.
---(2)Move charger and battery pack to a location where the surrounding air temperature is
approximately 18-25
o
C.
---(3)If charging problems persist, take or send the tool ,battery pack and charger to your local
service center.
WARNING!
Under certain conditions, with the charger plugged into the power supply, the
exposed charging contacts inside the charger can be shortened by foreign material. Foreign
materials of a conductive nature such as, but not limited to, steel wool, aluminum foil, or any
build up of metallic particles should be kept away from charger cavities. Always unplug the
charger from the power supply when there is no battery pack in the cavity. Unplug charger before
attempting to clean.
D
E


