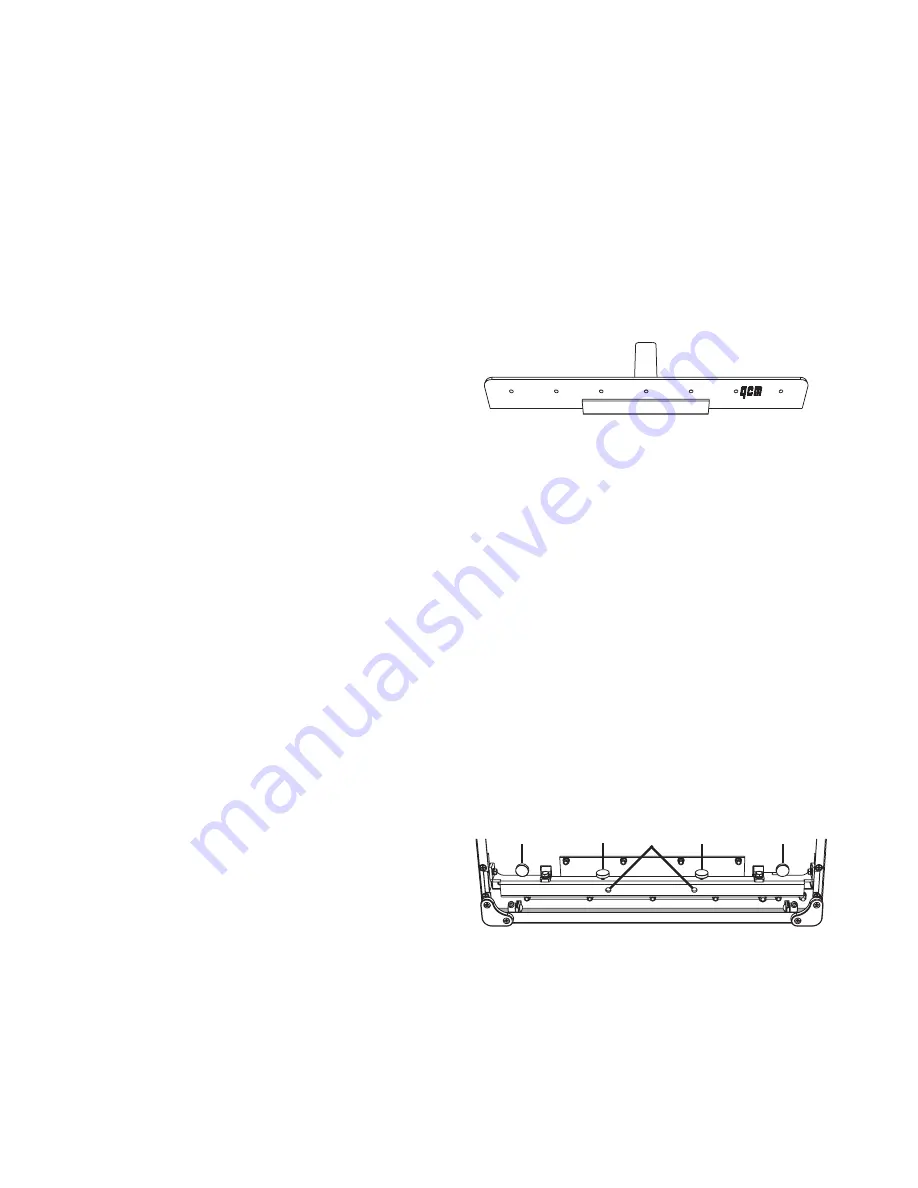
Figure 4
1. Locate the necessary tools. You need one blade holder
ց
䎃
(supplied with the machine) and one #2
philips screwdriver.
2. Place the machine on a flat, stable surface located in a traffic-free area and face the blade carrier
ս
䎃
side towards you. Fold down the support extender
ջ
as shown in figure 2.
3. Lower down the paper clamp
շ
to the bottom position.
4. Release the blade safety lock
կ
and bring down the cutting bar lever
ծ
.
5. Do not release the center blade screw
ր
at this time! Release the rest of the blade screws
տ
with a
#2 philips screwdriver.
6. Raise the cutting bar lever
ծ
until the lever is locked.
7. Hold the blade knife edge
ո
with the
blade holder
ց
as shown in figure 3.
Release the center blade screw
ր
with
a #2 phillips screwdriver. Once the
screw is released, lower down the
blade and remove from the blade
carrier
ս
.
8. Remove the blade from the blade holder and place the blade on a flat surface in a traffic-free area.
Place a new (or resharpenered) blade on the blade holder as shown in figure 4.
9. Follow the above listed steps 5 through 7 in reversed order to reinstall the blade back on to the blade
carrier
ս
.
Once the blade has been replaced, follow the operating procedure and cut a piece of paper. If it does not
make a clean cut, it is necessary to rotate or flip the cutting stick.
Cutting Stick Rotation
The cutting stick is a white plasitc square rod that is installed on the base underneath the blade. A new cutting
stick can be used eight times.
1. Place the machine on a flat, stable surface in a traffic-free area, facing the front of the machine
towards you as shown in figure 1.
2. Raise the cutting bar lever
ծ
until the safety lock
կ
engages.
3. Rotate the clamp wheel
ն
counter-
clockwise to raise the paper clamp
շ
to
the up position.
4. Lift the front end of the base up as shown
in figure 5. Release the two cutting stick
holding screws
փ
underneath the base.
5. Insert a #2 philips screwdriver into the
two cutting stick ejecting holes
ք
䎃
to eject
the cutting stick.
6. Place the base back to the position shown in figure 1.
— 5 —
Figure 5
ւ
ւ
փ
ք
փ


