

Quick Start Install Guide
Easy Step-by-Step Instructions for Removing and Installing SoftPro Salt
Based Water Softeners
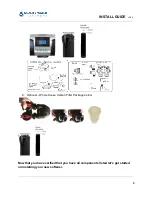
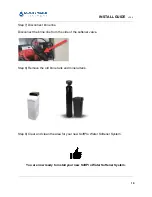
SOFTPRO ELITE SYSTEM
Salt Based
CITY WATER
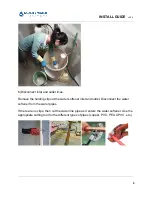
Congratulations on your purchase of your new SoftPro Water Softener System.
Below are the installation instructions to get you up and running in no time. We highly
recommend that you follow along in our simple installation videos.
Typical Install Times:
● 3 Hours for a Handyman/ Plumber
● 4 Hours for DIY
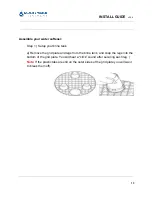
Tools Required:
● Flathead Screwdriver
● Phillips Head Screwdriver
● Tongue-and-Groove Pliers (ie. Channellock)
● Adjustable Wrench
● Pipe Cutter
Additional Parts Required:
● Teflon Tape
● ½” ID Teflon Tubing
(length to your drain or drain pipe)
● ½” Hose Clamp
● Additional Pipe Fittings for Rigid Drain Pipe
(optional)
● For PVC Pipe:
○ PVC Primer and Glue
● For Copper, PEX, and CPVC pipe:
QualityWaterTreatment.com


