
Q40 Tape Library
Installation and Operations Manual
511026 Rev. 07-01-19
128
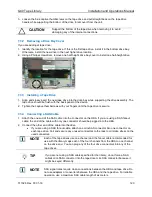
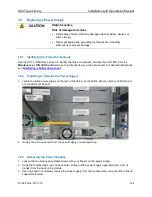
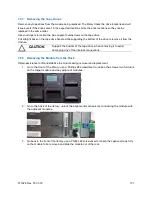
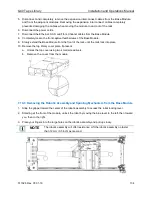
2.
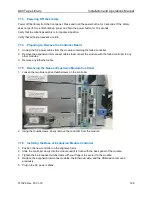
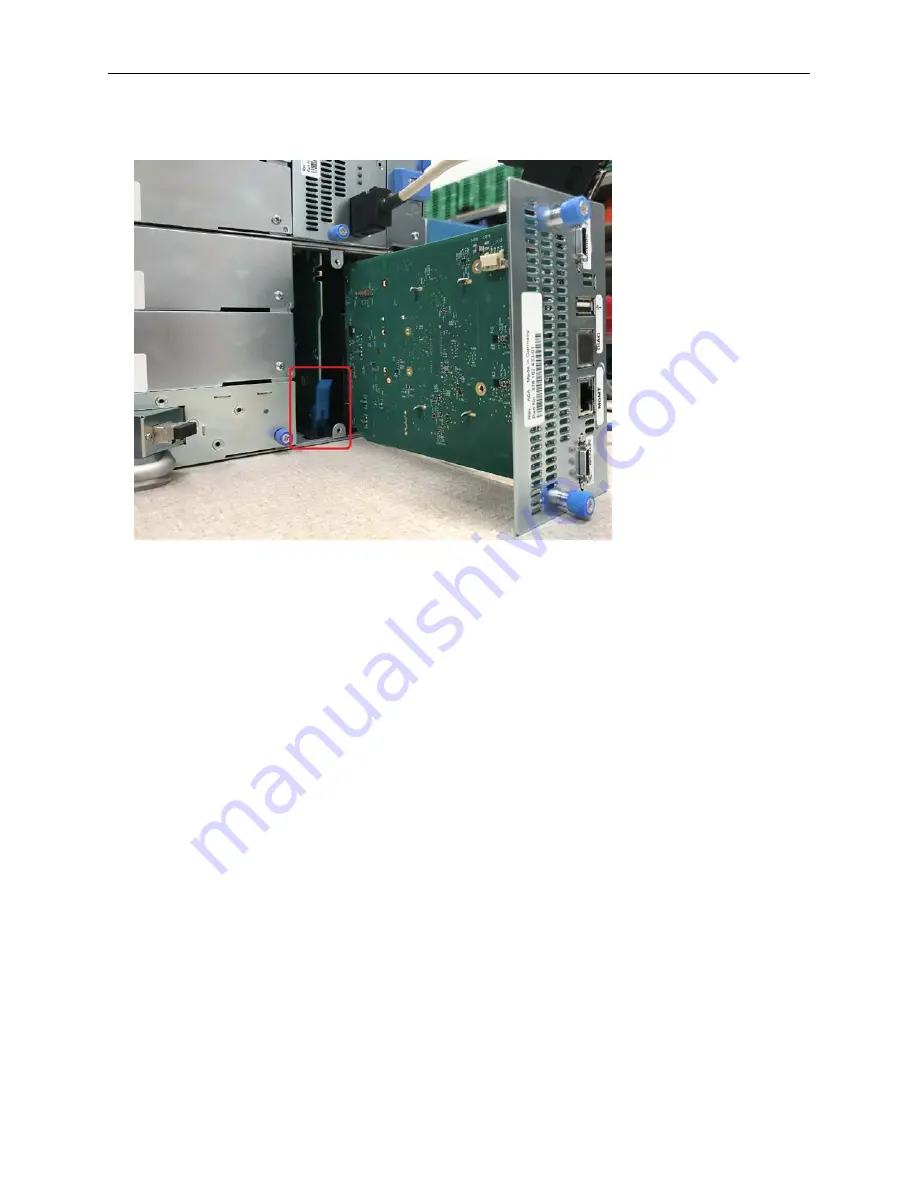
Using the thumbscrews, slowly remove the library/expansion controller from the module
.
3.
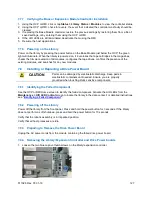
Disconnect the Drive Power board by pushing down the blue latch on the board.
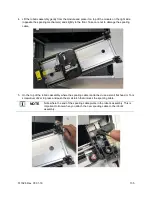
4.
Slowly slide out the Drive Power board out of the module.
7.8.5 Installing the New Drive Power Board
1.
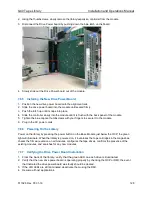
Position the new drive power board onto the alignment rails.
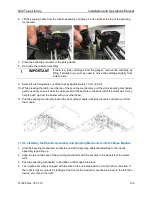
2.
Slide the drive power board into the module until seated firmly.
3.
Push the latch up until it snaps into place.
4.
Slide the controller slowly into the module until it is flush with the back panel of the module
.
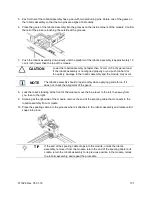
5.
Tighten the blue captive thumbscrews with your fingers to secure it to the module
.
6.
Plug in the AC power cords.
7.8.6 Powering On the Library
Power on the library by pressing the power button on the Base Module just below the OCP; the green
light will illuminate. When the library is powered on, it inventories the tape cartridges in the magazines,
checks the firmware version on all modules, configures the tape drives, confirms the presence of the
existing modules, and searches for any new modules.
7.8.7 Verifying the Drive Power Board Installation
1.
From the back of the library, verify that the green LED on each drive is illuminated.
2.
Verify that the new drive power board is operating properly by checking the OCP or RMI; the event
that indicated the drive power board was faulty should be cleared.
3.
If the UID LEDs are still illuminated, deactivate them using the RMI.
4.
Resume all host applications.


