6
Installing an Expansion Pod
XLS Library Installation Manual
6-11
6.5
Installing the Rear Side Panel
To install the rear side panel on the MEM, follow these steps:
1.
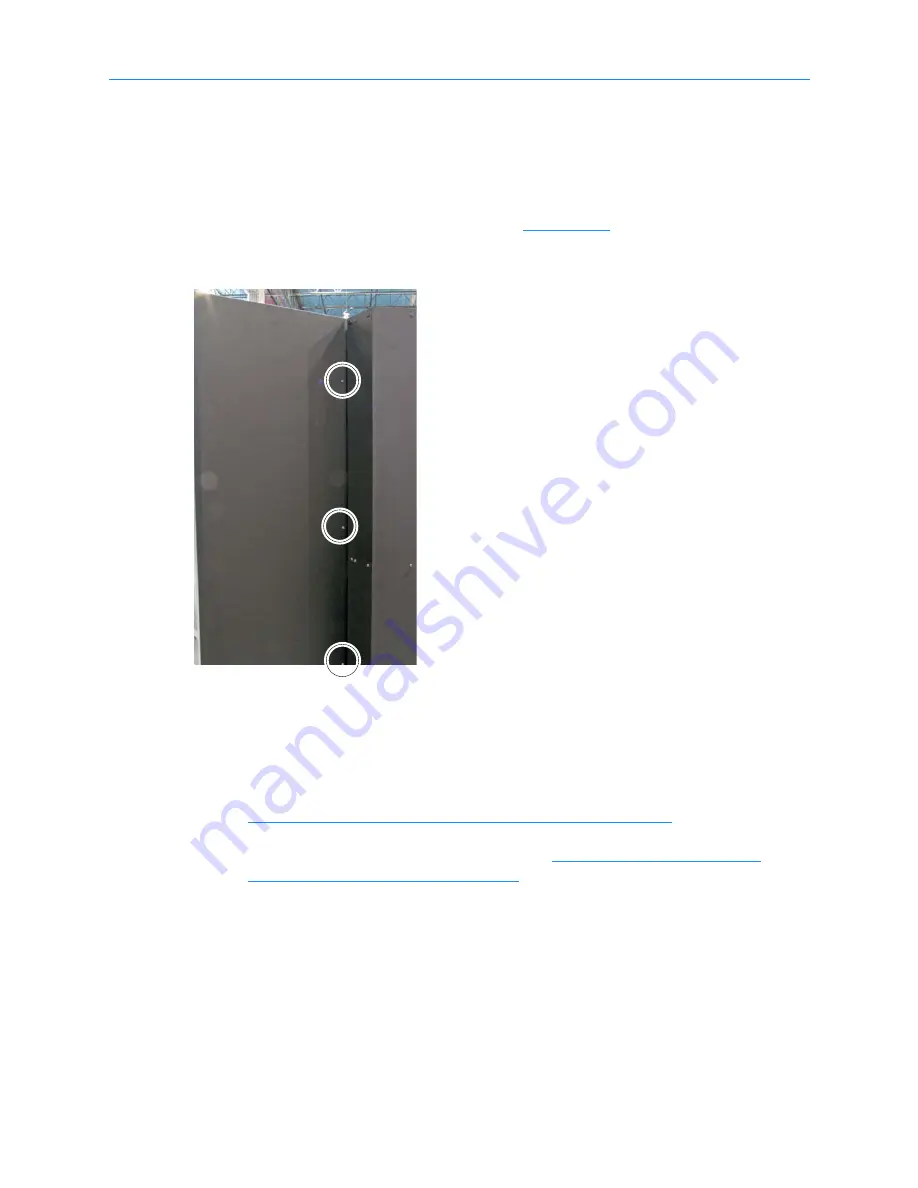
Holding the side panel with both hands, place the panel next to the MEM and
secure it with the five Torx screws. See
for the location of the three
top screws.
2.
Insert one screw in the hole at the bottom of the panel. Using a #2 Phillips
screwdriver, tighten the screw.
3.
After installing the expansion pod, power on the XLS as described in
Chapter 9, “Applying Power and Logging Into X-Link.”
.
4.
Then, log in and refer to the instructions in
Gripper with a MEM,” on page 10-4
to align the gripper to the extra slots and
to update the hardware configuration.
Figure 6-15
Installing the side panel on the expansion pod
Summary of Contents for XLS-810160
Page 1: ...XLS 810160 XLS 810240 Tape Libraries Installation Manual Document No 501801 Rev 07 01 19...
Page 8: ...Table of Contents viii 501801 Rev 07 01 19...
Page 32: ...1 6 For More Information 1 24 501801 Rev 07 01 19...
Page 78: ...6 5 Installing the Rear Side Panel 6 12 501801 Rev 07 01 19 Notes...
Page 100: ...8 2 Connecting the Cables 8 8 501801 Rev 07 01 19 Notes...
Page 114: ...9 3 Logging Into X Link 9 14 501801 Rev 07 01 19 Notes...
Page 154: ...10 6 Defining Other Library Settings and Policies 10 40 501801 Rev 07 01 19 Notes...
Page 168: ...11 3 Viewing the Inventory Report 11 14 501801 Rev 07 01 19 Notes...
Page 182: ...13 3 Scanning the Inventory and Locking the Doors 13 8 501801 Rev 07 01 19 Notes...
Page 198: ...A 3 Addresses for the Media Expansion Module MEM A 8 501801 Rev 07 01 19 Notes...
Page 208: ...Index IN 6 501801 Rev 07 01 19...


