


XLS Library Technical Service Manual
5-59
5
Using X-Link Service Options
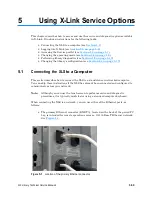
This chapter describes how to access and use the service and diagnostic options available
in X-Link. It includes instructions for the following tasks:
•
Connecting the XLS to a computer (see
Section 5.1
)
•
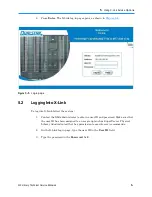
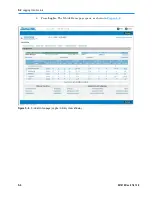
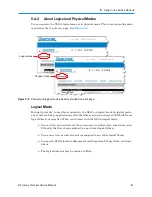
Logging into X-Link (see
Section 5.2 on page 5-5
)
•
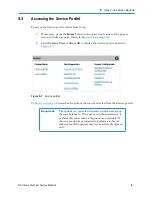
Accessing the Service portlet (see
Section 5.3 on page 5-7
)
•
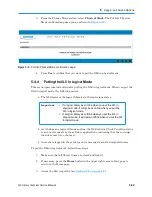
Changing the operating mode (see
Section 5.4 on page 5-8
)
•
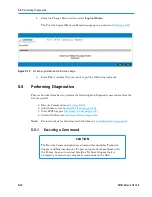
Performing library diagnostics (see
Section 5.5 on page 5-12
)
•
Changing the librar
y’
s configuration (see
Section 5.6 on page 5-17
)
5.1
Connecting the XLS to a Computer
This section describes how to connect the XLS to a standalone or networked computer.
You can skip these instructions if the XLS has already been connected and configured to
communicate across your network.
Note:
Although you can use the touch screen to perform service and diagnostic
procedures, it is typically much faster using a standard computer keyboard.
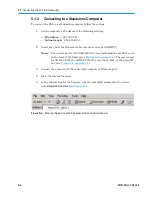
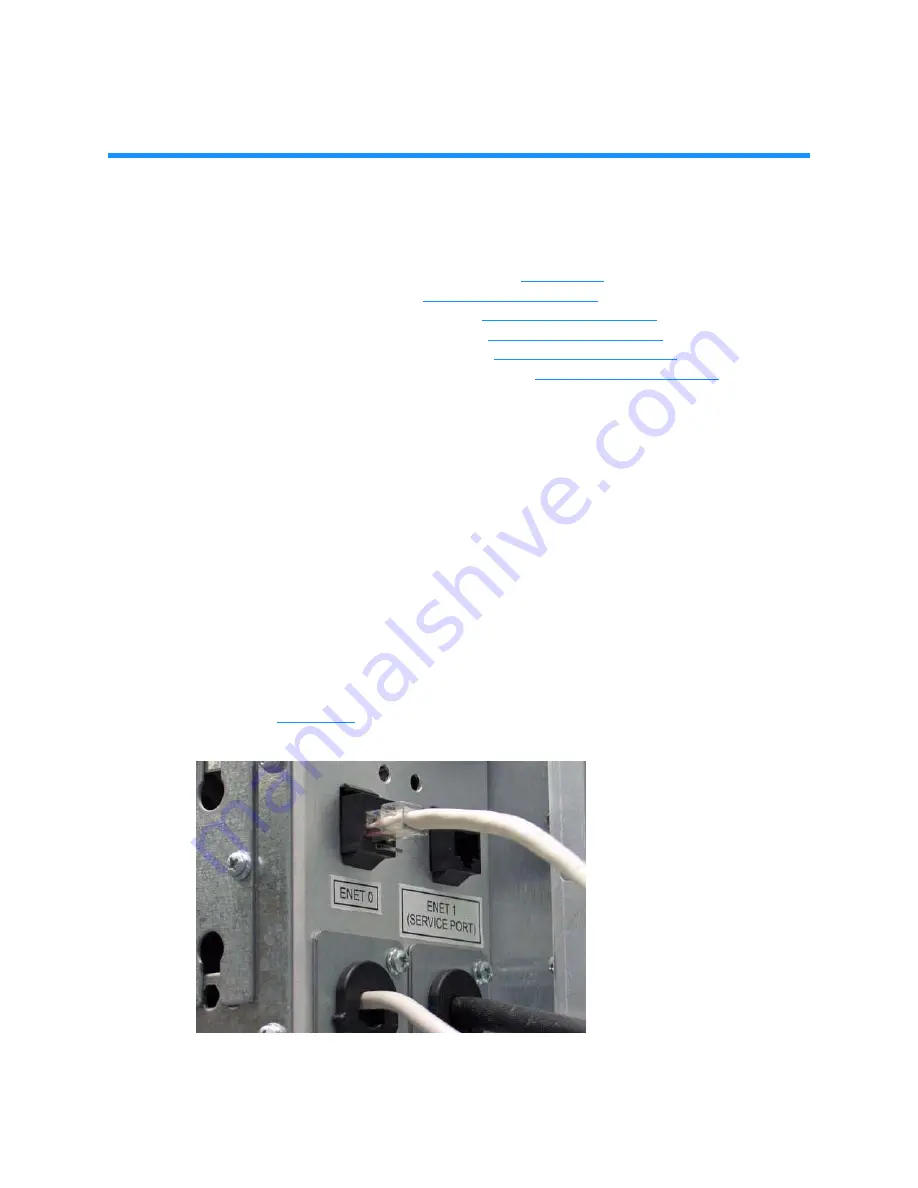
When connecting the XLS to a network, you can use either of the Ethernet ports, as
follows:
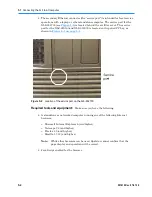
•
The primary Ethernet connector (ENET 0), located on the back of the power/PC
bay, is intended for remote operations across a 10/100 BaseT Ethernet network.
See
Figure 5-1
.
Figure 5-1
Location of the primary Ethernet connector
Summary of Contents for XLS Series
Page 1: ...Technical Service Manual Document No 501610 Rev 07 01 19 XLS Series of Tape Libraries...
Page 14: ...501610 Rev 07 01 19 Part I Before You Begin Notes...
Page 58: ...3 7 Cabling for the Carousel Controller 3 12 501610 Rev 07 01 19 Notes...
Page 70: ...4 5 Inspecting and Cleaning the Gripper and Barcode Reader 4 12 501610 Rev 07 01 19 Notes...
Page 72: ...Part II Using X Link 501610 Rev 07 01 19 Notes...
Page 96: ...Part III Replacing FRUs 501610 Rev 07 01 19 Notes...
Page 136: ...8 8 Bringing a Tape Drive Online 8 14 501610 Rev 07 01 19 Notes...
Page 158: ...9 5 Replacing a Drive Bay with a Cartridge Bay 9 22 501610 Rev 07 01 19 Notes...
Page 172: ...10 3 Replacing a Side Panel 10 14 501610 Rev 07 01 19 Notes...
Page 186: ...11 3 Upgrading a Fixed Port Assembly to an I O Port 11 14 501610 Rev 07 01 19 Notes...
Page 226: ...12 6 Replacing the Y Motor Assembly 12 40 501610 Rev 07 01 19 Notes...
Page 324: ...Part IV Reference 501610 Rev 07 01 19 Notes...
Page 352: ...B 2 Packing the XLS B 14 501610 Rev 07 01 19 Notes...
Page 354: ...C 2 501610 Rev 07 01 19 Notes...


