I
NSTALLING
H
ARDWARE
C
ONFIGURATION
G
ROUP
4-
4
7
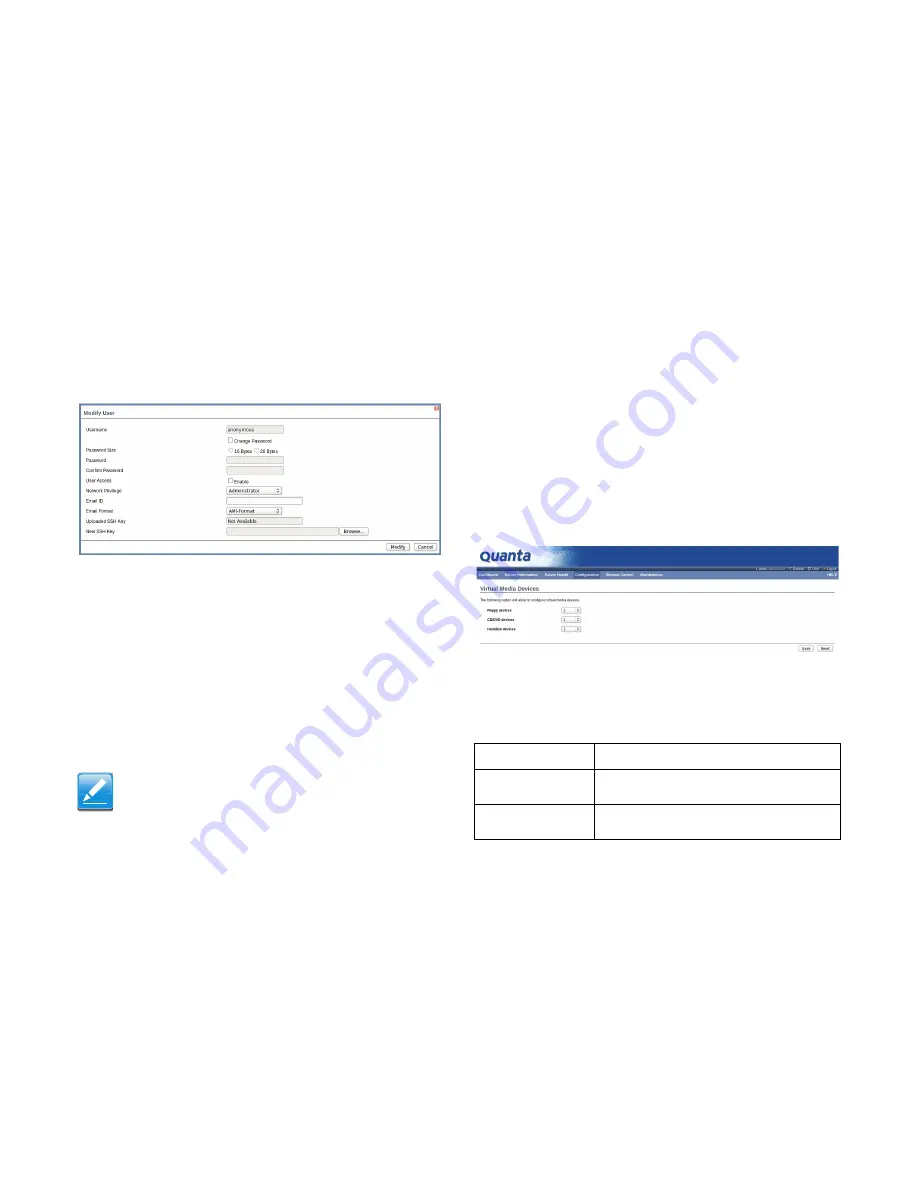
14.Select an existing user from the list and click
Modify
User
. This opens the Add User screen as shown in the
screenshot below.
Figure 4-37. Modify User Page
15.Edit the required fields.
16.To change the password, enable the
Change Password
option.
17.After editing the changes, click
Modify
to return to the
users list page.
Delete an existing User
18.To delete an existing user, select the user from the list
and click
Delete User
.
Virtual Media
In MegaRAC GUI, this page to configure Virtual Media device
settings. If you change the configuration of the virtual media in
this page, it shows the appropriate device in the JViewer Vme-
dia dialog. For example, if you select two floppy devices in Con-
figure Virtual Media page, then in JViewer > Vmedia, you can
view two floppy device panel.
To open Virtual Media page, click
Configuration > Virtual
Media
from the main menu. A sample screenshot of User Man-
agement Page is shown in the screenshot below.
Figure 4-38. Configure Virtual Media Devices
The following fields are displayed in this page.
Note:
There is a list of reserved users which cannot be added / modified
as BMC users. Please Refer “MEGARAC SP-X Platform Porting
Guide” section “Changing the Configurations in PMC File-> User
Configurations in PMC File” for the list of reserved users.
Table 4-43: Configure Virtual Media Devices
I
TEM
D
ESCRIPTION
Floppy devices
The number of floppy devices that support for
Virtual Media redirection.
CD/DVD devices
The number of CD/DVD devices that support for
Virtual Media redirection.
Summary of Contents for STRATOS S210 Series S210-X12MS
Page 21: ...About the Server Chapter 1 About the Server Chapter 1 ...
Page 37: ...Installing Hardware Chapter 2 Installing Hardware Chapter 2 ...
Page 78: ...BIOS Chapter 3 BIOS ...
Page 135: ...BMC Chapter 4 BMC Chapter 4 ...
Page 194: ...Jumpers and Connectors Chapter 5 Jumpers and Connectors Chapter 5 ...
Page 197: ...Rail Kit Assembly Chapter 6 Rail Kit Assembly Chapter 6 ...
Page 201: ...Troubleshooting Chapter 7 Troubleshooting Chapter 7 ...
Page 210: ...Safety Information Chapter 9 Safety Information Chapter 9 ...


