QUANTECH
48
FORM QWC4-NM1 (221)
ISSUE DATE: 02/28/2021
SECTION 3 - HANDLING, STORAGE, INSTALLATION, AND REASSEMBLY
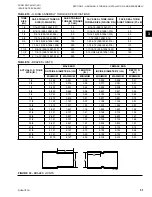
Torque Values
All threaded fasteners shall be torqued to the values
shown in
for the appropriate
bolt materials and gaskets. Values are applicable only
to fiber reinforced, graphite impregnated, teflon, spiral,
jacketed and solid metal gaskets. Cork and low seating
stress gaskets, below 150 psi (1034kPA), are normally
over-bolted and require less torque.
Sealing of the joints, utilizing bulb gaskets, requires
control of the gasket squeeze. For a gasket extend-
ing 3/8 in. above the groove, the squeeze is limited by
maintaining the gap between the surfaces at 3/6 in. +/-
1/16 in. Use the same torque for metal-to-metal contact
outside of the bolt circle. Use the same torque for O-
ring gaskets.
REFRIGERANT TUBING REASSEMBLY
The following is a step-by-step procedure to be used to
reassemble the chiller refrigerant piping.
Assembly of Straight Thread O-ring Port
Fittings
The male and female ends of SAE and ISO 6149
straight thread O-ring ports have UN/UNF or metric
straight threads. An elastomeric O-ring is fitted to the
male end. During assembly, the O-ring is firmly sand-
wiched between the angular sealing surface of the fe-
male port and the shoulder of the male end.
Sealing is thus affected and maintained by the O-ring
compression which results from the clamping force
generated by tightening. The straight threads do NOT
offer sealing action; they provide the resistance (hold-
ing power) for service pressure.
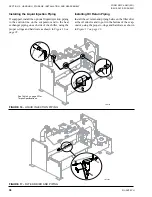
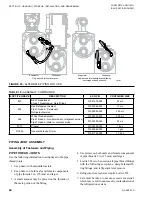
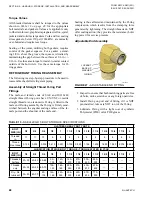
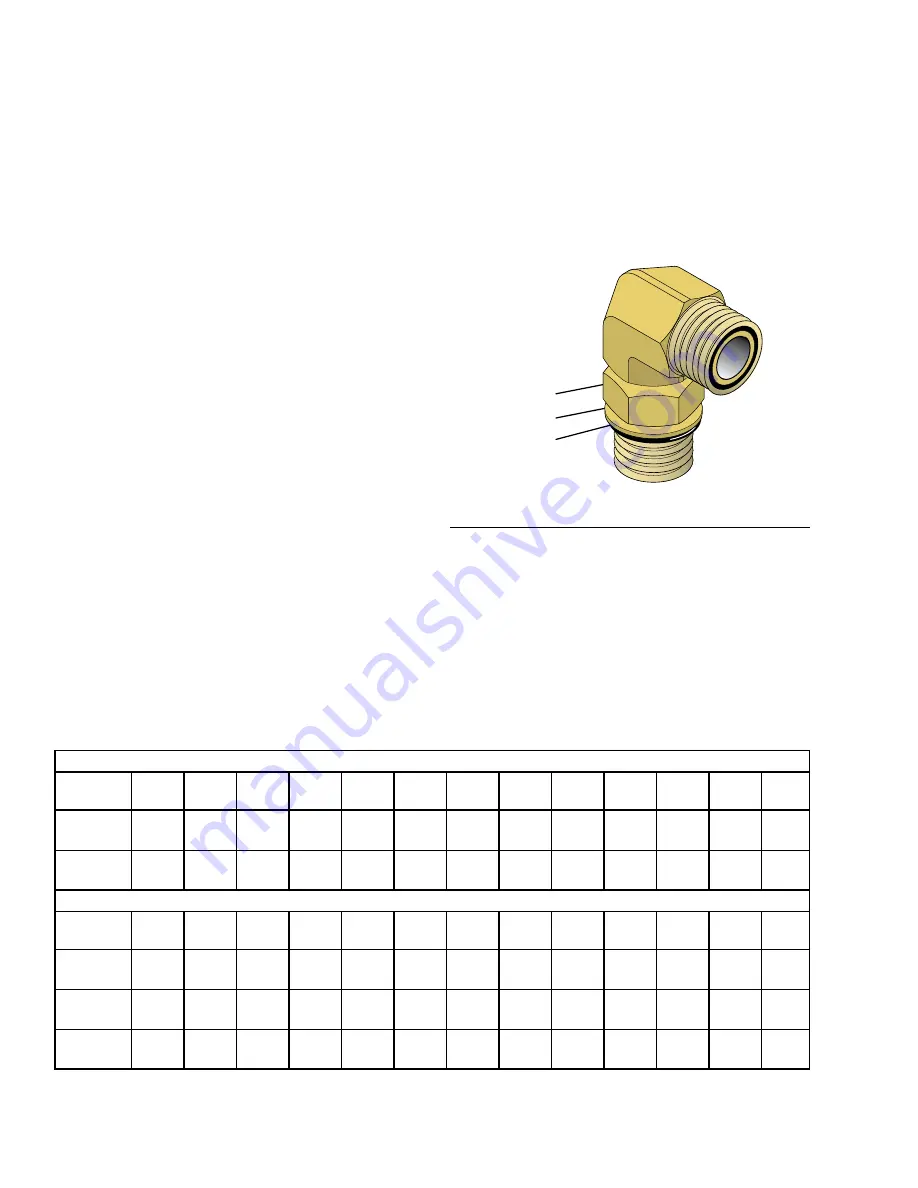
Adjustable End Assembly
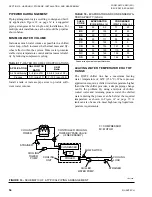
FIGURE 27 -
ADJUSTABLE END FITTING
LD17269
LOCKNUT
O-RING
BACK-UP
WASHER
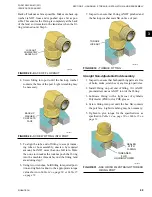
1. Inspect to ensure that both matching parts are free
of burrs, nicks, scratches or any foreign particles.
2.
Install O-ring on port end of fitting, if it is NOT
pre-installed, take care NOT to nick the O-ring.
3. Lubricate O-ring with a light coat of synthetic
Polyolester (POE) oil or POE grease.
TABLE 13 -
SAE J429 GR 5 BOLTS TORQUE SPECIFICATIONS
HI-STRESS HEAVY DUTY NUTS
BOLT
SIZE (IN)
1/2
5/8
3/4
7/8
1
1 1/8
1 1/4
1 3/8
1 1/2
1 5/8
1 3/4
1 7/8
2
Threads/
in.
13
11
10
9
8
8
8
8
8
8
8
8
8
Thread
Root Area 0.126
0.202
0.302
0.419
0.551
0.728
0.929
1.155
1.405
1.680
1.980
2.304 2.652
LUBRICATION STATUS BOLT TORQUE - TORQUE STATED IN FT-LB
BOLT
SIZE (IN)
1/2
5/8
3/4
7/8
1
1 1/8
1 1/4
1 3/8
1 1/2
1 5/8
1 3/4
1 7/8
2
Threads &
Surface
20–30 40–50 55–65
90–
105
140–
160
190–
210
270–
305
375–
420
500–
555
—
—
—
—
Threads
only
25–35 45–55 65–75
105–
120
165–
185
220–
245
315–
350
430–
470
575–
635
—
—
—
—
Dry - No
lubricant
35–45 60–70
90–
105
145–
165
220–
245
295–
330
420–
465
575–
635
770–
850
—
—
—
—
Summary of Contents for QWC4
Page 14: ...QUANTECH 14 FORM QWC4 NM1 221 ISSUE DATE 02 28 2021 THIS PAGE IS INTENTIONALLY LEFT BLANK...
Page 64: ...QUANTECH 64 FORM QWC4 NM1 221 ISSUE DATE 02 28 2021 THIS PAGE IS INTENTIONALLY LEFT BLANK...
Page 82: ...QUANTECH 82 FORM QWC4 NM1 221 ISSUE DATE 02 28 2021 THIS PAGE IS INTENTIONALLY LEFT BLANK...
Page 130: ...QUANTECH 130 FORM QWC4 NM1 221 ISSUE DATE 02 28 2021 THIS PAGE IS INTENTIONALLY LEFT BLANK...
Page 146: ...QUANTECH 146 FORM QWC4 NM1 221 ISSUE DATE 02 28 2021 THIS PAGE IS INTENTIONALLY LEFT BLANK...
Page 152: ...QUANTECH 152 FORM QWC4 NM1 221 ISSUE DATE 02 28 2021 THIS PAGE IS INTENTIONALLY LEFT BLANK...
Page 155: ...QUANTECH 155 NOTES...

