Bit Error Rate Tester | BERT 1005
Quantifi Photonics Ltd.
Version
2.04
14
2.
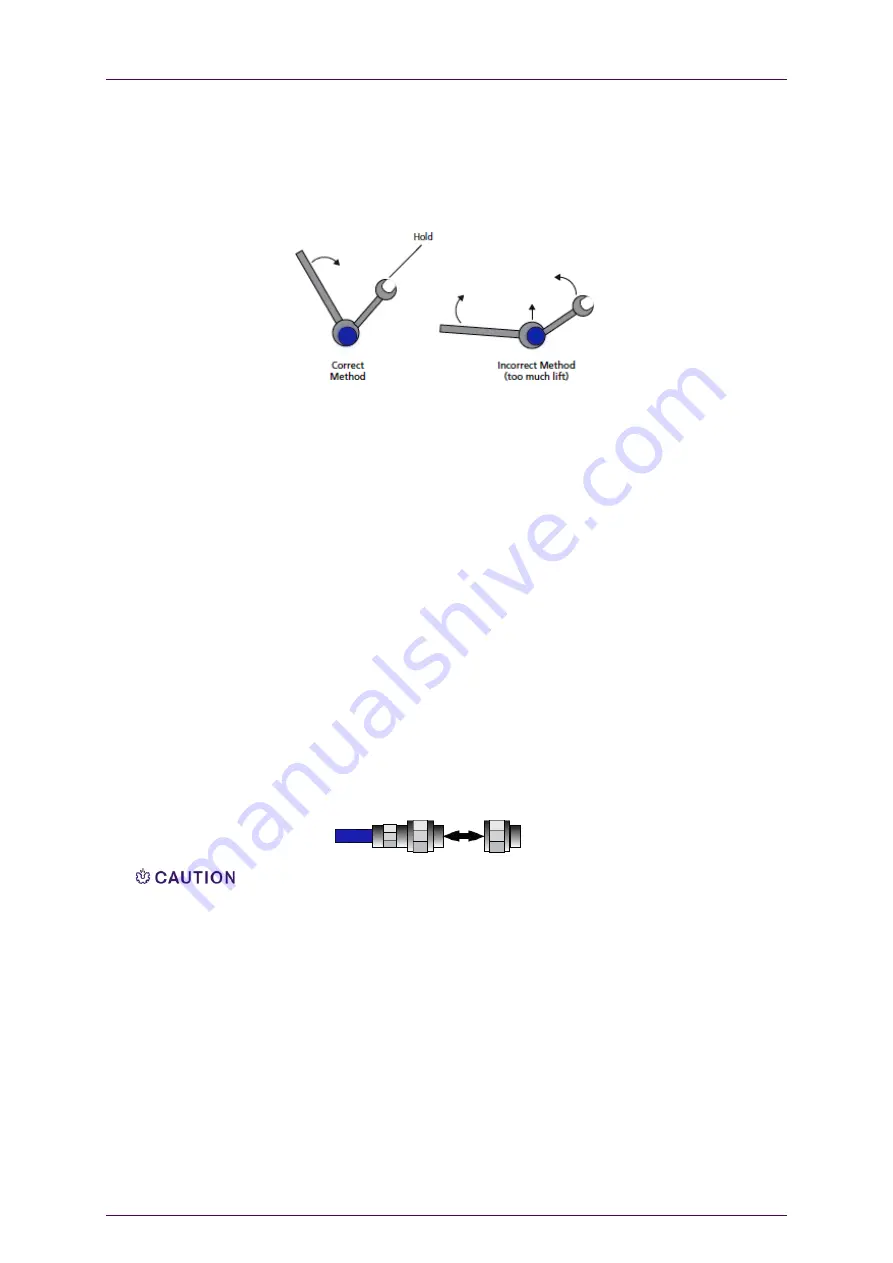
Position the torque wrench and a second wrench to hold the device or cable within 90° of each
other before applying force. Support the devices to avoid putting stress on the connectors.
Proper torque on the connector can help avoid damage due to over-tightening, improve
measurement repeatability and extend connector life. Repeatable measurements require
consistent torque on all the connections in a setup.
3.
Hold the torque wrench lightly at the end of the handle then apply force perpendicular to the
torque wrench handle.
4.
Tighten until the “break” point of the torque wrench is reached. Do not push beyond
the initial break
point.
4.3.2
Make a connection
To make a connection, follow the steps below:
1.
Wear a grounded wrist strap.
2.
Inspect, clean, and measure connectors. All connectors must be undamaged, clean, and within
mechanical specification.
3.
For long coaxial cables, briefly short the centre conductor to the outer ground.
Long lengths of coaxial cable that have been disconnected at both ends can contain significant
electrical charges at voltage potentials high enough to cause conducted-static charge damage to
high speed instruments.
4.
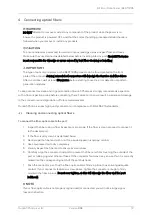
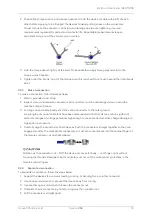
Carefully align the center axis of both devices. Push the connectors straight together so they can
engage smoothly. The male center conductor pin must slip concentrically into the contact finger of
the female connector, as illustrated below:
Rotate only the connector nut
—
NOT the device or connector body
—
until finger-tight, without
crossing the threads. Damage to both connectors will occur if the male center pin rotates in the
female contact fingers.
4.3.3
Separate a connection
To separate a connection, follow the steps below:
1.
Support the devices to avoid any twisting, rocking, or bending force on either connector.
2.
Use an open-end wrench to prevent the device body from turning.
3.
Use another open-end wrench to loosen the connector nut.
4.
Complete the disconnection by hand, turning only the connector nut.
5.
Pull the connectors straight apart.


