24
www.quantumrehab.com
Quantum Dynamo
I V . D I S A S S E M B L Y A N D A S S E M B L Y
To install the seat:
1. Position the seat directly over the power base so that the
seat posts line up with the seat mount connectors. See figure
10 for seat post and seat mount connector location.
2. Slide the seat posts down into the seat mount connectors.
3. Align the locating holes in the seat posts with those in the
seat mount connectors, and insert the T-handle ball detent
pins through the holes.
To install the swing-away leg rests:
1. Press and hold the locking lever, and slide the swing-away
leg rest into the mounting bracket. See figure 11.
2. Swing the leg rest to the center position.
3. Release the locking lever to lock the leg rest in place.
4. Repeat steps 1 through 3 for the opposite leg rest.
To connect the ontroller:
Reconnect the controller harness to its connector on the elec-
tronics tray. See figure 6.
WARNING! Do not place the controller
harness so that it can be pinched in the seat
frame or the power base frame.
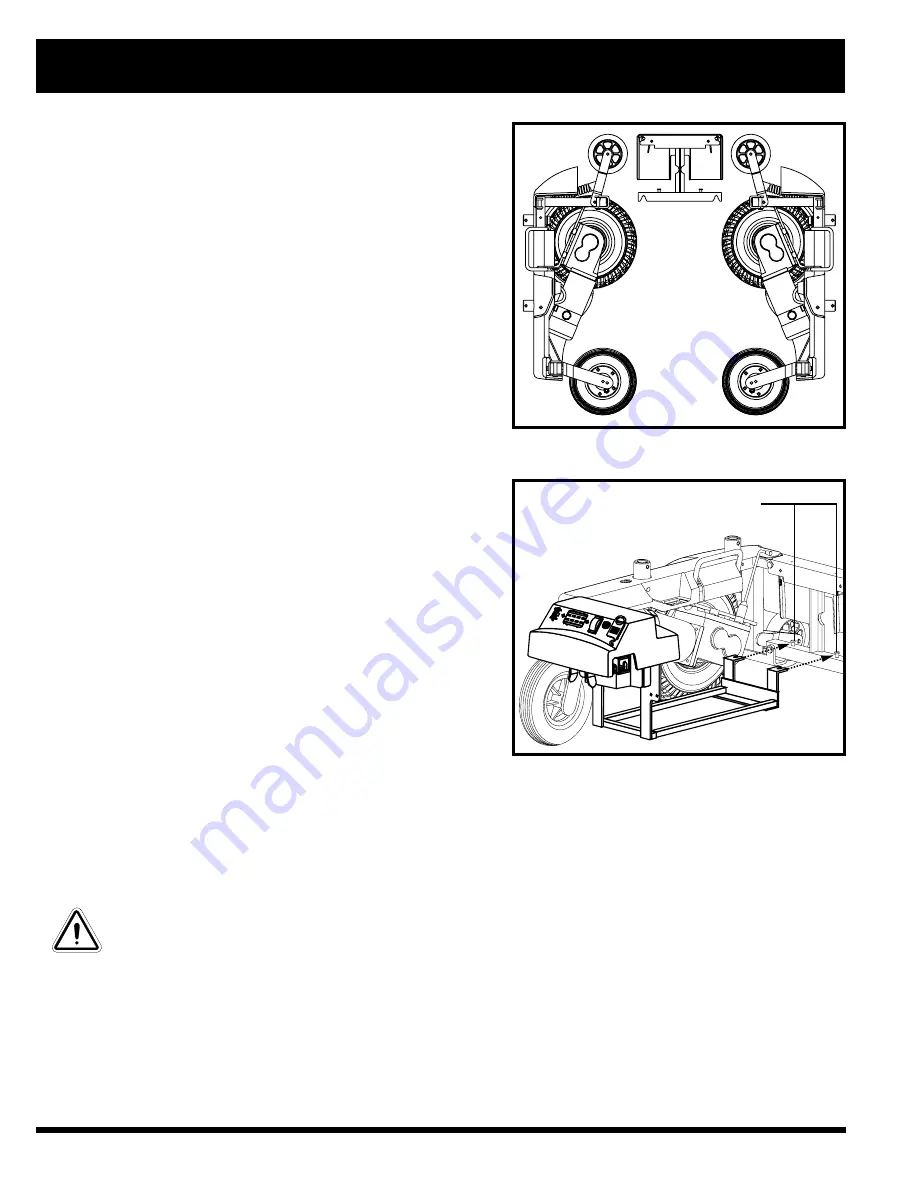
Figure 16. Connect Battery Well Frame
LOCATING PINS
To install the battery boxes:
1. Place the front battery box into the front end of the battery well
frame.
NOTE: Make certain that the connectors are facing toward
the center of the power chair.
2. Place the rear battery box into the back end of the battery well
frame. Make certain that none of the wiring harnesses or cables
are pinched between the battery or the motor controller box
and the frame.
3. Connect the battery boxes. Use the battery connection label
for a reference.
4. Reconnect the left and right motor connectors. Be certain to
match the left connector to the left motor and the right connector
to the right motor. The connectors are labeled left and right.
Figure 15. Frame Assembly Position


