13
“Movement is life!”
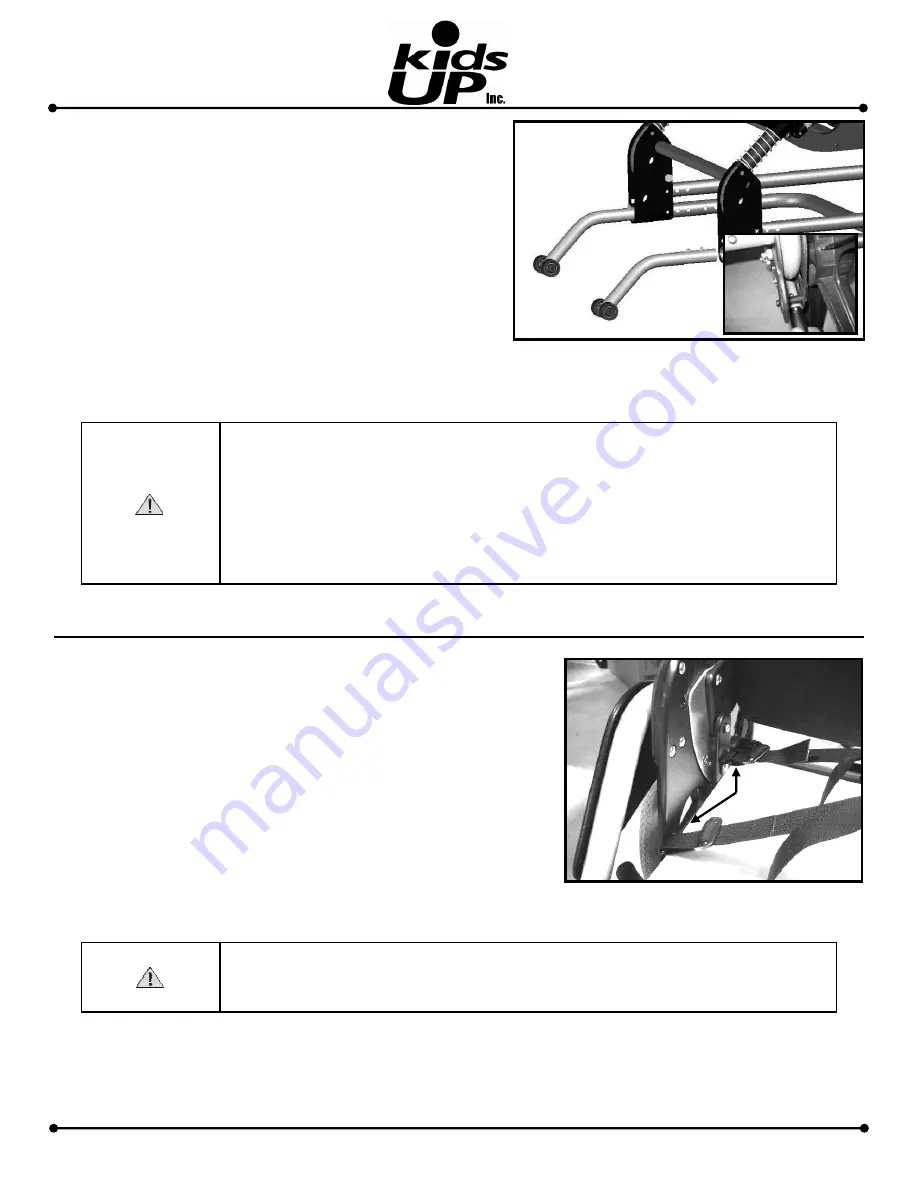
Figure 7: Anti-Tips
E. INSTALLING & ADJUSTING THE ANTI-TIPS
•
The anti-tips should be used at all times.
•
The anti-tips should be positioned 1-1/2” to 2” off of the
ground for proper function. They should also extend at least
4” beyond the point where the rear wheel contacts the
ground.
1. To install the anti-tips, depress the snap button and insert
into the tube as shown.
2. To remove, depress the snap button and remove the anti-tip
from the tube.
F. INSTALLATION OF PELVIC POSITIONING BELTS
•
The child should always be secured in the chair with a
positioning belt.
•
Positioning belts should never be used for securement in
motor vehicles. An additional automotive rated seat belt is
required.
1. Remove the seat cushion.
2.
Fig. 8
shows the attachment chafes to which a pelvic
positioning belt may be attached.
3. Attach the belt according to the manufacturer’s
instructions.
4. Set the seat cushion back in place.
Attachment
Locations
Figure 8: Positioning Belt Attachment
Locations
WARNING: Anti-tip tubes can help keep your chair from tipping over backward in
most normal conditions.
When locked in place (in the “down” position), anti-tip should be between 1-1/2” and
2” off the ground. Adjust the height as necessary.
a. If set too HIGH, they may not prevent a tip-over.
b. If set too LOW, they may “hang up” on obstacles you can expect to encounter
during normal use. If the chair catches on an obstacle, the chair may tip over.
WARNING: Positioning belts should never be used for securement in motor vehicles.
An additional WC-19 compliant automotive type seat belt is required when the chair
is used in vehicles.


