Configuring a Hotspot
Quantum Spark 1500, 1600 and 1800 Appliance Series R80.20.40 Locally Managed Administration Guide | 90
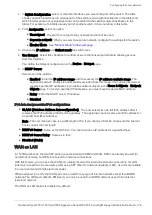
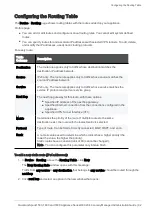
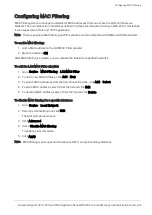
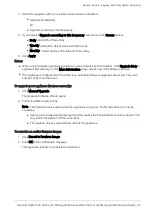
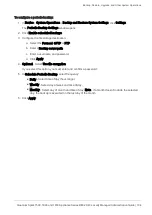
To configure Hotspot exceptions:
1. Click
Manage Exceptions
.
The Manage Hotspot Network Objects Exceptions window opens.
2. Select the objects to add as exceptions.
The Selected Network Objects window shows the selected objects. To remove an object from the list,
click the
x
next to it.
3. To filter the object list, enter the filter value. The list shows the objects that match the filter.
4. If necessary, click
New
to add new objects to the list. For information on how to create a new object,
see the
Users &Objects
>
Network Objects
page.
5. Click
Apply
.
The added objects are excluded from the Hotspot.
To require user authentication:
1. Select the
Require Authentication
checkbox.
2. You can allow access to
All users
or to a
Specific user group
.
3. If you selected
Specific user group
, enter the group's name in the text box.
4. Click
Apply
.
Any user/user group that browses from configured interfaces is redirected to the Check Point Hotspot
portal and must enter authentication credentials.
To configure the session timeout:
1. In
Session timeout
, enter the number of minutes that defines how long a user stays logged in to the
session before it is ends.
2. Click
Apply
.
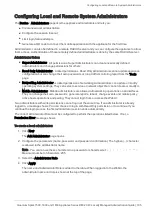
To customize the portal appearance:
1. Click
Customize Hotspot portal
.
2. For
Portal title
- Keep the default or enter a different title.
3. For
Portal message
- Keep the default or enter a different message.
4. For
Terms of use
- Select this checkbox to add an "I agree with the following terms and conditions"
checkbox on the Hotspot portal page. Enter the terms and conditions text in the text box. When users
click the "terms and conditions" link, this text shows.
5. To customize a logo for all portals shown by the appliance (Hotspot and captive portal used by User
Awareness), click
Upload
, browse to the logo file and click
Apply
. If necessary, click
Use Default
to
revert to the default logo.
6. Click
Apply
.


