Installing Components in the DXi4700 Node
Quantum DXi4700 Installation Guide
38
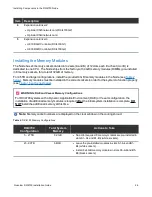
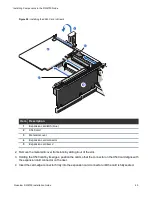
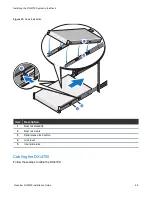
Item
Description
1
Expansion card latch (blue)
2
X520 card
3
Metal slot cover
4
Expansion card connector
5
Expansion card riser 2
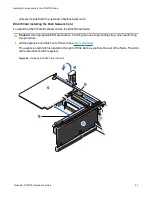
2. Remove the metal slot cover from slot 4 by sliding it out of the slot.
3. Holding the X520 card by its edges, position the card so that the connector on the X520 card aligns with
the expansion card connector on the riser
4. Insert the card-edge connector firmly into the expansion card connector until the card is fully seated.
5. (Optical 10 GbE option only) Insert an SFP+ unit into each 10 GbE port on the X520 card. (The SFP+
units are included with the optional 10 GbE network card.)
Installing the X540 Network Card
The X540 network card provides two 10 GBase-T Ethernet ports and is an available option for all DXi4700
configurations (see
). The 10 GBase-T ports can be used for management, replication, or data
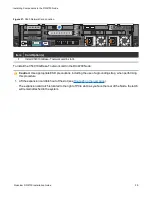
traffic. If ordered with the configuration, install the provided X540 10 GBase-T network card in PCIe slot 4,
located in expansion card riser 2 (see
).
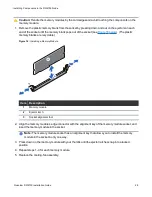
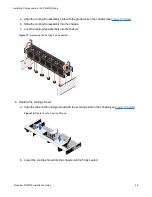
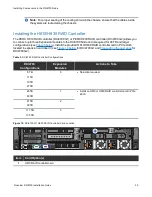
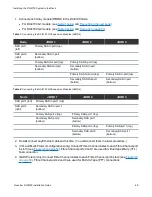
A DXi4700 system can be configured with either the optional X520 10 GbE network card or X540 10
GBase-T network card. The system cannot be configured with both cards.
Table 5:
DXi4700 Optional 10 GBase-T Configurations
DXi4700
Configuration
Actions to Take
5 TB
11 TB
19 TB
27 TB
45 TB
63 TB
81 TB
99 TB
117 TB
135 TB
l
If ordered with the configuration, install an X520 10 GbE network card in PCIe slot 1
(DXi4700 G1) or PCIe slot 4 (DXi4700 G2)


