Initial Configuration
Quantum DXi4700 Installation Guide
54
l
Accessing the Remote Management Console below
l
Completing the Getting Started Wizard on page 57
l
Uploading New DXi Software on page 66
l
Connecting the Ethernet Cables on page 71
l
Installing the Capacity License on page 74
l
Note:
You will need a notebook computer and an Ethernet cable to complete the initial configuration.
Accessing the Remote Management Console
To access the DXi4700 remote management console:
1. Turn on the DXi4700 system components in the following order:
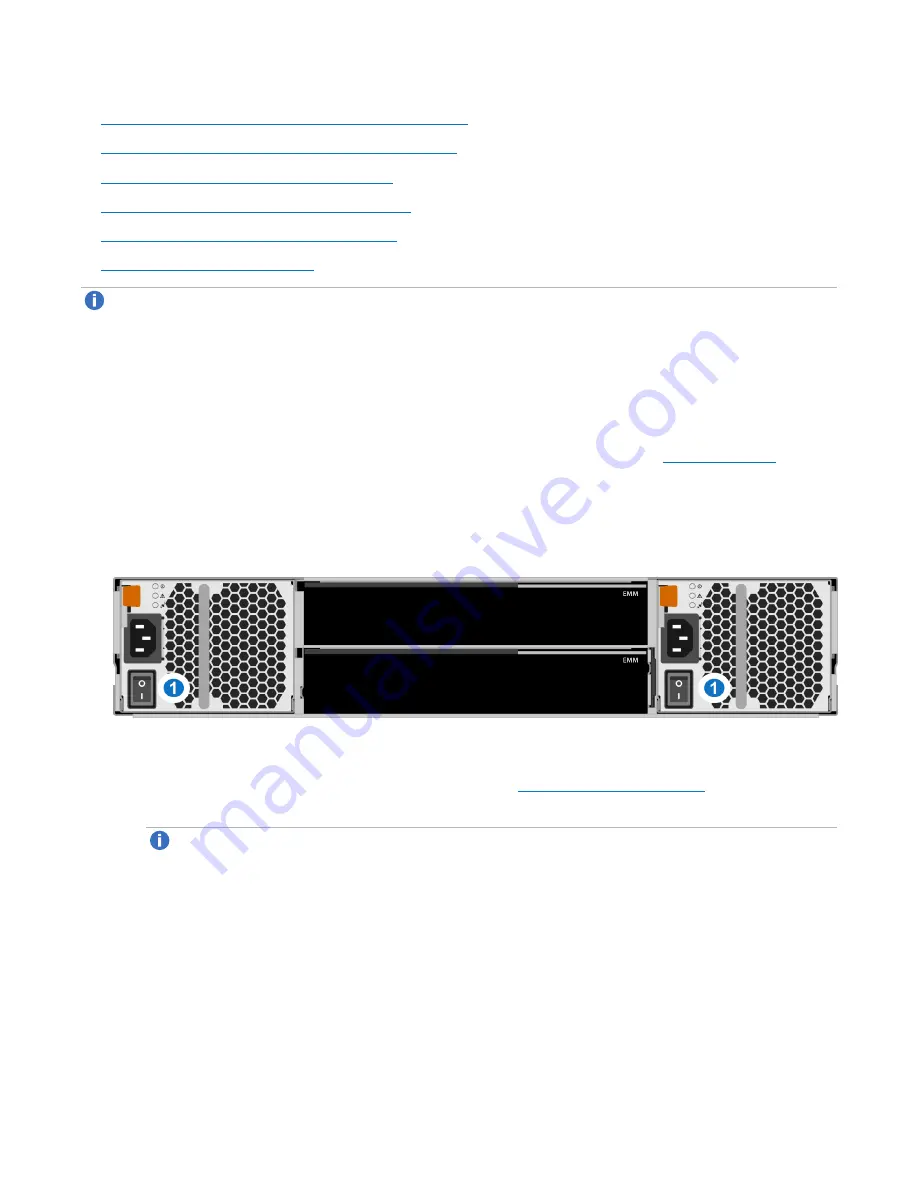
a. Turn on both power switches on the back of each Expansion module (see
). Wait
30 seconds for the Expansion modules to initialize. Verify on the front panel that the modules have
power and there were no hard drive failures (Drive status indicator on hard drive blinks amber four
times per second).
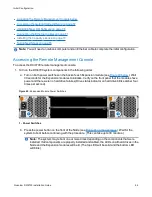
Figure 40:
Expansion Module Power Switches
1 - Power Switches
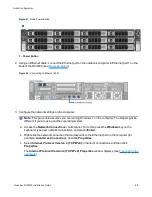
b. Press the power button on the front of the Node (see
). Wait for the
system to boot before continuing with the procedure. (This can take up to 30 minutes.)
Note:
The system may reboot one or more times depending on the components that were
installed. If all components are properly installed and cabled, the LEDs on all hard drives in the
Node and the Expansion modules will be lit. (The top LED will be solid and the bottom LED
will blink.)

