Configuring Appliances
LightSpeed Appliances Getting Started Guide | 42
Configuring Appliances
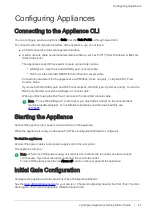
Connecting to the Appliance CLI
You can configure advanced options in
Gaia
from the
Gaia Portal
or through Gaia Clish.
To connect to the command line interface of the appliance, use one of these:
n
An SSH connection to the management interface.
n
A serial console cable and terminal emulation software, such as PuTTY (from Windows) or Minicom
(from Unix/Linux).
The appliances support these serial console connectivity options:
l
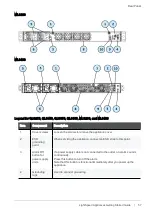
USB type-C - Use the included USB type-C console cable.
l
RJ45 - Use the included DB9 DTE to RJ45 serial console cable.
Connection parameters for the appliances are: 9600bps, 8 bits, no parity, 1 stop bit (8N1), Flow
Control - None.
If you use both the USB type-C and RJ45 console ports, the USB type-C port has priority. To use the
RJ45 port, first disconnect the USB type-C console cable.
When you finish using the RJ45 port, reconnect the mini-USB console cable.
Note - To use the USB type-C console port, you must install a driver on the console client
machine (desktop/laptop). For installation instructions and the download link, see
Starting the Appliance
Connect the appliance to a power source and turn on the appliance.
When the appliance is ready, run the Gaia First Time Configuration Wizard to configure it.
To start the appliance:
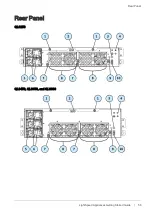
Connect the power cables to the power supply units in the rear panel.
The appliance turns on.
Note - When one of the power supply unit cords is not connected to the outlet, an alarm sounds
continuously. If you hear the alarm, reconnect the cord to the outlet.
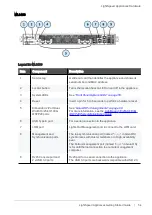
To turn off the alarm, press the red
Alarm off
button on the rear panel of the appliance.
Initial Gaia Configuration
Configure the appliance with the Gaia First Time Configuration Wizard.
See the
for your version > Chapter
Configuring Gaia for the First Time
> Section
Running the First Time Configuration Wizard in Gaia Portal
.

