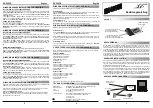
MC300 Prism Management Card Quick Reference Guide
2
3
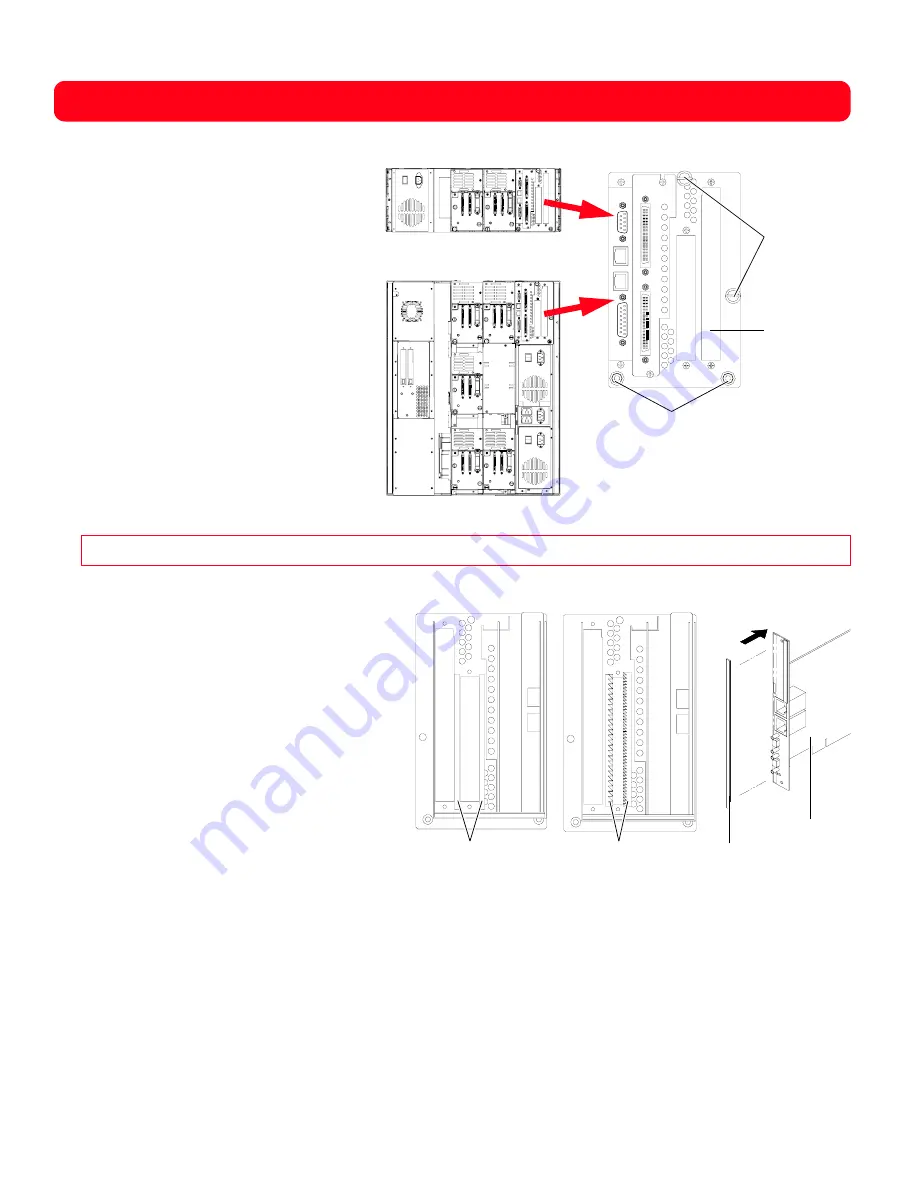
Using a flat blade screwdriver, loosen the
two large thumbscrews securing the
electronics module to the back of the library
(see figure 1).
4
Using the round handles, pull the electronics
module from the chassis and place it on a
grounded antistatic mat.
5
Remove the two screws securing the
expansion slot cover plate to the back of the
electronics module and remove the cover
plate. Save the screws for use later in this
installation. Save the cover plate for future
use.
6
Remove the screws securing the hold-down
clamp. Save the clamp for use later in this
installation.
7
Carefully remove the new MC300 PMC and
supplemental foam gasket from the antistatic
packaging.
8
Inspect the inside of the electronics module to
determine whether you need to install the
supplemental foam gasket on the MC300 PMC
(see figure 2):
•
If the electronics module has foam
gasketing, discard the supplemental foam
gasket and proceed to step 9.
•
If the electronics module has copper
gasketing, remove the adhesive backing
from the supplemental foam gasket and
attach it to the MC300 PMC (see figure 2).
9
Insert the MC300 PMC into the expansion slot
and press it down gently until it is seated
securely.
10
Secure the MC300 PMC to the electronics
module using the two mounting screws you
removed in step 3.
11
If you plan to install one or more Fibre Channel bridges, do so now, following the instructions provided with the Fibre
Channel bridge.
12
Reattach the hold-down clamp to secure the MC300 PMC in the slot.
13
Slide the electronics module back into the library chassis until the high-density connector on the motherboard seats
into the distribution board connector.
14
Using a flat blade screwdriver, tighten the two thumbscrews to secure the electronics module to the library chassis.
Caution:
Hold the MC300 PMC by the edges, avoiding contact with the components and connectors.
ATL M1500 back panel
ATL M2500 back panel
Thumbscrews
Handles
Electronics module
Figure 1
Removing the Electronics Module
Slot for MC300
Foam gasketing
(discard supplemental
foam gasket)
Figure 2
Installing the Gasket on the MC300 PMC
Inside of Electronics Module
Copper gasketing
(attach supplemental foam
gasket to MC300 PMC)
Supplemental
foam gasket
MC300 PMC


