Scalar i2000 Installation Guide
259
Installing a Control Management Blade
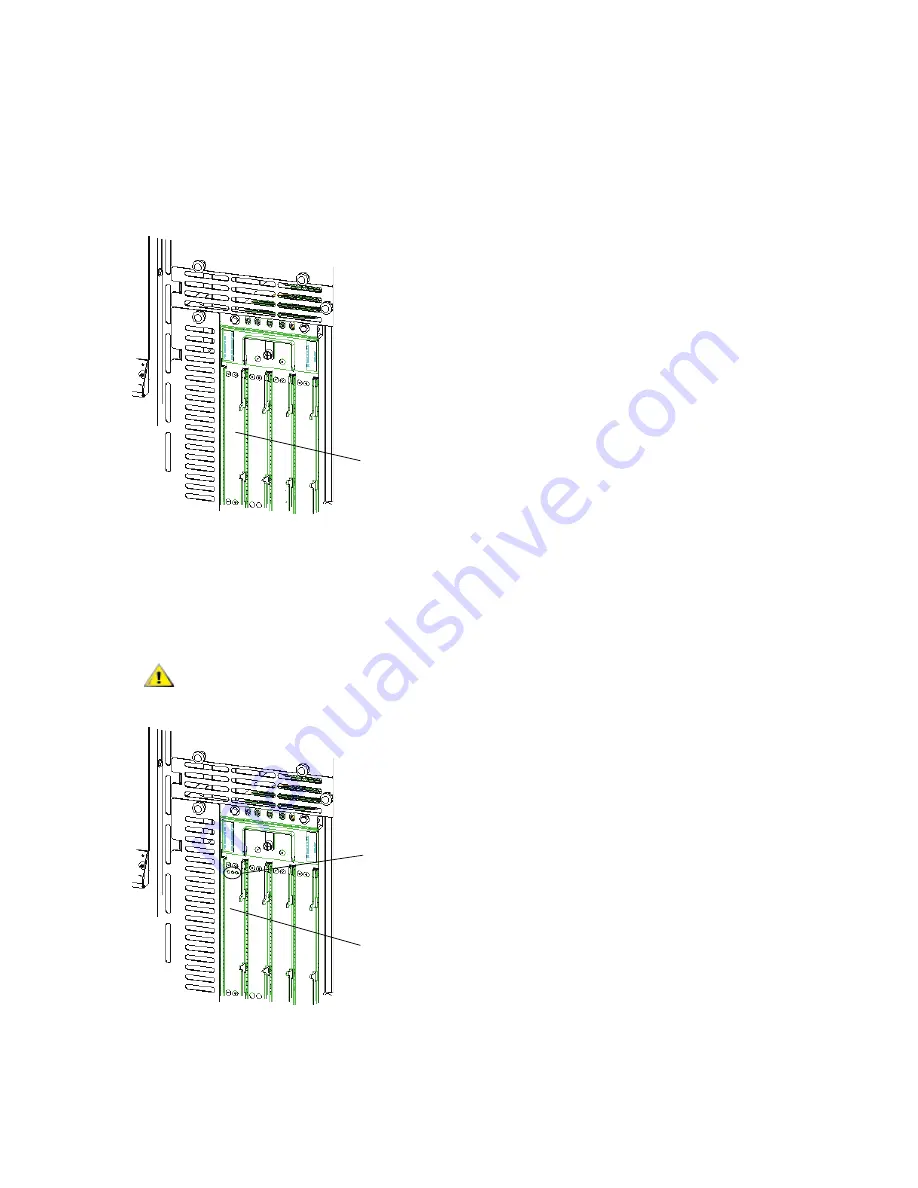
Required tools: ESD strap
1
Open the service door of the module.
2
Attach the ESD strap to your wrist and to an unpainted surface inside the door.
3
Remove the cover plate from bay 2, the CMB slot.
4
Remove the CMB from the protective anti-static bag.
5
Press up and out to open the latchhooks on each side of the CMB.
6
Carefully align the CMB with the guide slots in bay 2. The LEDs will be on the top.
CAUTION
Forcing the blade into the bay can cause the pins to bend.
bay 2
CMB
LEDs
Summary of Contents for Scalar i6000
Page 20: ...8 About This Guide and Your Product...
Page 38: ...26 Installing a Stand Alone Control Module...
Page 104: ...92 Installing a Multi Module Library...
Page 156: ...144 Installing Cartridges...
Page 164: ...152 Setting up Your Library for Access...
Page 242: ...230 Configuring the Library...
Page 304: ...292 Adding Optional Hardware eight 2 5 mm screws...
Page 318: ...306 Adding Optional Hardware...
Page 336: ...324 Installation Testing and Verification Figure 35 Example Test Log Output...
Page 356: ...344 Testing and Calibrating the Digital Level...
Page 362: ...350 LBX Board and Terminator...
Page 380: ...368 Glossary...
Page 384: ...372 Index...


