Quatech SDS User’s Manual
Configuring the SDS using a Web interface
April 2008
940-0183-155
Page 53
Step
Procedure
Description
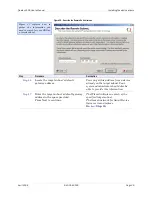
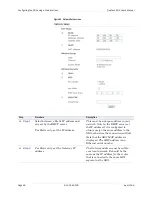
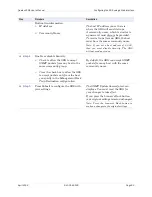
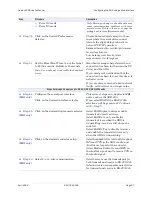
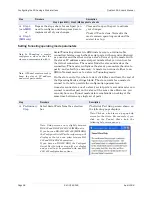
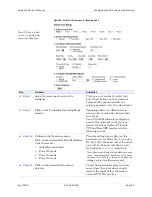
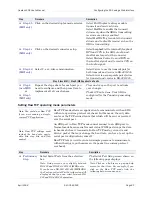
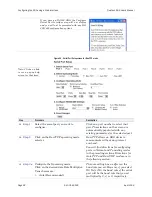
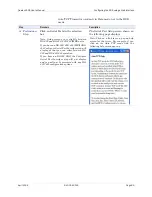
Destination information.
¾
IP Address:
¾
Community Name:
The host IP address you set here is
where the SDS will send its traps.
A community name, which is similar to
a password, must always be provided.
To receive traps from an SDS, the host
must have the same community name.
Note: If you set a host address of 0.0.0.0,
then you must disable Security. The SDS
will not send any traps.
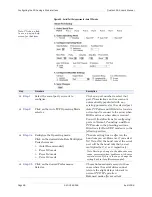
Step 4
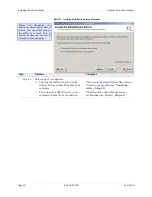
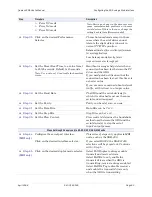
Enable or disable Security.
¾
Check to allow the SDS to accept
SNMP packets from any host in the
same community group.
¾
Clear the check box to allow the SDS
to accept packets only from the host
you specify in the Management Host/
Trap Destination configuration.
By default, the SDS can accept SNMP
packets from any host with the same
community name.
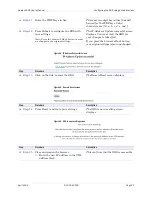
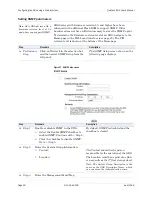
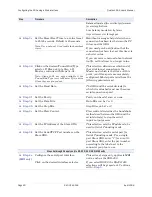
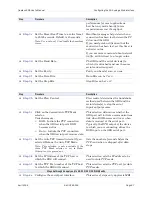
Step 5
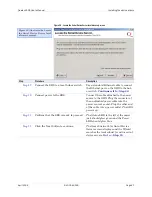
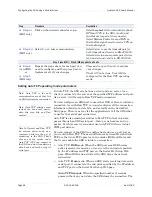
Press Submit to configure the SDS with
your settings.
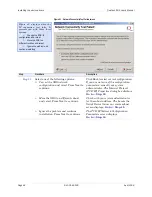
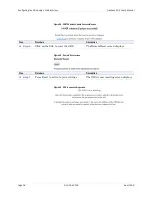
The SNMP Update Successful screen
displays. You must reset the SDS for
your changes to take effect.
If you press the browser’s Back button,
your original settings remain unchanged.
Note: Press the browser’s Back button to
make no changes to the original settings.

