Page 6
Page 7
Always ensure your caravan handbrake is on before engaging or disengaging the mover sytem to prevent unwanted movement of
the caravan. Only release the handbrake when the mover is securely engaged to the tyre and you are ready to move the caravan.
Automatic Engagement - During transit/installation the engagement motor end block may rotate causing it to
tighten. Before first use, place the manual engagement tool in the rear of the engagement end block (removing rubber
cap) and turn the tool clockwise to ensure it is moving freely, there should be little resistance required to turn the tool.
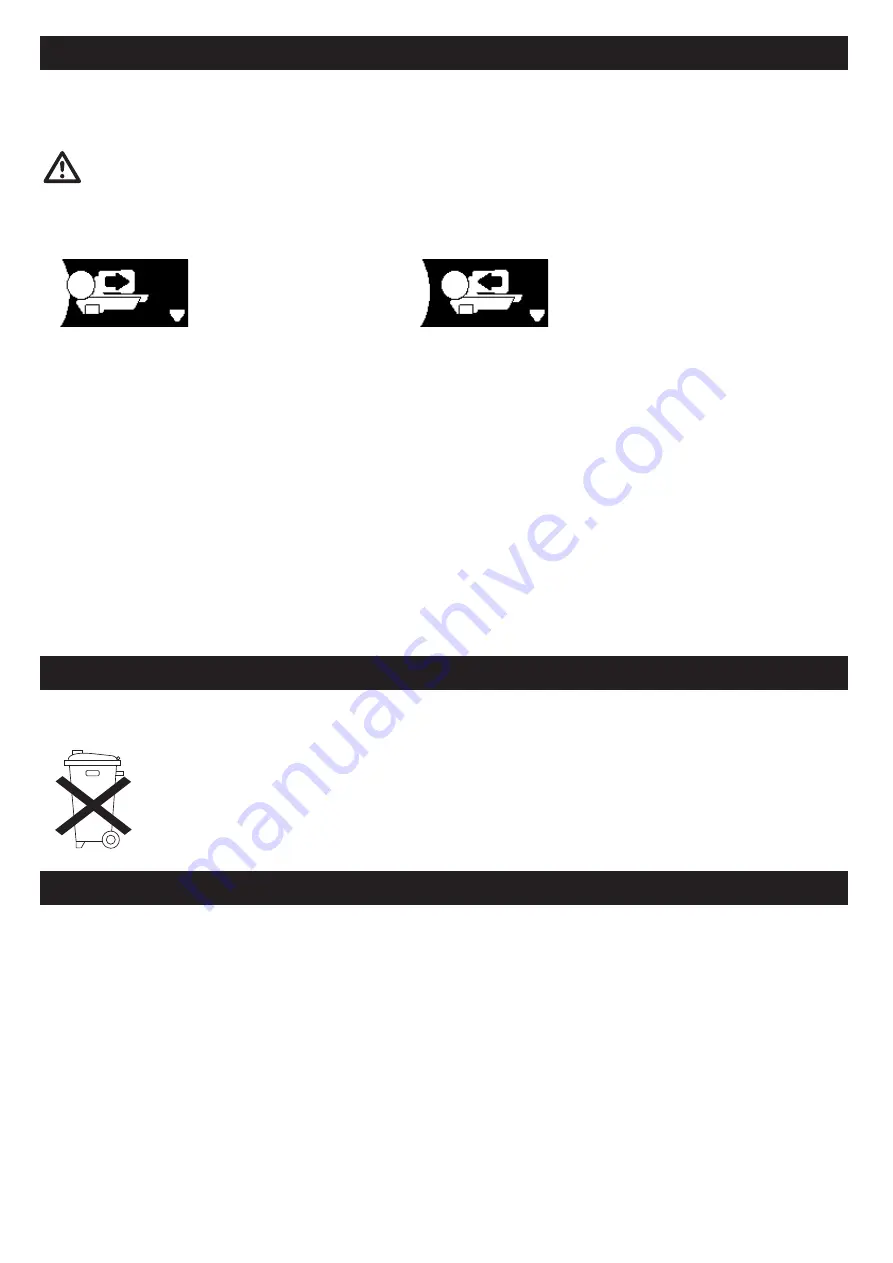
Turn on the handset and then from the home screen hold the multifunctional button (Fig.1C) for 3 seconds to engage or disengage
the mover. When engaging/disengaging the following information will be shown on the display (image varies based on mode):
Once engagement is completed the handset will return to the home screen and thumbstick controls will be activated allowing the
caravan to be moved. In the event of an issue, a manual engagement hex T bar is supplied that can be used to engage/disengage.
To use this remove the small rubber plug on the rear of the engagement motor and turn the engagement worm manually.
Manual Engagement - In order to engage the rollers, fit the end socket of the Engagement Tool (6) on the spindle (Fig.2G & Fig.4A
of installation manual) on the right or left drive unit.
Position the engagement tool parallel to the ground, then rotate the tool through approximately 180 degrees. Note: to engage the
rollers you always rotate the tool towards the tyre, irrespective of which side you are operating the engagement from.
The engagement mechanism utilises a simple over-centre cam that pushes the rollers onto the tyres and then locks into place
automatically. If the mover has been installed correctly, at exactly 20mm away from the tyres when disengaged, the amount of
force provided onto the tyre by the roller will be sufficient for most circumstances of use (Fig.6 of installation manual).
To disengage the rollers, simply refit the tool onto one of the spindles and rotate away from the tyre. Please note that you will feel
a small amount of resistance initially as you disengage the cam from its locked position; the spring will then do the rest of the work
and pull the roller away from the tyre and into the fully disengaged position (Fig.5 of installation manual).
Turn off isolation key to cut power to the Quattro control box. To turn off the handset double-press multifunctional button (Fig.1C)
twice.
Changing batteries in the remote control:
Open the rear cover of the handset by pushing gently and sliding the rear cover in the direction of the
arrow (Fig.2). Take out the depleted/old batteries and dispose in the appropriate way (check with your
local authority for correct disposal of batteries). Install new replacement batteries. Make sure to use leak
proof batteries (No claims under guarantee can be considered for damage caused by leaking batteries).
Slide the rear cover on gently and it will click into place.
Unit fails to operate or moves intermittently. Possible solutions are:
Handset not connected
- Ensure that all home screen items (Fig.1A) are solid and not flashing. If they are then it is likely that the
handset has not yet connected. Move closer to the caravan, if the handset still fails to connect, run through the handset pairing
process. Ensure that power is getting to the Quattro control box before beginning the pairing process.
Handset not turning on
- Handset battery could be depleted. If empty, renew using two new ‘AA’ 1.5V batteries.
Caravan battery could be empty
- Check that the leisure battery is fully charged. Refer to handset display (Fig.1A)
Caravan battery could be low
- with the rollers engaged. Ensure that when operating the mover that the leisure battery icon on
display (Fig.1A) remains at atleast 3 bars under load. If the charge indicator is dropping to 2 or below it may indicate a depleted or
damaged battery.
Electronics current limit reached
- Allow the mover to sit for 30 seconds, this will allow the electronics to restart and operation will
begin again. If the problem persists call your Quattro mover supplier.
Operation - Mover Engagement/Disengagement
Mover disengaging, press button
(Fig.1C) to stop at any point.
Mover engaging, press button (Fig.1C)
to stop at any point.
Operation - Shutdown procedure & battery replacement
Troubleshooting


