


Reference
Version Number
KEYMAZE 500HIKE
1
17/11/2011
14/24
KEYMAZE 700TRAIL
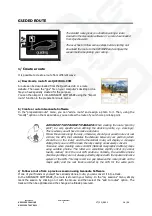
GUIDED ROUTE
1/ Create a route
It is possible to create a route from different ways:
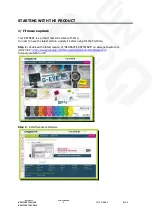
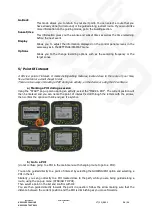
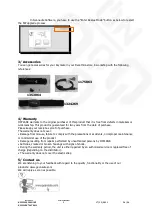
a/ Download a route from QUECHUA.COM
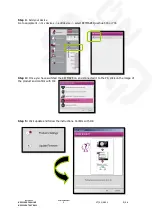
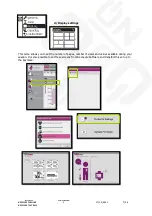
b/ Create a route in Geonaute Software
In the "preparation/route" menu, you can "add a route" and assign a photo to it. Then, using the
"modify" option on the map window, you can draw the route of your choice point-by-point.
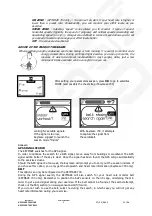
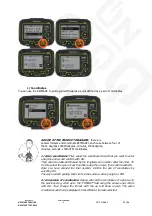
ADVISE OF THE PRODUCT MANAGER:
When creating the route "point by
point", be very specific when defining the decision points, e.g. crossings).
This is where you will have to make a decision.
Follow the curves along the way, otherwise, should your saved route cut real
corners, the GPS, that calculates the distance between your position (which
should be on the route) and the theoretical route, will display a message
stating that you are off the track, thereby causing unnecessary concern.
Take care when creating routes on IGN (National Geographic Institute) maps
using satellite photos. The latter are sometimes slightly offset (by about
twenty metres) from the real GPS positions. Similarly, the satellite photos
(like Google Maps) are not always perfectly aligned with the spatial reference
system of the GPS. This may result in a gap between the route (made on the
map's path) and the real track recorded by the GPS for the same path.
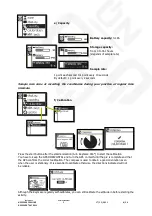
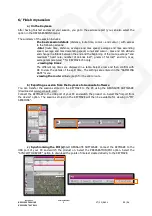
c/ Follow a route from a previous session using Geonaute Software
If one of your friends or yourself have already done a route, you can convert it into a track.
In the GEONAUTE SOFTWARE, the route is stored in your history. In the "my sessions" menu, simply
mark the session by clicking on it with the mouse and then select the "add to routes" option. The
track will then be optimised and the changes in altitude preserved.
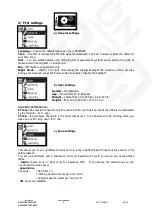
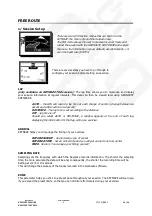
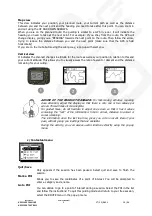
The Guided route gives you directions along a route
created in the Geonaute software or a route downloaded
from Quechua.com
The user has to follow various steps before starting out:
download the route to the KEYMAZE and configure the
session before beginning your outing.
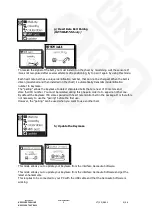
A route can be downloaded from the Quechua club or a route
website. Then save the "gpx" file on your computer's desktop or in a
file you have specially created for the purpose.
You can then import it into GEONAUTE SOFTWARE using the "import
route" function in the preparation/route menu


