
Reference
Version Number
KEYMAZE 500HIKE
1
17/11/2011
19/24
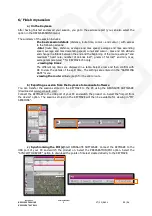
KEYMAZE 700TRAIL
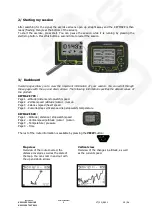
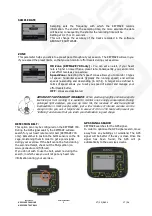
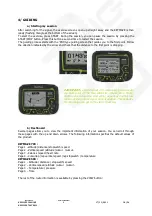
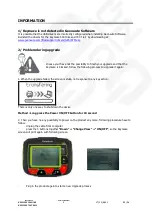
Map view
This view indicates your position, your planned route, your current path as well as the distance
between you and the next point and the heading you need to take after this point. You can zoom in
and out using the UP AND DOWN ARROWS.
When you are on the planned route: the guiding is similar to a GPS in a car, it will indicate the
heading you need to take at the next point. For example: If you stray from the route, the GPS will
change display, giving you a "BEARING" towards the next point on the route. Then follow the arrow,
trying to reduce the distance between you and the next point (make sure that the GPS is held
horizontally)
If you are on the route but moving the wrong way, a pop-up with alert you.
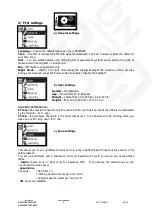
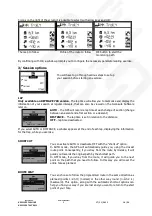
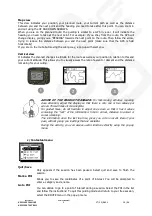
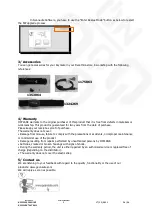
Vertical view
It indicates the planned changes in altitude for the route as well as your position in relation to this and
your current altitude. This allows you to visually assess the rate of ascent or descent and the distance
remaining for your outing.
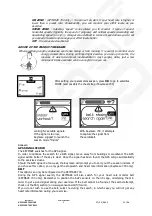
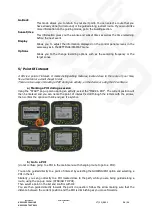
ADVISE OF THE PRODUCT MANAGER:
For fast-moving activities requiring
close attention, adjust the display so that there is only one or two values per
screen. This will make it more legible.
For guided hikes, do not hesitate to adjust one screen so that it has 4 values
containing the "rest" of the information: time to arrival, distance to arrival or
cumul remaining.
The information since the last lap time, gives you a more recent idea of your
pace, without giving you readings that are unstable.
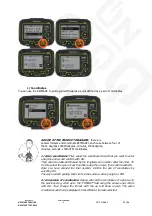
During the activity, you can access useful functions directly using the pop-up
menu.
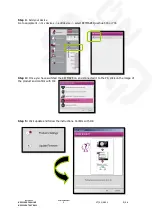
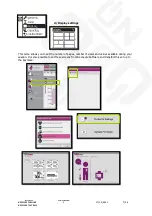
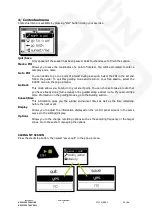
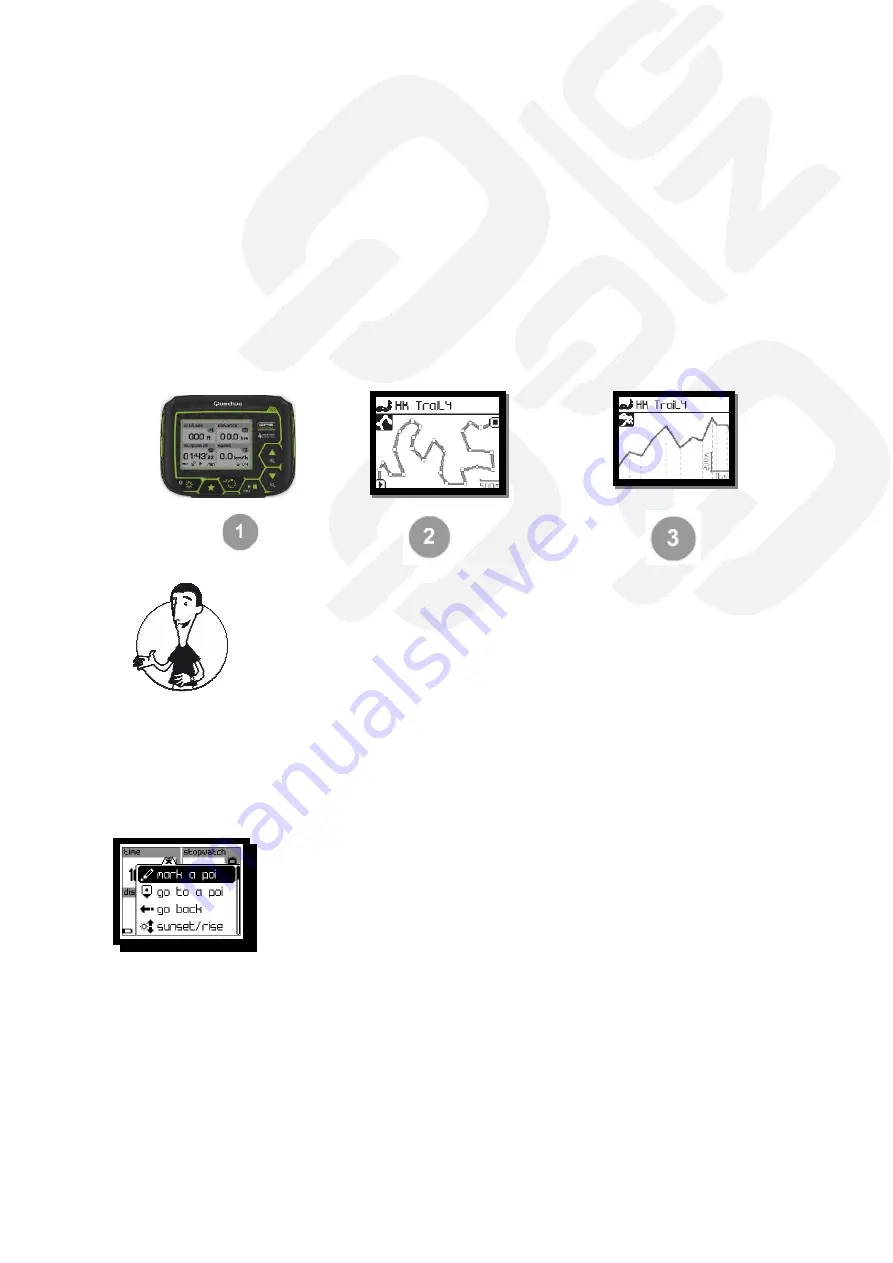
c/ Contextual menu
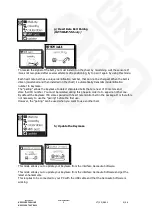
Quit/Save
Only appears if the session has been paused. Select quit and save to finish the
session.
Mark a POI
Allows you to save the coordinates of a point of interest. You will be prompted to
enter a category and a name.
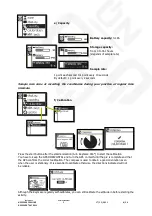
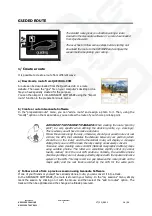
Go to POI
You can decide to go to a point of interest during a session. Select the POI in the list
and follow the instructions! To quit this guiding mode and return to your free session,
select the ROUTE menu in the pop-up menu.


