11
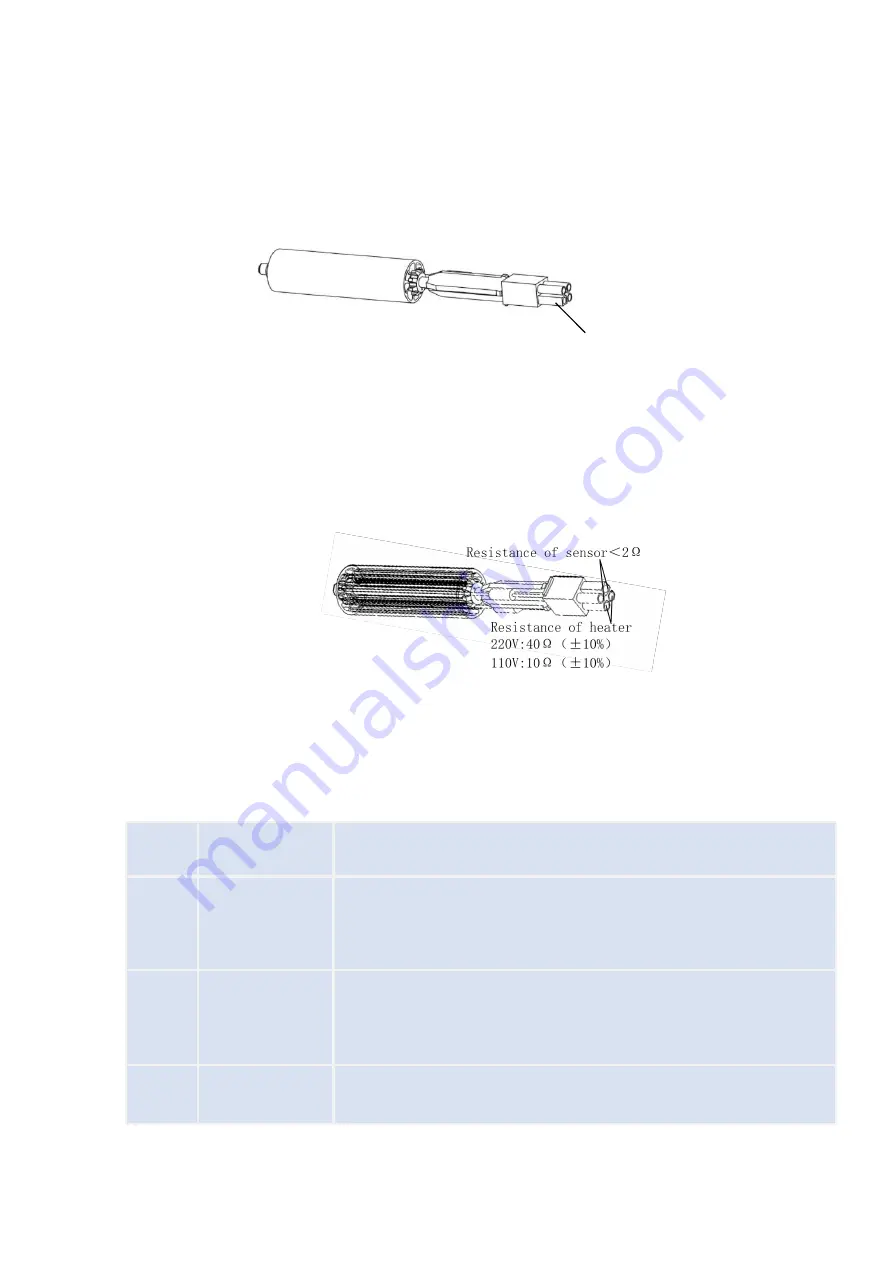
13.2 Steps of replacing the Heater
1) Install the heater on the
⑥
Handle components, and the square column on the
heating body is facing the square hole on the wiring seat;
2) Cover
①
Steel tube to
③
Heater;
3) Install the
⑥
Handle components into the
⑦
Handle body, pay attention to the
alignment of the four holes;
4) Turn Four screws
②
;
5) After replacing the heater, you are advised to perform the following measurements
6) Calibrate the temperature, refer to Soldering temperature calibration.
14. Troubleshooting
NO.
Display Fault
Fault Descriptions
1
H-E
Indicates that there is a problem with the heater and the heater needs
to be checked or replaced.
2
S-E
Indicates that there is a problem with the sensor and the sensor needs
to be checked or replaced.
3
ERR
Indicates that the fan is faulty and needs to be checked or replaced.
The square is opp
osite the terminal bl
ock
Summary of Contents for 862DA+
Page 14: ...12 15 Nozzles...


