12
CLASSIC 100, 160, 160XL
EN
G
LI
SH
1108/3/ST-000690634.EMS.2/Rev.C
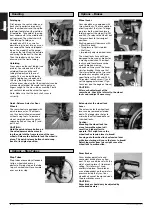
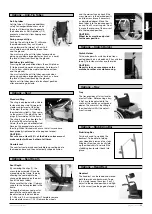
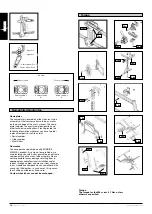
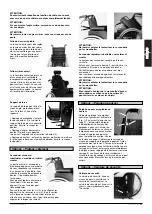
Travel Wheels
Travel wheels should be used wherever your
wheelchair would be too wide if the rear wheels
were used (e.g., in airplanes, buses, etc.). After the
rear wheels have been removed with the aid of the
quick-release axles, the transit wheels can imme-
diately be used to continue riding. The transit
wheels are mounted so that they are approx. 3
centimeters above the ground when not in use.
They are thus out of the way when riding, trans-
porting, or when tipping to pass over obstacles
(e.g., kerbs, steps, etc.).
CAUTION
:
Your wheelcha
i
r
d
oes not have any wheel locks
when the trans
i
t wheels are be
i
ng use
d.
Wheelcha
i
r pulls to one s
id
e
• Check tyre pressure
• Check to make sure wheel turns easily (bearings,
axle)
• Check angles of castors
• Check to make sure both castors are making
correct contact with the ground
Castors beg
i
n to wobble
• Check angle of castors
• Check to make sure all bolts are secure; tighten if
necessary (See the page on torque)
• Check to make sure both castors are making
proper contact with the ground
Wheelcha
i
r / Cross-tube assembly
d
oes not
snap
i
nto pos
i
t
i
on
i
n the seat sa
dd
le
• Chair is still new, i.e., the seat or backrest
upholstery is still very stiff. This will improve with
continued use.
Wheelcha
i
r
i
s
di
ff
i
cult to fol
d
up
• Adjustable backrest upholstery is too stiff; loosen
it accordingly.
Wheelcha
i
r squeaks an
d
rattles
• Check to make sure bolts are secure; tighten if
necessary (see the page on torque)
• Apply small amount of lubrication to spots where
movable parts come in contact with one another
Wheelcha
i
r beg
i
ns to wobble
• Check angle at which castors are set
• Check tyre pressure
• Check to see if rear wheels are adjusted
differently
Opt
i
ons – Travel Wheels
Trouble Shoot
i
ng
Opt
i
ons – One Arm Dr
i
ve
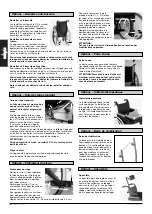
One arm
d
r
i
ve
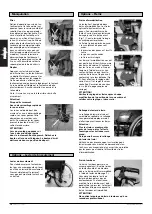
To propel the chair straight forward
both handrims must be used.
To fold the wheelchair disconnect
the telescopic bar by pushing it
inwards.
CAUTION
:
Make always sure that the
connect
i
ons are set properly to
avo
id
i
n
j
ur
i
es
.
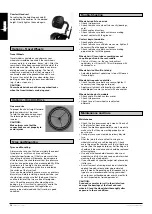
Tyres an
d
Mount
i
ng
Tyres an
d
Mount
i
ng
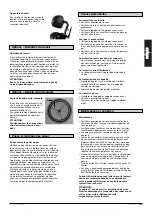
Always make sure you that you maintain the correct
tyre pressure, as this can have an effect on
wheelchair performance. If the tyre pressure is too
low, rolling resistance will increase, requiring more
effort to move the chair forward. Low tyre pressure
also has a negative impact on maneuverability. If the
tyre pressure is too high, the tyre could burst.
The correct pressure for a given tyre is printed on
the surface of the tyre itself.
Tyres can be mounted the same way as an ordinary
bicycle tyre. Before installing a new inner tube, you
should always make sure that the base of the rim
and the interior of the tyre are free of foreign ob-
jects. Check the pressure after mounting or re-
pairing a tyre. It is critical to your safety and to the
wheelchair’s performance that regulation air
pressure be maintained and that tyres be in good
condition.
Ma
i
ntenance an
d
Care
Ma
i
ntenance
• Check the tyre pressure every 4 weeks. Check all
of the tyres for wear or damage.
• Check the brakes approximately every 4 weeks to
make sure that they are working properly and
easy to use.
• Change tyres as you would an ordinary bicycle
tyre.
• All of the joints that are critical to using your
wheelchair safely are self-locking nuts. Check
every three months to make sure that all bolts are
secure (See the page on torque). Self locking nuts
should only be used once and should be replaced
after single use.
• Use only mild household cleansers when your
wheelchair is dirty. Use only soap and water when
cleaning the seat upholstery.
• If your wheelchair should ever get wet, please dry
it after use.
• A small amount of sewing-machine oil should be
applied to quick-release axles approximately
every 8 weeks. Depending on the frequency and
type of use, we recommend taking your wheel-
chair to your authorized dealer every 6 months to
have it inspected by trained personnel.
CAUTION
:
San
d
an
d
sea water (or salt
i
n the w
i
nter) can
d
amage the bear
i
ngs of the front an
d
rear
wheels
.
Clean the wheelcha
i
r thoroughly after
exposure to these con
di
t
i
ons
.
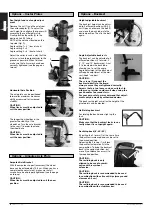
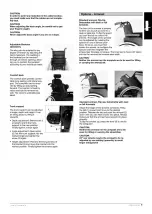
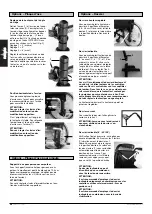
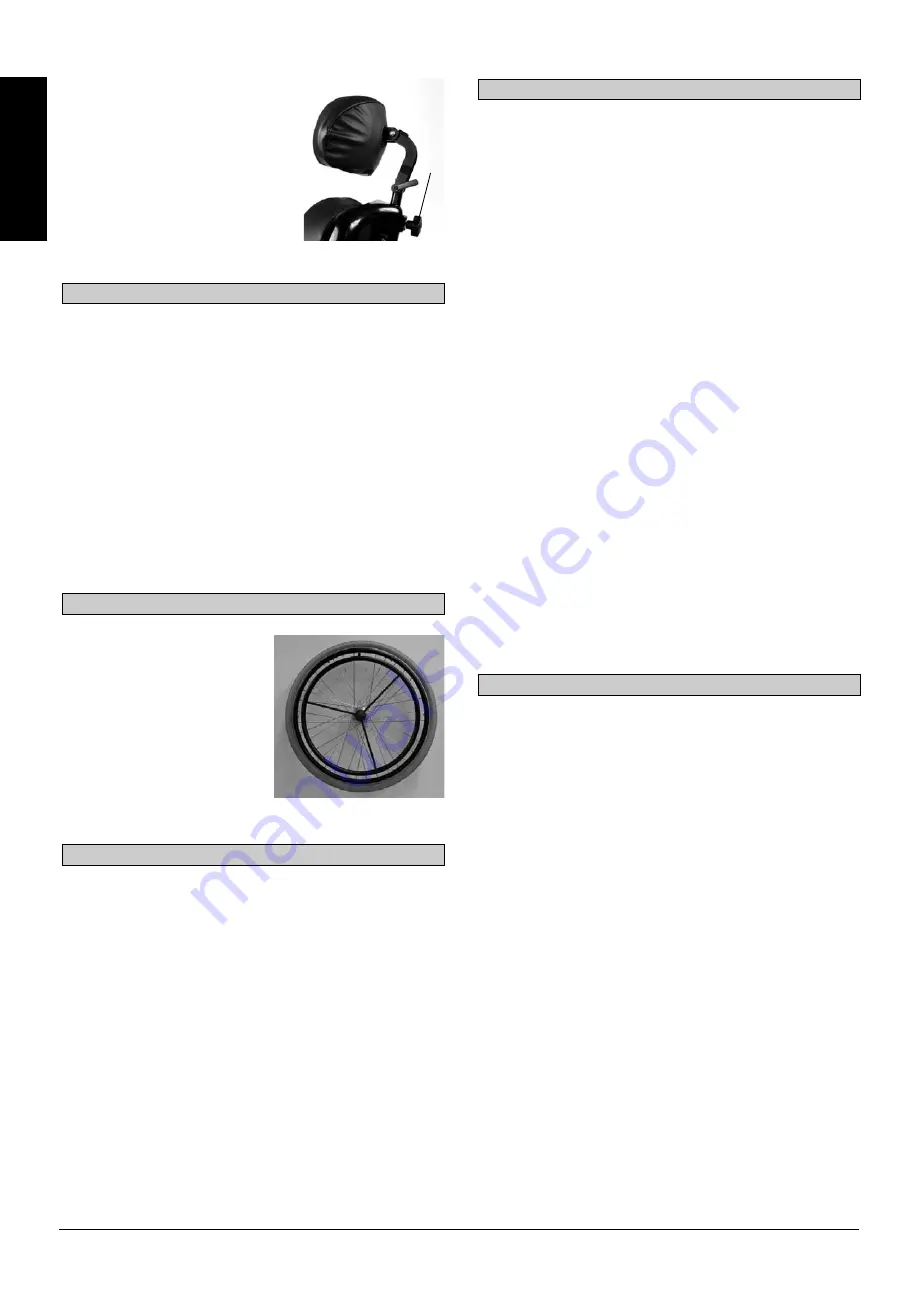
Comfort Hea
d
rest
For adjusting the height open knob (3)
and position the headrest in the desired
height. Finally tighten the knob again.
3
Summary of Contents for Classic 100
Page 2: ......
Page 9: ...ENGLISH 1009 3 ST 000690634 EMS 2 Rev D...
Page 26: ...26 CLASSIC 100 160 160XL 1009 3 ST 000690634 EMS 2 Rev D...
Page 38: ...38 CLASSIC 100 160 160XL 1009 3 ST 000690634 EMS 2 Rev D...
Page 50: ...50 CLASSIC 100 160 160XL 1009 3 ST 000690634 EMS 2 Rev D...
Page 62: ...62 CLASSIC 100 160 160XL 1009 3 ST 000690634 EMS 2 Rev D...
Page 63: ......


