| 165
Puma 20/40
| 165
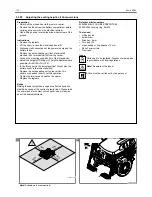
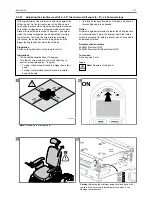
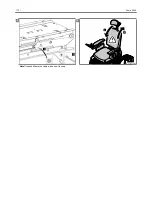
5.3.32 Adjusting the electrical seat tilt 0 - 25°, all Puma-versions
Preparation
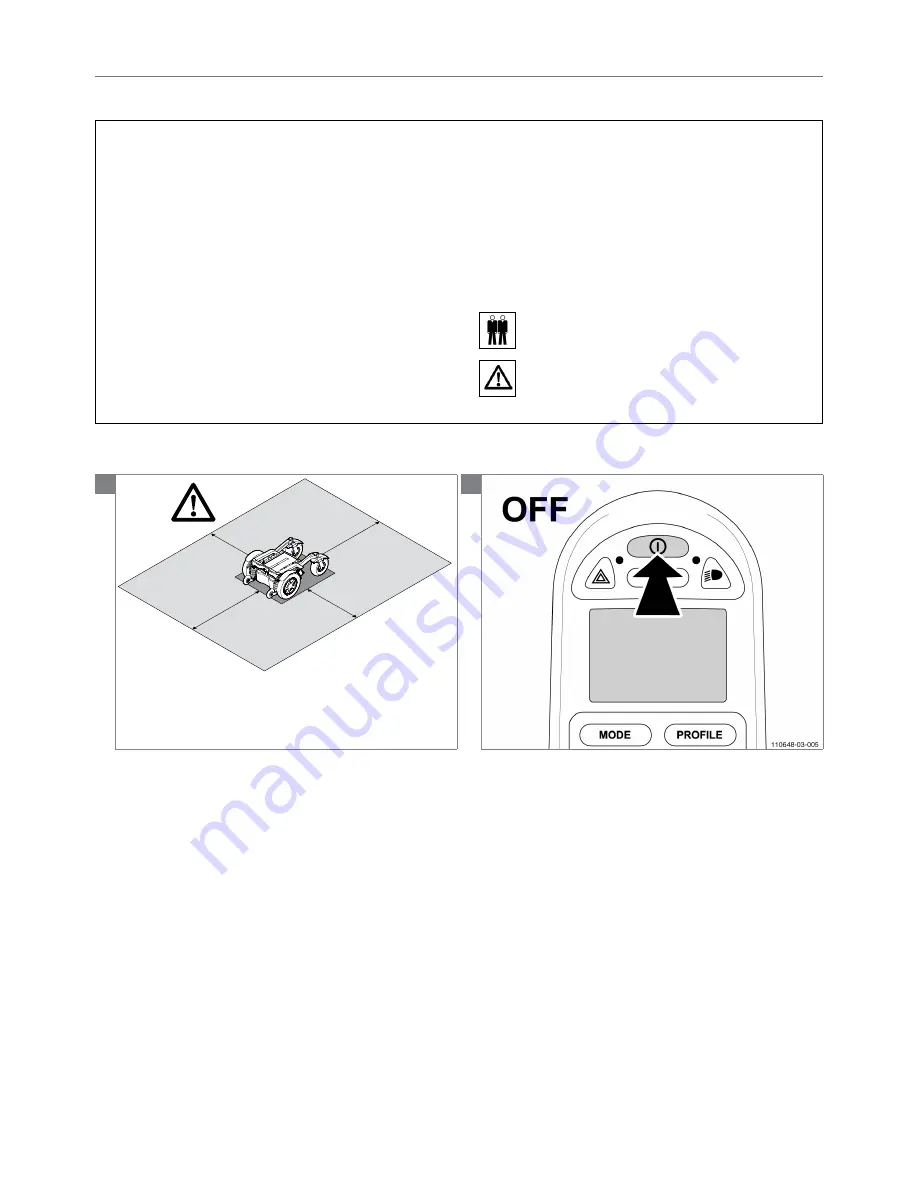
Switch off the wheelchair via the remote control.
Instructions
•
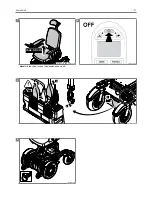
Remove the entire seating unit from the carrier. Two
people are needed to carry out this operation.
(See instruction: Converting front wheel drive (FWD) to
rear wheel drive (RWD), Step 2 Remove interface and
seating.)
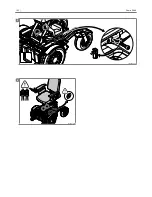
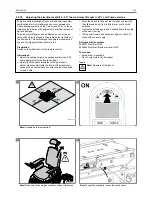
• Loosen the 2 bolts of hinge 1 or hinge 2 in the interface
frame.
• Move the upper part of the interface in the desired
position (hinge point 1 (hp1): 0 - 25°, hinge point 2 (hp2):
0 - 20°).
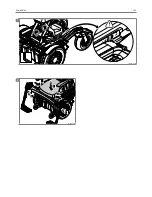
•
Tighten the 2 bolts.
• Replace the seat on the interface.
Notice
Changing back the wheelchair's tilt position from 20° to
25° may negatively influence the wheelchair's driving
characteristics.
Relevant article numbers
9006017 Electrical tilt 25°
Tools used
Open ended or ring spanner 10 mm
lAlen key 5 mm
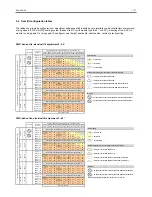
Icons
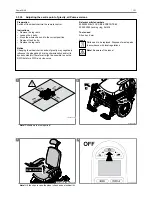
Action must be carried out by two persons!
Note!
Be aware of the issue!
1
min.
100 cm
min.
100 cm
min.
75 cm
min.
75 cm
110648-03-001
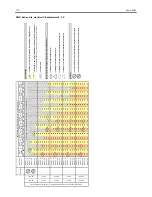
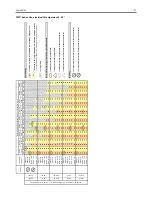
Note!
Suitable work area required!
2
Summary of Contents for puma 20
Page 1: ...Puma 20 40 TECHNICAL MANUAL EN Powered wheelchair ...
Page 2: ...Puma 20 40 2 ...
Page 44: ...Puma 20 40 44 Spare parts Cable routing Shark Drive and lights ...
Page 99: ... 99 Puma 20 40 99 5 1 1 2 2 110648 03 034_5spaak_2016 ...
Page 109: ... 109 Puma 20 40 109 3 3 1 2 110648 03 035 4 110648 03 013 5 6 7 8 ...
Page 118: ...118 Puma 20 40 118 8 9 ...
Page 130: ...130 Puma 20 40 130 11 1 2 110648 03 042_5spaak_2016 ...
Page 144: ...144 Puma 20 40 144 11 1 2 110648 03 087 12 3 1 2 110648 03 088 ...
Page 148: ...148 Puma 20 40 148 5 1 2 110648 03 042_5spaak_2016 ...
Page 150: ...150 Puma 20 40 150 5 1 2 110648 03 042_3spaak_2016 ...
Page 152: ...152 Puma 20 40 152 5 6 1 2 110648 03 042_5spaak_2016 ...
Page 160: ...160 Puma 20 40 160 14 3 1 2 110648 03 083 15 110648 03 903 2 2 3 3 1 ...
Page 162: ...162 Puma 20 40 162 5 FW D RW D 6 110648 03 010 6 110648 03 093 ...
Page 163: ... 163 Puma 20 40 163 7 FW D RW D 6 110648 03 094 8 110648 03 903 2 2 3 3 1 ...
Page 168: ...168 Puma 20 40 168 5 10º 110648 03 906 ...
Page 170: ...170 Puma 20 40 170 5 Note If needed fixate the cable with a new tie wrap 6 2 1 110648 03 908 ...
Page 198: ...Puma 20 40 198 ...
Page 199: ...Puma 20 40 199 ...


