8
Accepting or rejecting a result
8.
To
accept
a result, read the bar code
OK/ACCEPT
on the QuikLink bar
code tablet (bar codes also on page 2). To
reject
a measurement, read
the bar code
CANCEL/REJECT
on the QuikLink bar code tablet.
9.
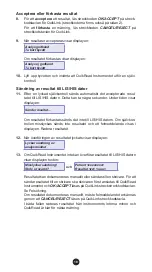
When the result is accepted, the LCD will display:
Test accepted
Remove cuvette
If the measurement was rejected, the LCD will display:
Test rejected
Remove cuvette
10.
Remove the cuvette and wait for the QuikRead Instrument to perform a
self-check.
Sending a result to the remote LIS/HIS computer
11.
After a successful self-check, the accepted result is automatically sent to
the remote LIS/HIS computer. This can take a few seconds. During the
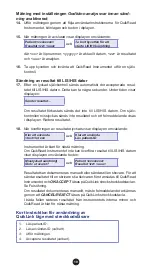
process, the LCD will display:
Sending result...
If the measurement was rejected, the result is not sent to the remote
LIS/HIS computer. If the self-check is unsuccessful, the result is not sent
and an error message is displayed by the LCD. Delete the result.
12.
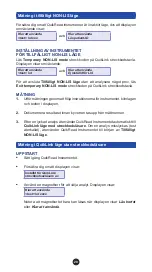
When the result has been successfully transferred, the LCD will dis
-
play:
Test result sent
succesfully
13.
If the QuikRead Instrument is unable to transfer the result to the remote
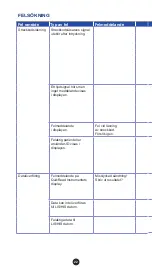
LIS/HIS computer, the LCD will alternately display the texts:
Sending failed!
Print result?
and Patient <xxxxxxxx>
Result <zz> <uuu>
Results can be recorded manually or sent to a printer. To send the results
to a printer, first connect the printer to your QuikRead Instrument and
then read the
OK/ACCEPT
bar code on the QuikLink bar code tablet.
See Troubleshooting.
When recording results manually, the error message must be acknowl
-
edged by reading the
CANCEL/REJECT
bar code on the QuikLink bar
code tablet.
In both cases, the result is removed from the internal memory of the
instrument and QuikRead is ready for the next measurement.


