36
6. Belt Replacement
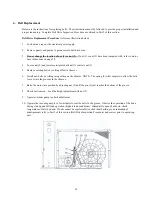
Below are the instructions for replacing belts. These instructions must be followed to provide proper installation and
proper tensioning. Complete Belt Drive Inspection Procedure as outlined in Part 5 of this section.
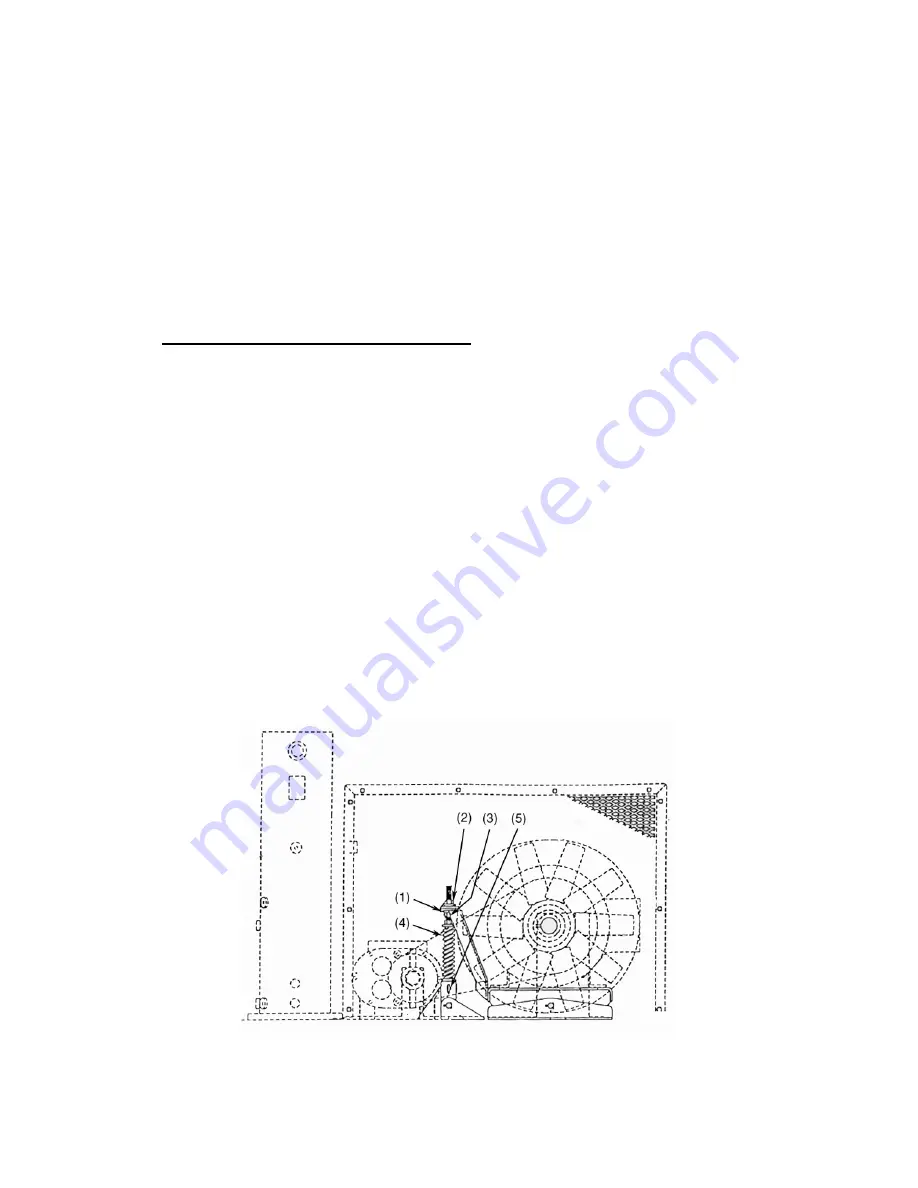
Belt Drive Replacement Procedure (reference illustration below)
1.
Lock out and tag out the electrical power supply.
2.
Remove panels and guards to gain access to belt drive area.
3.
Do not change the location of nut (1) or nut (2). If nut (1) or nut (2) have been tampered with, refer to motor
base instructions on page 38.
4.
Loosen nut (3) and lower motor plate until nut (3) contacts nut (1).
5.
Remove existing belts by rolling off drive sheaves.
6.
Install new belts by rolling into position on the sheaves. NOTE: The spring (4) will compress to allow the belts
to cross into the grooves in the sheaves.
7.
Raise the motor into position by adjusting nut (3) until the pin (5) just reaches the bottom of the groove.
8.
Check belt tension – Lock the height adjustment with nut (2).
9.
Operate vacuum pump to check adjustment.
10.
Operate the vacuum pump for a few minutes to seat the belts to the groove. Observe the operation of the drive
during start-up and full load operation (highest load conditions). Immediately upon shut-down, check
temperature of belts by hand. If belts cannot be comfortably touched (heat build-up is an indication of
misalignment) refer to Part 5 of this section (Belt Drive Inspection Procedure) and correct prior to operating
unit.
Summary of Contents for QSVB Series
Page 2: ......
Page 5: ...1 MODEL IDENTIFICATION QSVB...
Page 30: ...26...
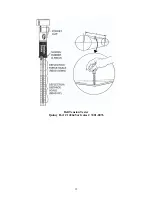
Page 43: ...39 Belt Tension Tester Quincy Part 142645 or Gates 7401 0076...
Page 55: ......


