4-8 Repair/Replacement and Calibration
MedTrack CR60 Rehabilitation Treadmill Service Manual
WARNING! Do not attempt to disassemble the tensioner. The internal
springs are tightly compressed and could cause injury if
released.
1. Remove the power cords and treadmill hood as described in
“Removing the Treadmill Hood” on page 4-3.
2. Use the 9/16-inch hex wrench to remove the 3/8-inch bolt from the
tensioner. Remove and discard the old tensioner.
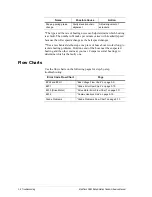
3. Be sure the belt is centered on the motor and roller pulleys.
4. Place the new tensioner onto the headframe in the same position as
before and
loosely
bolt it to the headframe.
5. Use either a 15/16-inch open-end wrench or a large adjustable wrench
to turn the
large
nut on the tensioner counter-clockwise; put tension
on the poly-V belt until the two lines on the tensioner line up. Tighten
the 3/8-inch bolt to 19 foot-pounds torque.
6. If no other service is required, replace the treadmill hood as described
in step 10, page 4-5.
Field Functional Test
To verify that the treadmill is operating properly, perform “Field Test No.
3” on page D-5.
Replacing the Poly-V Drive Belt
1. Remove the power cords and treadmill hood as described in
“Removing the Treadmill Hood” on page 4-3
Caution!
The drive belt tensioner is spring loaded. Do not let it snap
closed after removing the drive belt.
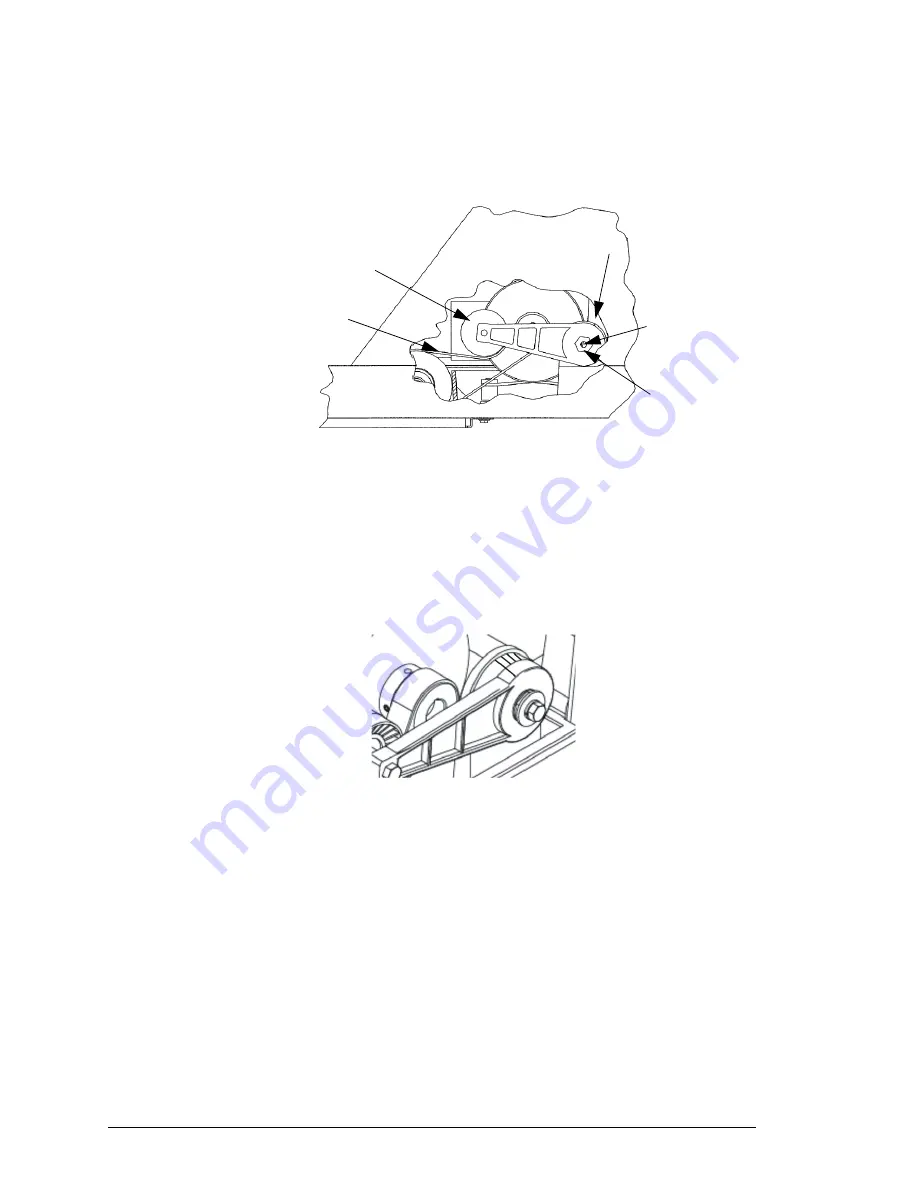
Tensioner
Poly-V Drive Belt
Alignment Marks
Large Nut
(part of tensioner)
3/8-16 x 2.50L Bolt
Split LW
Flat Washer


