en
18 FUM5-00MO-DES-RHMHE
08.09.2017 / V1.0
Installation
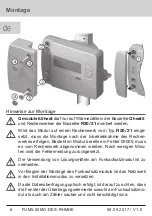
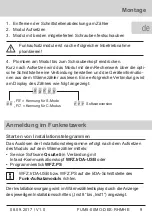
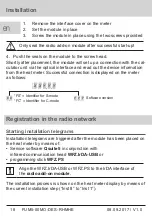
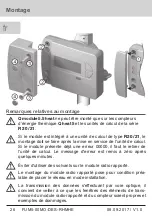
1. Remove the interface cover on the meter
2. Set the module in place
3. Screw the module in place using the two screws provided
Only seal the radio add-on module after successful start-up!
4. Push the seals on the module to the screw head.
Shortly after placement, the module will set up a connection with the cal
-
culator unit via the optical interface and read out the device information
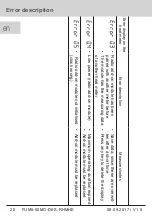
from the heat meter. Successful connection is displayed on the meter
as follows:
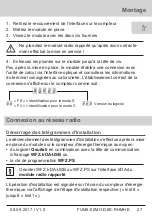
X X Y Y Y
X X Y Y Y
“FS” = Identifier for S-mode
“FC” = Identifier for C-mode
X X Y Y Y
Software version
Registration in the radio network
Starting installation telegrams
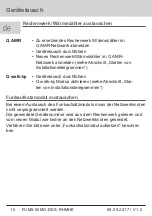
Installation telegrams are triggered after the module has been placed on
the heat meter by means of:
•
Service software
Q suite 5
in conjunction with
infrared communication head
WFZ.IrDA-USB
or
•
programming stick
WFZ.PS
Align the WFZ.IrDA-USB or WFZ.PS to the IrDA interface of
the
radio add-on module
.
The installation process is shown on the heat meter display by means of
the current installation step (“Inst 8” to “Inst 1”).

