


© Copyright Qvis ®. All documentation rights reserved.
10
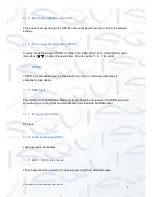
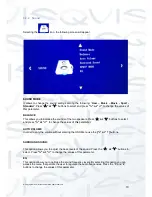
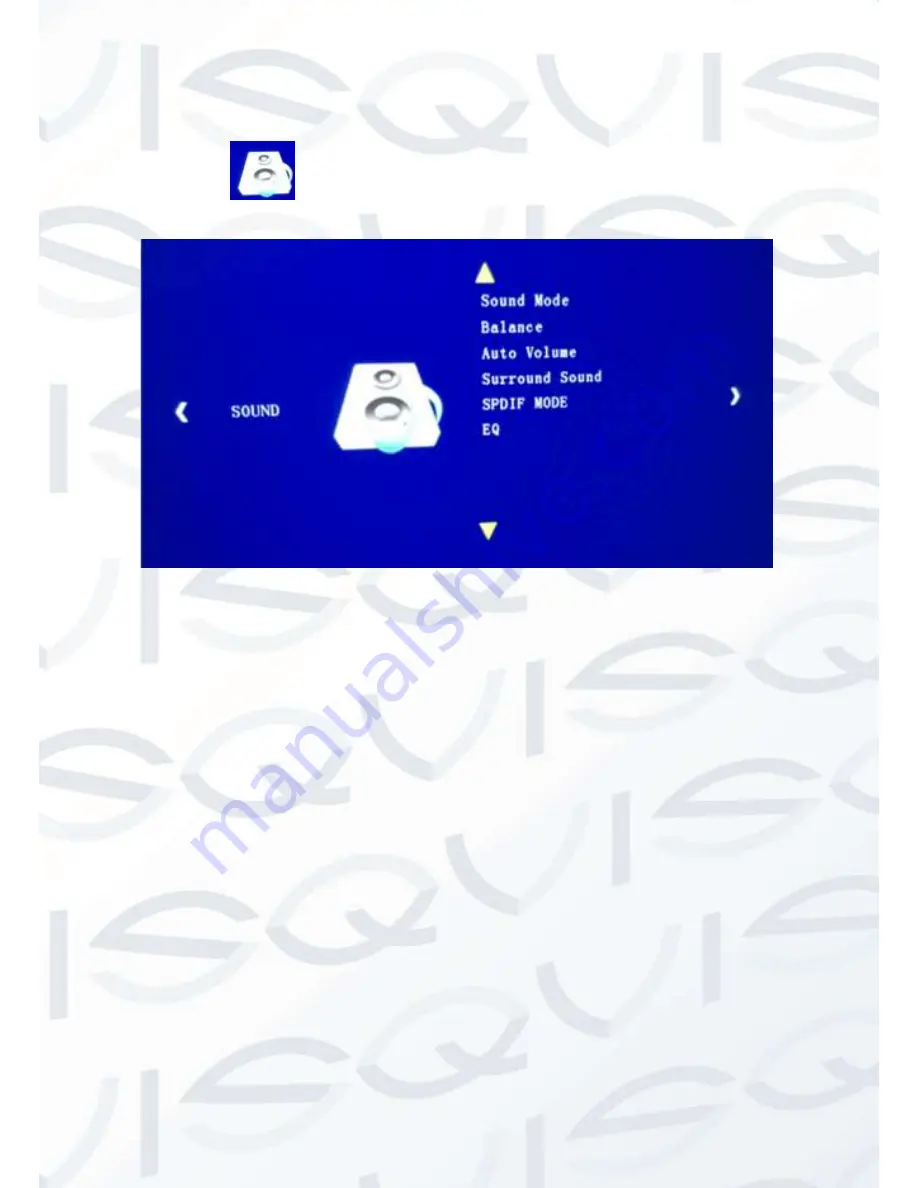
3.2.2
Sound
Selecting the
icon, the following screen will appear.
SOUND MODE
It allows to change the soun
d settings among the following: ”
User
– Music – Movie - Sport -
Standard
”.
Press
“
∧
”
or
“
∨
”
buttons to select and press
“
>
”
or
“
<
”
to change the values of
this parameter.
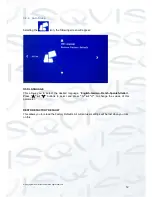
BALANCE
This allows you to balance the sounds of the two speakers.
Press
“
∧
”
or
“
∨
”
buttons to select
and press
“
>
”
or
“
<
”
to change the values of this parameter.
AUTO
VOLUME
In order to vary the volume without entering the OSD Menu use the
[“+” or “-”]
buttons.
SURROUND SOUND:
This option allows you to adjust the bass levels of the sound. Press the
“
∧
”
or
“
∨
”
buttons to
select. Press
“
>
”
or
“
<
”
to change the values of this parameter.
EQ
This option allows you to optimise the sound frequency levels. By selecting this option you can
access the menu that permits the user to regulate the audio frequencies. Press the
“
3
” and “
4
”
buttons to change the values of this parameter.


