1 0
GETTING STARTED
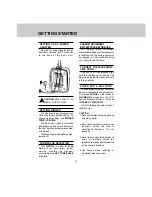
SETTING UP AC POWER
ADAPTER
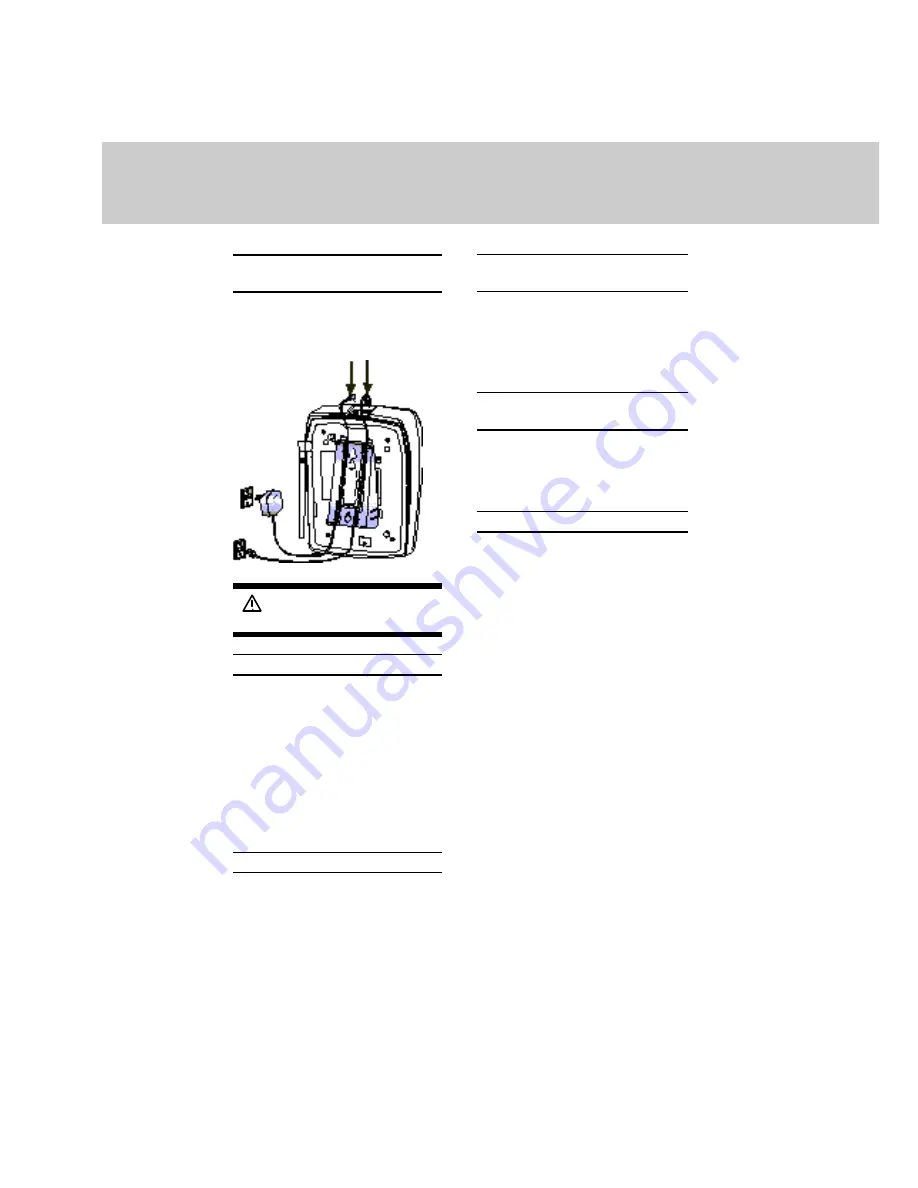
Plug the AC power adaptor into an
electrical outlet and the DC connector
to the back of the Base Unit.
CAUTION: USE CLASS 2, 9V
DC POWER SUPPLY ONLY.
SETTING RINGER
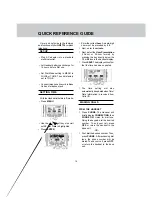
The Handset ringer is programmed
ON as the factory default setting. To
change ringer settings, see RINGER
TONE / VOLUME.
The Base Unit ringer is controlled
independently, by a switch located on
the front, right hand side (antenna side)
of the Base.
The Base ringer has 3 settings; high,
low and off.
TONE/PULSE SELECTION
Your QW1734 is preset for Tone
dialing. If you have rotary (pulse)
service, program the Handset
accordingly. See SET TONE/PULSE
for details.
CHARGE THE HANDSET
BATTERY PACK BEFORE USE.
The battery pack recharges
automatically whenever the Handset is
in the Base Unit. The battery pack must
be charged for 16 hours before using
your phone for the first time.
CONNECT THE TELEPHONE
LINE CORD
Plug one end of the telephone line
cord into the jack on the back of the
Base Unit, plug the other end of this cord
into the wall jack.
CHECK FOR A DIAL TONE
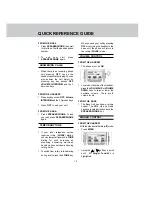
After the battery is charged, rotate the
Base Unit antenna to upright position.
Now press PHONE on the Handset.
PHONE ON will appear on the LCD,
and you will hear a dial tone. If not, see
IN CASE OF DIFFICULTY.
Fill in the telephone number card on
the Base Unit.
CAUTION:
1. Never install telephone wiring during
a lightning storm.
2. Never install telephone jacks in wet
locations unless the jack is
specifically designed for wet
locations.
3. Never touch uninsulated telephone
wires or terminals unless the
telephone line has been disconnected
at the network interface.
4. Use caution when installing or
modifying telephone lines.
Summary of Contents for QW1734
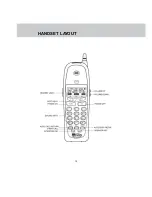
Page 12: ...1 2 HANDSET LAYOUT...
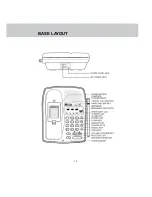
Page 13: ...1 3 BASE LAYOUT...


