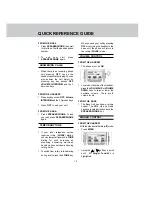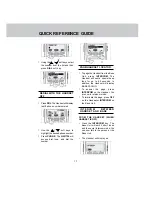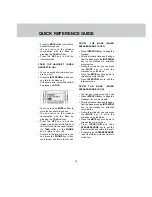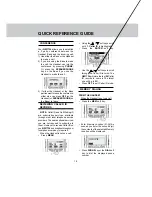
PHONE BOOK
2 9
Number Key
Characters (in order)
1 ..................... & ' , . 1
2 ..................... A B C 2
3 ..................... D E F 3
4 ..................... G H I 4
5 ..................... J K L 5
6 ..................... M N O 6
7 ..................... P Q R S 7
8 ..................... T U V 8
9 ..................... W X Y Z 9
0 ..................... 0
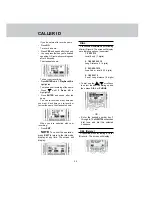
• Press to advance the cursor to the
next space.You won’t have to advance
the cursor if the next letter of the
name is not on the same key as the
previous letter;it will advance
automatically.
• Press CLR to backspace
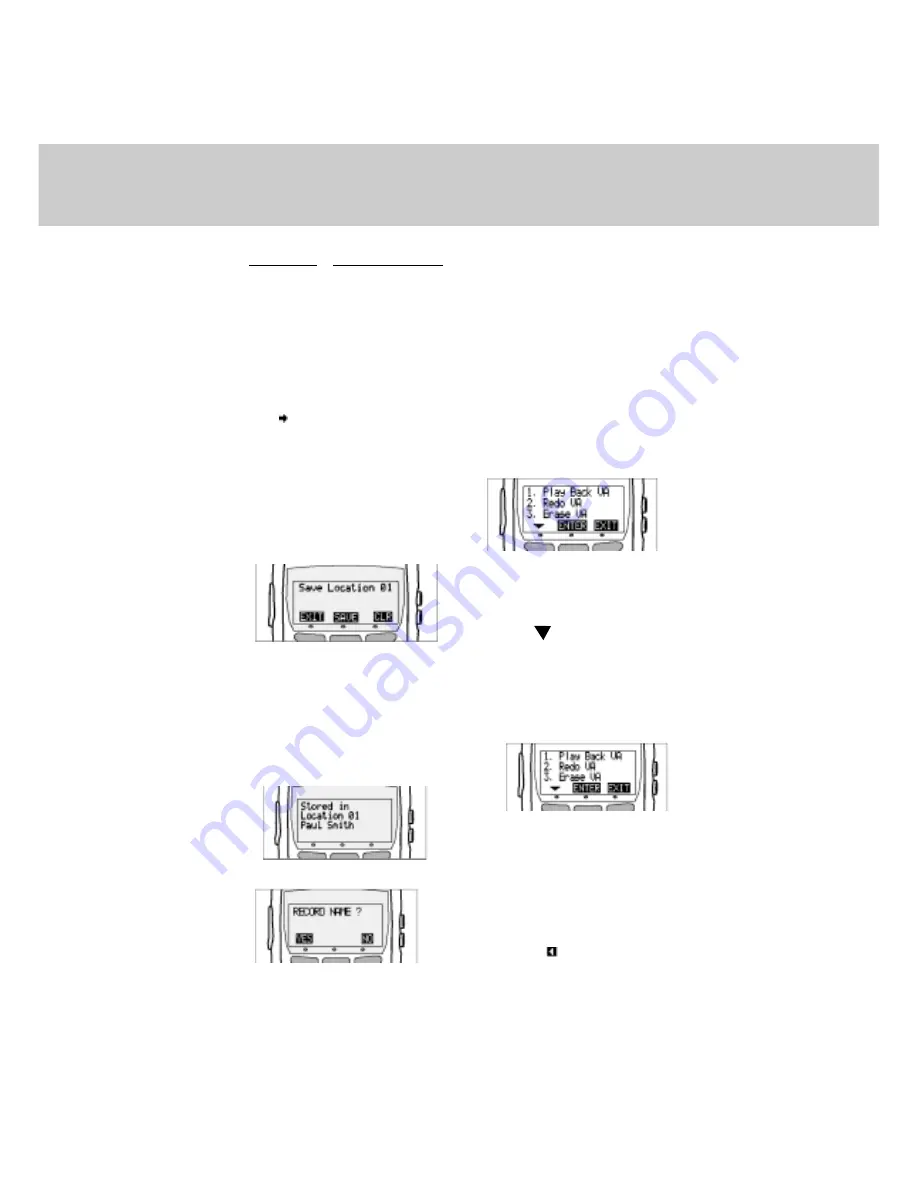
• Press SAVE when you're finished
entering the desired name. The LCD
will display:
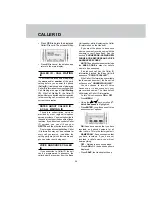
• The 2-digit location displayed is the
smallest, unoccupied directory
location. If you want to save the
phone number in a different location,
press CLR, and then enter the two
digit directory location you desire
(01-25).
• Press SAVE to confirm your location
selection.The screen will display:
Then the display shows:
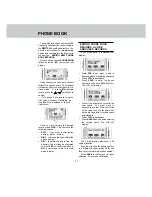
In your own Voice you can record the
person's name associated with this record.
If you subscribe to Caller ID, the phone
will play your recording when this person
calls, so that you can hear who's calling
without seeing the Caller ID display.
If you do not want to record a name:
• Press NO.
To record a name:
• Press YES and speak after the beep.
• You can press # when you're finished
speaking, OR just wait-recording ends
after 4 seconds.
The Handset shows:
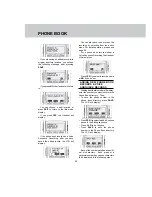
To hear your recording:
• Press ENTER while 1. Play Back VA is
highlighted.
To make a new recording of the name:
• Press
until 2.Redo VA is
highlighted.
• Press ENTER and speak after the
beep.
You can re-record as many times as
you want. Each time you re-record or
review the name, the Handset shows:
When you are satisfied with your
recording:
• Press EXIT.
To erase the recording,
• Press ENTER while 3. Erase VA is
highlighted.
• A confirmation tone will be heard.
• Press EXIT when you're finished. You
will see the is removed on the Phone
Book record.
Summary of Contents for QW1734
Page 12: ...1 2 HANDSET LAYOUT...
Page 13: ...1 3 BASE LAYOUT...

