background image

14

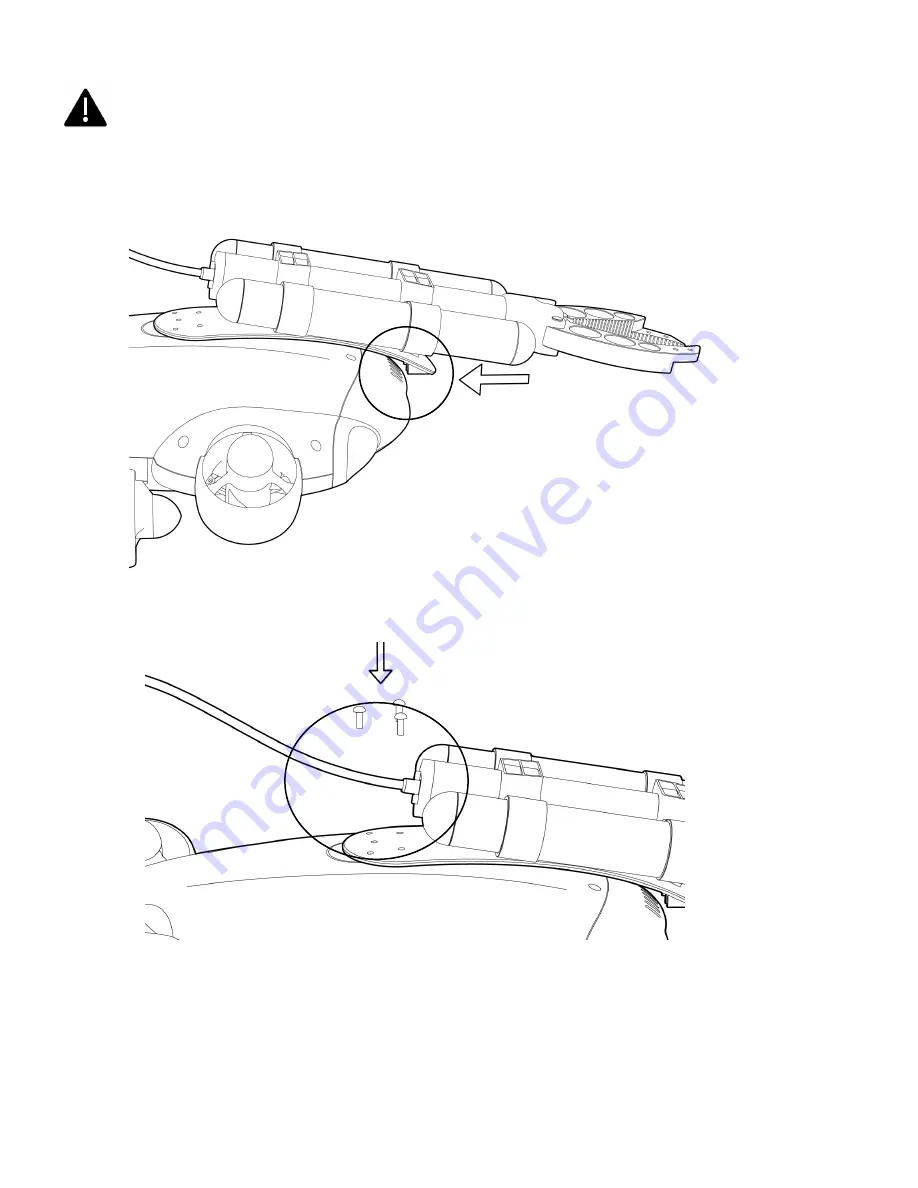
Robotic Arm Installation (Optional)

Please power off the ROV before installing

A.

Insert the bracket into front vent holes

B.

B.Fasten the 3 screws to secure robotic arm on the bracket

Summary of Contents for FIFISHV-EVO

Page 1: ...FIFISH V EVO Quick Start Guide V 1 0...

Page 2: ......

Page 3: ...ler Beware of the environment while operating the ROV tide water level water traffics etc Do NOT throw the ROV when deploying into the water Avoid overheating of motors do NOT run the thrusters in air...

Page 4: ...newly immersive underwater experience Break through the limits of traditional dive photography and discover thrilling worlds below the depths with FIFISH V EVO ROV Remotely Operated underwater Vehicle...

Page 5: ...Right Control Stick 4 ON OFF 5 Depth Holding ON OFF 6 Take Picture 7 Right Wheel 8 LED Brightness OFF 1 2 9 Ethernet port 10 Tether Port 3 5 mm head port 11 Control Mode Attitude Sport Combine 12 Vide...

Page 6: ...4 Spool and Tether 3 1 2 4 5 1 Spool Handle 2 Tether Regulator 3 Foldable Handle 4 Tether Plug 5 Spool Frame 6 Controller Plug 6...

Page 7: ...harging Full RED LED indicator illuminates while charging and green LED indicator illuminates while fully charged 2 RC Charging Flashing POWER button RC is charging White steady POWER button RC is ful...

Page 8: ...tions Option 1 Scan the QR code below to download FIFISH APP Option 2 Search the FIFISH on App Store iOS or GooglePlay Android Option 3 Go to QYSEA website www qysea com support APP download 2 Hardwar...

Page 9: ...er 3 5 mm head into remote controller B Take off the protect cap tie the knot around the rear wing C Plug the tether ROV end into the ROV the ROV will automatically turn on The music will play 5 chime...

Page 10: ...e remote controller Press and hold the ON OFF button until you hear 7 low to high chimes Do Re Mi Fa Sol La Si E The ON OFF Depth Holding and LOCK UNLOCK will rotate clockwise which indicates Ready to...

Page 11: ...troller the ON OFF and LOCK UNLOCK buttons consistently on indicates the successful hardware connection 3 Software connection A Connect with the RC s Wi Fi Find the Wi Fi network name FIFISHRC_xxxx Th...

Page 12: ...cator Compass ROV Heading Mode Select Record Stop Take Picture Photo Video Switch Shutter photo mode Exposure Value Remaining Time Pics Resolution White Balance ISO Depth Holding Water Temp Control Mo...

Page 13: ...ROV into the water Unlock the thrusters and start dive The depth shall greater than 1 meter about 3 feet for better experience 4 Retrieve Lock the thrusters and stop recording the video before closing...

Page 14: ...d Right Wheel into the following symbol The arrows on RC indicate the command and the arrows on ROV indicate the actual movements For more information please check on FIFISH APP Go Dive General Settin...

Page 15: ...rolling and moving based on the FPV First Person View do not operate in third person view The ROV will only stay in the same depth with no command input when depth holding ON 3 Combination Mode User p...

Page 16: ...14 Robotic Arm Installation Optional Please power off the ROV before installing A Insert the bracket into front vent holes B B Fasten the 3 screws to secure robotic arm on the bracket...

Page 17: ...15 C Align the cable to the Q interface and fasten the bolt D The robotic arm can be activated ONLY in Attitude mode Mode A Use the right wheel to open and close the robotic claws...

Page 18: ...llers after every dive Make sure NO entanglement i e seaweed or fishing lines Turn on the ROV See the Preparation Connection Section and check the thruster and test movement and rotation 4 Clean sand...

Page 19: ...9 000 mAh 97 2 Wh Camera Sensor 1 2 3 SONY CMOS Effective Pixels 12MP ISO Range 100 6400 in Auto Manual Lens Field of View 166 Aperture f 2 5 Min Focusing Distance 0 3 m Shutter 5 1 5000 second Auto M...

Page 20: ...pport Micro SD Card FAT32 and exFAT format 128GB Charger ROV Input 100 240 V 50 60 Hz 1 3 A MAX Output 12 6 V 5A AC RC Input 100 240 V 50 60 Hz 0 5 A MAX Output 5 V 3A DC Spool Tether Length 100m 328...

Page 21: ...pted or error free operation of a product Loss of or damage to your data by a product Any software programs whether provided with the product or installed subsequently Failure of or damage caused by a...

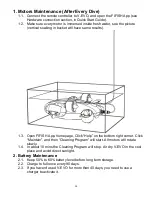
Page 22: ...results 1 3 Open FIFISH App homepage Click Help on the bottom right corner Click Maintain and then Cleaning Program will start All motors will rotate slowly 1 4 In about 10 mins the Cleaning Program w...

Page 23: ...dition at all time soak and clean your ROV with clean fresh water after every dive The cleaning process in FIFISH App will instruct you to get rid of the salt residues and salt crystallization inside...

Page 24: ......

Reviews: