R-sensors LLC
Bldg. 1, 4, Likhachevsky proezd, Dolgoprudny, 141701, Russia
+7 (498) 744-69-95,
r-sensors@mail.ru
NDAS-N. User Manual.
55
Connecting the device via a specialized NDAS port provides additional advantages compared to
the USB connection:
●
The data logger’s clock synchronization with the NDAS-RT clock;
●
Connection by a long cable (up to 600 m using a UTP Cat 5 twisted pair cable or up to 40 km
using a fiber optic cable);
●
Lower power consumption of the system.
Consult the manufacturer for more information on how to connect and use the NDAS-RT-based
systems.
Compatible versions of the NDAS-One software:
●
At least 5.3 for USB connection
●
At least 6.0 for connection via the NDAS port
Early versions of the CME-xxxxND and NDAS-8226 devices have two USB
connectors: one for serial connection for the data and command transfer (usually a
round RS-10 (PC-10
ТВ
) Russian type connector) and a regular USB-B connector for
reading data from memory cards in the card reader mode. Connection to NDAS-RT
requires the first type of connection that is the one for transferring the data and
commands.
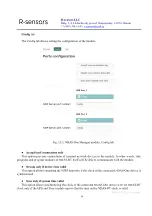
Connect the device by the cable to one of the NDAS-RT ports. Make sure that the selected
connection port is enabled in the NDAS-RT settings on the Config tab.
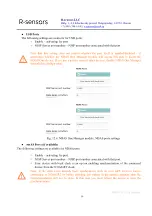
The Enable/Disable button in the port configuration line is responsible for supplying power
to the port. If the connected device is powered from the port, disabling the port will shut down
the device. Thus, a hardware reboot of the connected device can be performed if necessary.
If the connected device is powered by a separate power supply, reboot is recommended (either
using the device’s web interface or by turning the power off and on again) before connecting.
Within 10-30 seconds NDAS One Manager will start communicating with the device. The LED
corresponding to the used port should light up on the housing.
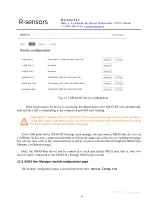
After that on the Config tab an indication should appear in the appropriate line containing short
status information about the connected device: the name or serial number, state of the NJSP server, status
of the clock synchronization of the device. On the right side of the line the
config
button will show up
leading to the web interface of the connected device.
You can click
refresh state
in the upper right corner of the screen to update the information faster.

