17
16
DEVICE ID
ZONE NAME
PANEL/
CIRCUIT # PWR/ENGY
DIM
NOTES
Lightcloud Devices and Table
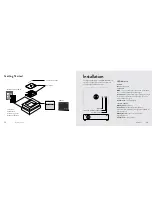
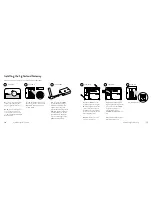
Installation Lightcloud Gateway
Installing Lightcloud Gateway
(Continued)
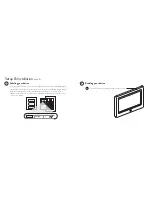
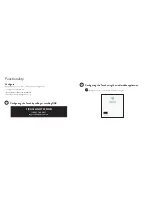
Turn on the Gateway main
power switch. Replace outer
cover and use included screws
to secure.
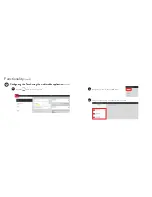
When all devices are installed
and powered, you’re ready to
call RAB to activate and veri-
fy your system, and complete
your site’s configuration.
7
8
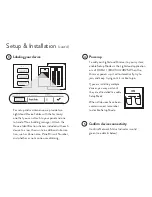
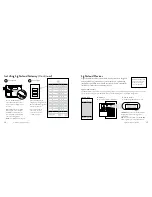
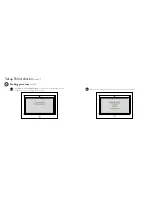
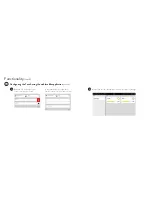
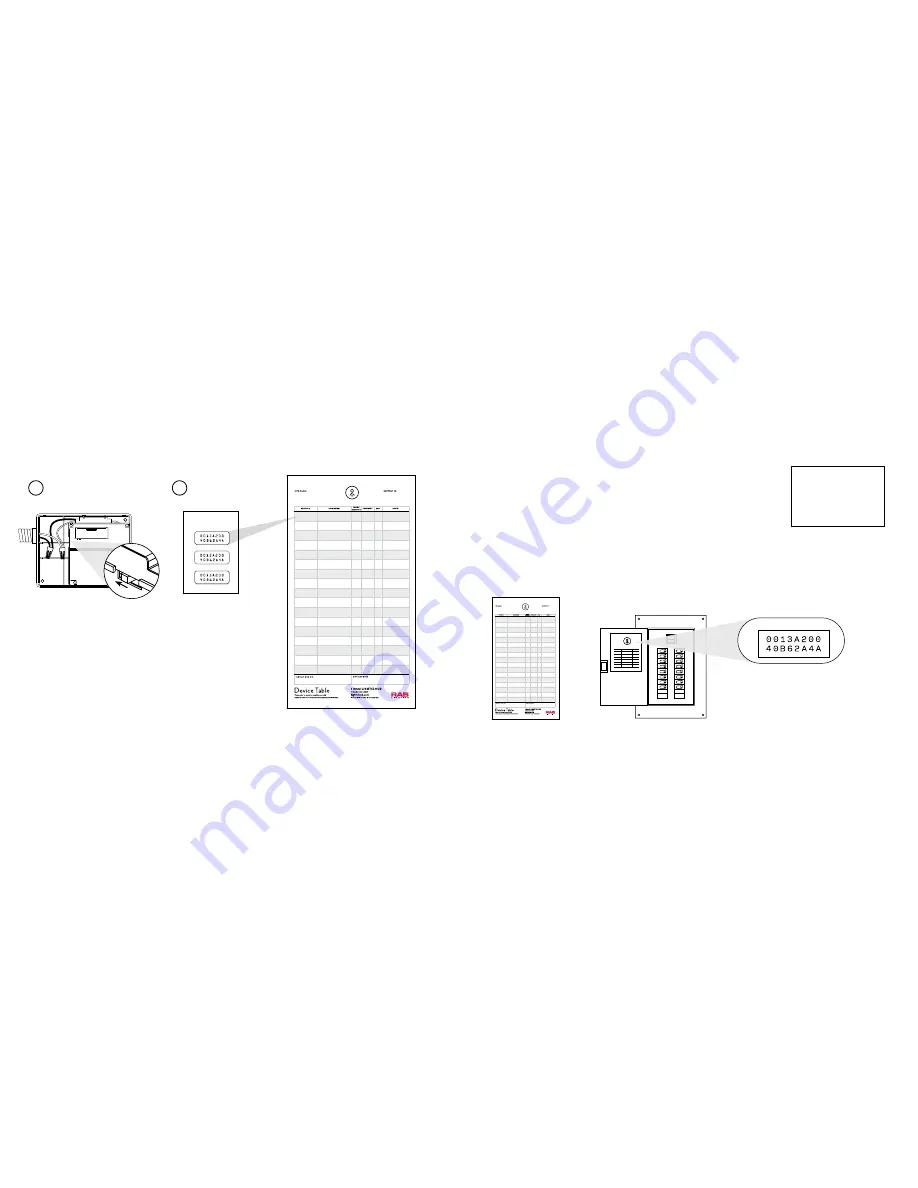
Place extra Device ID
stickers on your Lightcloud
Device Table (see page 18)
for future reference.
For each device, find the
number from the panel
board and write it down
on the Device Table.
STEP SEVEN
STEP EIGHT
GATEWAY DEVICE IDs
1
2
3
NOTE
:
Use only RAB authorized parts.
Lightcloud Device Table
The Device Table is essential for referencing during setup or for troubleshooting—don’t forget it! Two copies are
provided: one to keep near your Gateway, and one for the building owner or facility manager to file.
PWR/ENGY
:
if a zone uses the Controller’s
integrated power monitoring, place a
checkmark.
DIM
:
if a zone uses the Controller’s 0-10V
dimming wires, place a checkmark here.
Lightcloud Devices
Lightcloud devices that are mains hard-wired powered are designed
to be installed on a junction box or similar enclosure, and must be
installed by a qualified electrician. Refer to your device’s manual for
installation considerations and best practices.
TIP:
Use extra Device ID
stickers on or near your
devices or circuits for
easier identification.
MOUNT IT
HOW TO USE IT
IN THE BOX
GATEWAY ID:
Place Gateway ID sticker at the top.
Mount device table to breaker box.
DEVICE ID
ZONE NAME
PANEL/
CIRCUIT # PWR/ENGY
DIM
NOTES

