Installation
The following information is provided for use by your approved
network supplier only. The
RA
711 tel
e can be either wall m
mounted. Wall mounting can be sur
, flush or inset into the
options are available, as defined
the "Electrical Connections
Make sure that these are set correct!
re finally fitting the unit
emovable insert with your tele
e number, if desired.
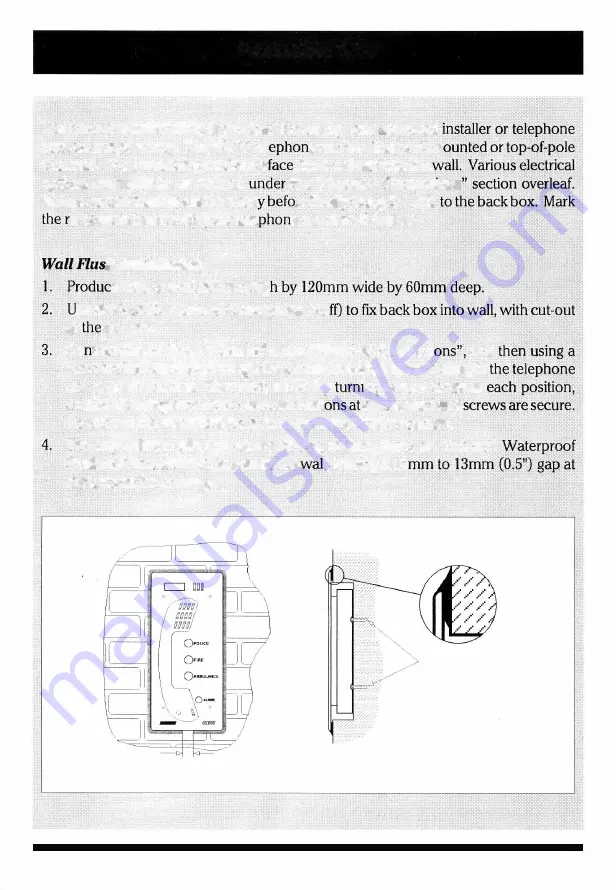
h Installation
e hole in wall 285mm hig
se size 8 or 10 screws with rawlplugs
(
4 o
at
bottom.
Co nect the cabling,
as
detailed under "Electrical Connect"
and
4mm socket head key, through the 4 small holes in the front plate,
fit
unit to the back box. Start each screw by
·ng several times at
continue turning each screw, several rotaf
a time, until all 4
To remove the telephone from the box reverse the procedure.
Use any suitable silicone waterproofing sealant
(
such as Unibond
.
Flexible Frame Sealant
)
to seal to the
I,
leaving a 12
the bottom for drainage.
I 2-13mm (0.5'')
gap
- 6 -
4 off size 8 or
10
screws
at least
25mm (I")
long
into Rawlplug type fixing:


