4
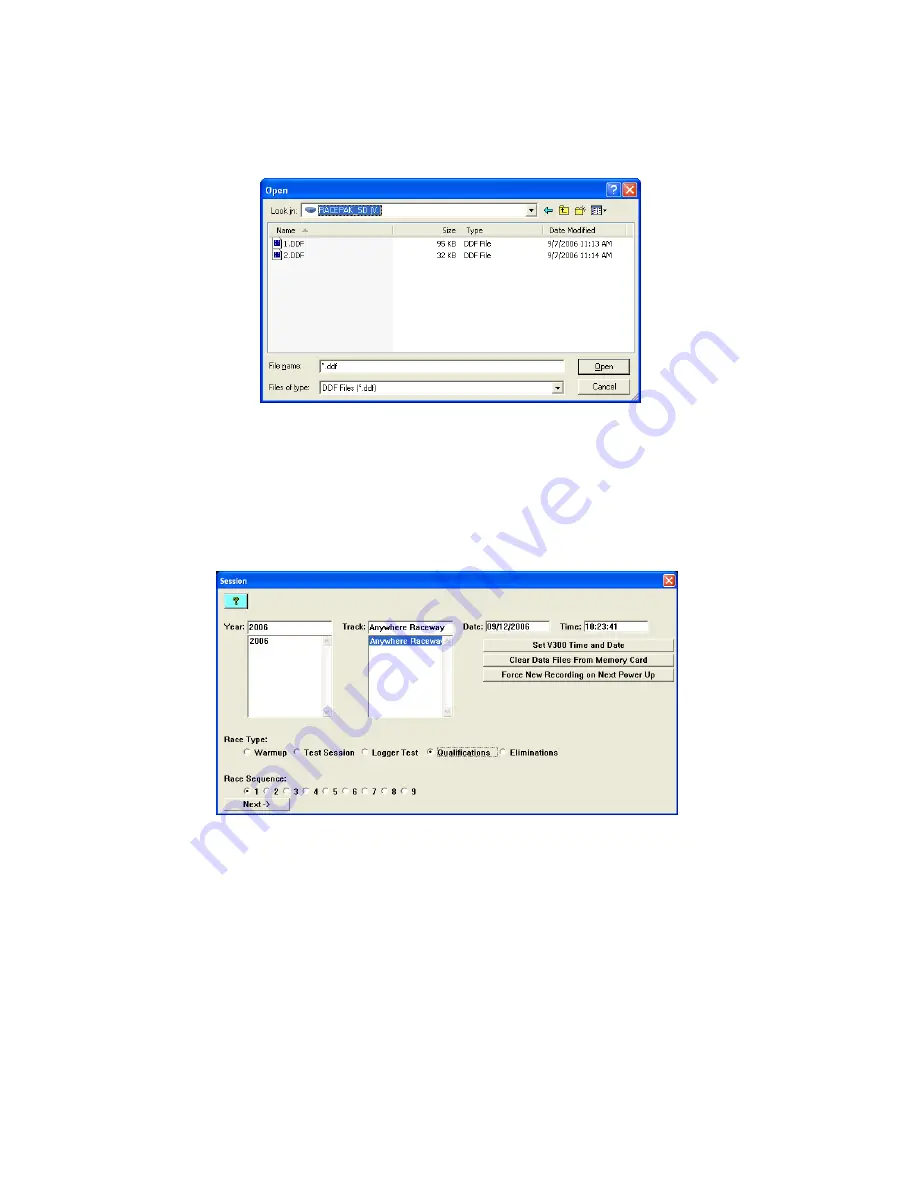
Once you have selected Details from the drop down menu the time and date will be shown, however, they
typically cannot be seen because they are off to the right of the screen. To bring them into view you will need to
drag the window larger by placing the mouse over the lower right corner and dragging the window larger using
the left mouse button.
Step 5:
After you have identified the data file you would like to upload, select the file by clicking on it with the left
mouse button and then click on the Open button in the lower right corner of the dialog box..
Step 6:
After the data has been uploaded from the memory card the Session dialog box will be displayed. This
box will allow you to enter the session information. Enter the appropriate year and track by selecting the correct
information from the selections list. If the desired year and/or track name is not on the corresponding selection
list you can enter the new year or track by typing the name direction into the top selection box. The new year
and/or track will be added to the selection list. Select the race type, and the race sequence information by
clicking on the desired radio button. The system will automatically enter the date and time.
Step 7:
Once the data file has been uploaded you may now delete the file by clicking on the Clear Data Files
From Memory Card button. Clearing data files after uploading is not required, but it is highly recommended that
you do not allow too many files to build up. Storing too many files on the memory card can make it more difficult
to identify the proper data file on future uploads. Eventually the memory card will fill to capacity and the data
logger will no longer be able to record data.


