Chapter 6 - Maintenance
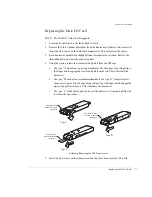
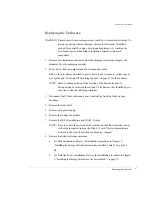
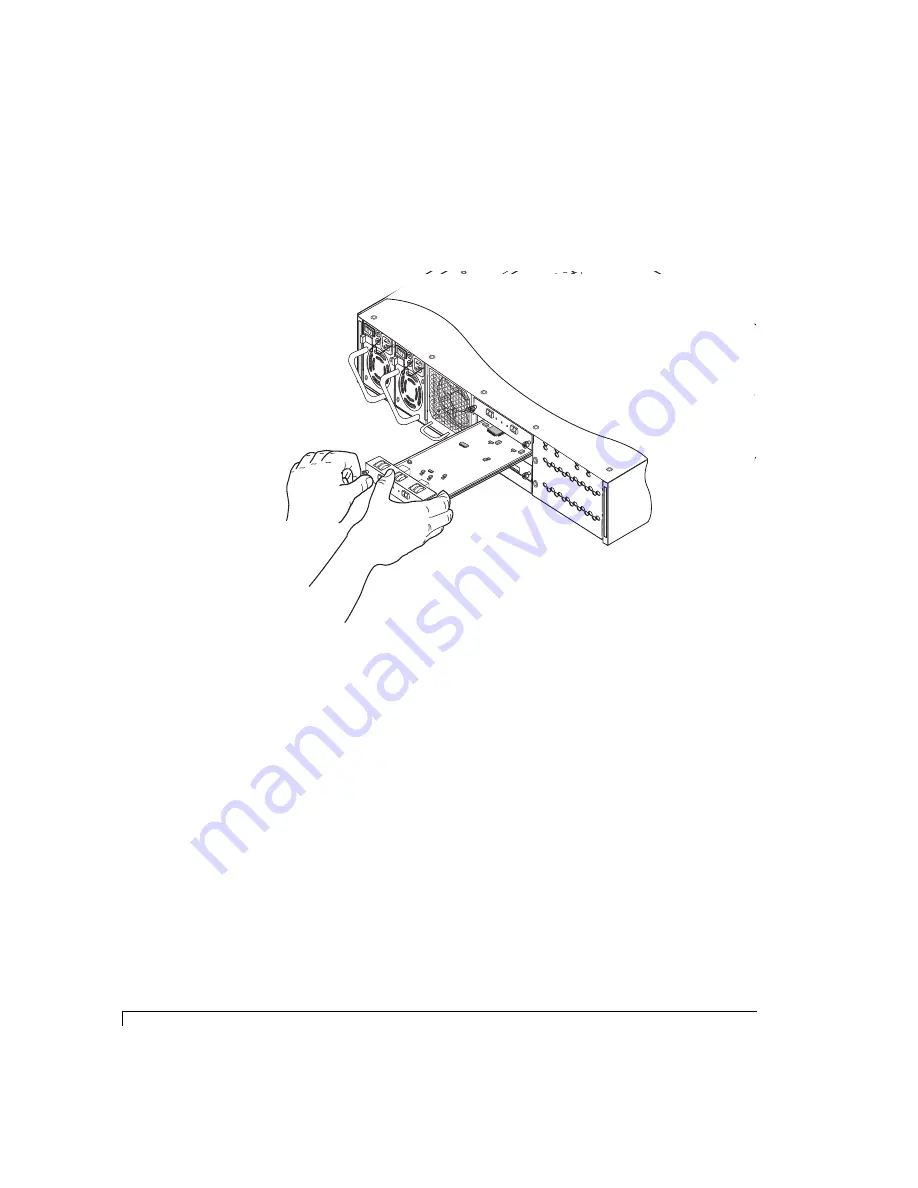
Replacing the Disk I/O Card
84
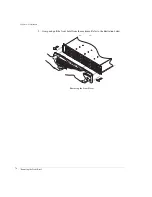
protect the optics.
6
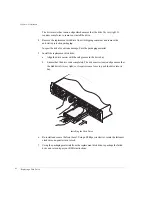
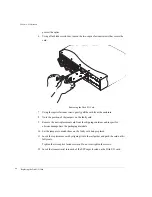
Using a flat-blade screwdriver, loosen the two captive fastener screws that secure the
card.
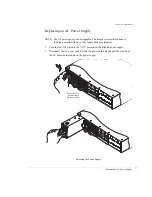
Removing the Disk I/O Card
7
Using the captive fastener screws, gently pull the card from the enclosure.
8
Note the position of the jumpers on the faulty card.
9
Remove the new replacement card from the shipping container and inspect for
obvious damage. Save the packaging materials.
10
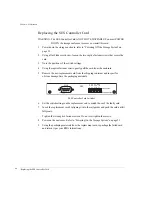
Set the jumpers to match those on the faulty card being replaced.
11
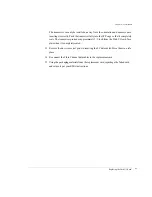
Insert the replacement card by aligning it into the rail guides and push the card until it
fully seats.
Tighten the two captive fastener screws. Do not overtighten the screws.
12
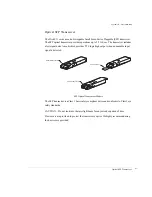
Insert the transceiver(s) into each of the SFP cages located on the Disk I/O card.
SES CON
TROLLER
PART NU
MBER
08-9-963
22001
ARTW
ORK REVISIO
N -1
JP1
JP2
RS-2
32
A
D
0
A
D
1
A
D
2
S
P
1
S
P
2
B
D
R
D
L
Y
R
M
T
SES
D1
DISK I/O
D2
Tx
Tx
Tx
Fibre
Disk IO
LRC
P/N 0
8-9-9
6318
001
A/W
Rev-1
INSTA
LL J
UMP
ERS
1 & 2
FOR
HARD
WARE
FAIL
URE
DETE
CT
ADD
JUM
PER
FO
R
1G O
PER
ATIO
N
JP2
JP2
JP3
JP1
ADD
JUM
PER
FO
R
SPLIT
BUS M
ODE
D1
DISK I/O
D2
Tx
Tx
Tx
Fibre Disk IO LRC
P/N 08-9-96318001
A/W Re
v-1
INST
ALL JUMPERS
1 & 2
FOR HARD
WARE
FAILURE DETECT
ADD JUMPER FOR
1G OPERA
TION
JP2
JP2
JP3
JP1
ADD JUMPER FOR
SPLIT B
US MODE
Summary of Contents for OMNISTOR 4000f SERIES
Page 1: ......
Page 2: ......
Page 4: ......
Page 8: ...Table of Contents iv ...
Page 30: ...Chapter 1 Getting Started Audible Alarm 18 ...
Page 66: ...Chapter 3 Setup and Installation Powering Off the Storage System 54 ...

