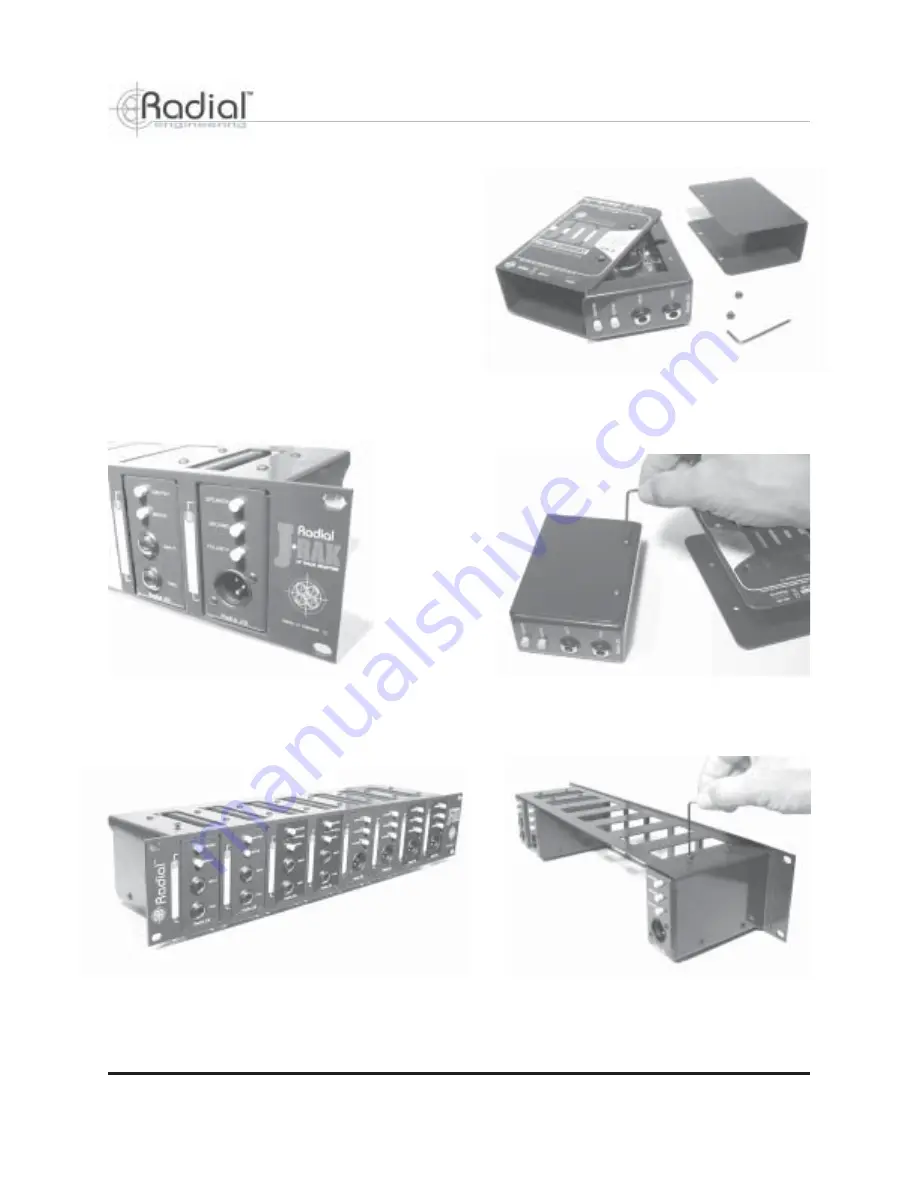
The J-Rak is unique in that it allows one to install the
direct box or splitter module ‘frontward’ or ‘backward’
depending on the system designer’s need. Before you
bolt the new assembly into the J-Rak, take a moment to
think about how you will be connecting your gear. For
instance, when using the J-Rak with a keyboard rack, you
may find it best to have the
¼
” jacks on the inside of the
rack to make hooking up to rack-mounted sound modules
and samplers easier.
To add even more versatility, you may order factory made
Radial rack-panels that act as extensions for front or rear
19" rack mounting. Please contact your Radial dealer for
more details.
This photo shows a J-Rak with 8 modules installed.
Radial Engineering
J-Rak Operator’s Manual
When tightening, make sure you get a nice snug fit but
do not overtighten as this will only make removing the
device more difficult later on.
Installation is easy - slide the Radial module into place
and affix the modules to the J-Rak top shelf with the
supplied hex screws.
Install the smaller J-Rak shells. Be careful not to
strip the screws or pem-nuts. Note that the XLR
connection is always on the bottom.
True to the Music


