30
T-spline assembly / Final adjusting
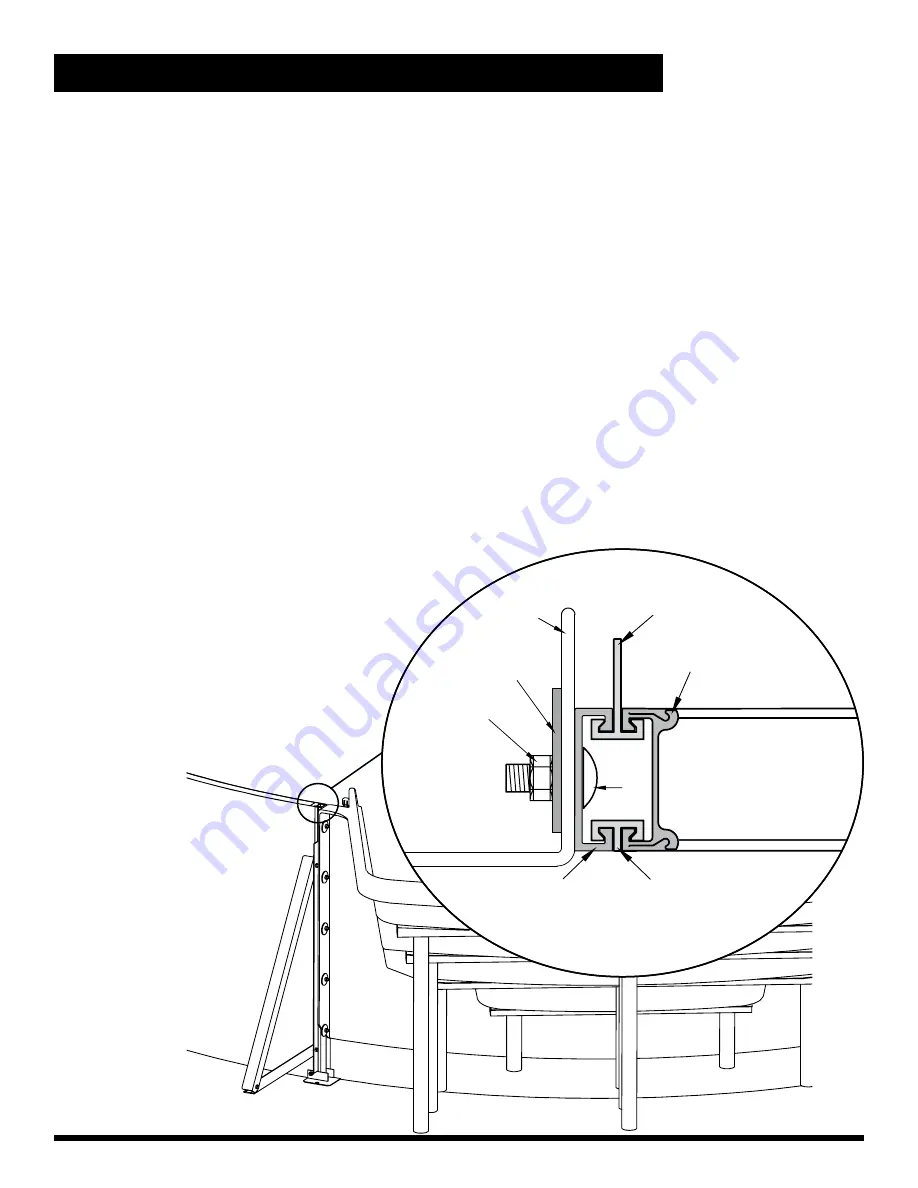
The extended T-spline is installed on the exterior side of the pool, with holes to attach the the A-frame components.
The 10” standard spline is installed on top of the T-spline. The 52” standard spline is installed on the interior side
of the pool.
Final adjusting of the step is done after all the panels are
installed and stair adapter kit nuts are tightened. Check
panel joints and step ends for proper location –using
the radius of the pool from the established center
point of the pool.
Encase the base of the pool and step with a
concrete collar. See concrete requirements
on page 33.
INGROUND: WALK-IN STEP INSTALLATION
Radius Step to Radius Wall Panel
Installation Components
(item #
KS-52-RWSA)
:
• (2) seam connectors
• (2) 52” standard splines for interior side of pool
• (2) each: 40 ½” extended T splines and 10” standard splines for exterior side of pool
• 3/8” carriage bolts and nuts; backer washers
• (2) A-frames for connection to T splines on either side of step
Assemble the stair adapter kit to the first pool panel with the standard 52” spline on the interior side of pool and the
extended T-spline on the exterior of the panel. Position the panel butting up to the step flange and mark the location
of the spline stair adapter with a marker or piece of tape.
Disassemble the adapter kit and clamp the seam connector to the step flange in line with the marked outline with
vise grips or C-clamps. Using a 7/16” drill bit, drill through the step flange at the holes in the seam connector. Bolt the
seam connector on to the step flange using the backer washer and nut on the inside of the step flange.
Important: Keep nuts very loose until all panels are installed.
T-Spline
Radius Wall Panel
Compression Seam
Standard Spline
"
Carriage
Bolt
" Nut
Backer Washer
Stair Flange
Seam Connector
POOL EXTERIOR
STEP INTERIOR
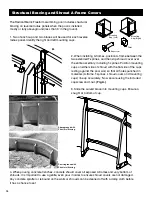
Note:
Remember
to remove stair
gaskets and
faceplates before
installing the liner.


