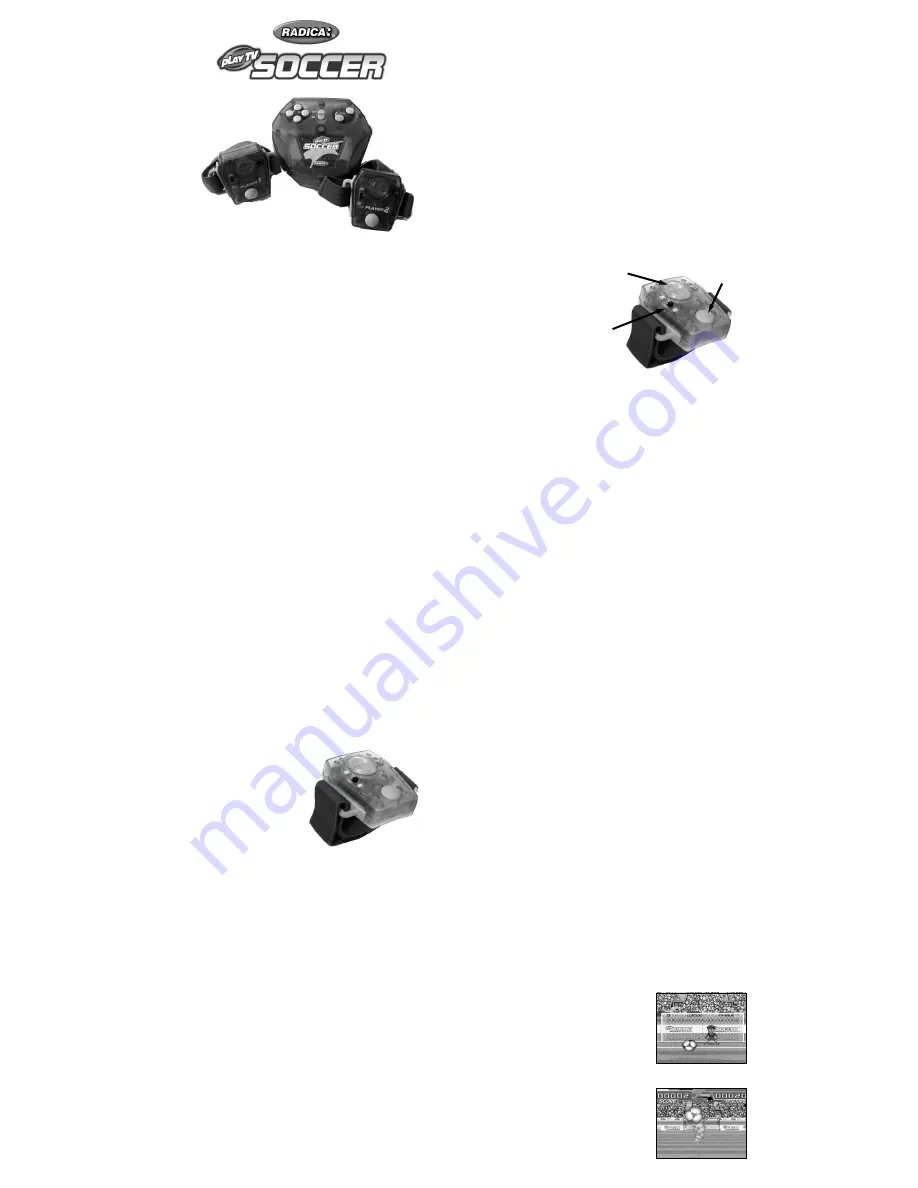
Get off the couch and onto the field!
Play TV Soccer brings you the excitement of real soccer where your skills con-
trol the action right on your television set! Feel the tension of a penalty Shoot-
Out! Play in a world-class tournament (either friendly exhibitions or champi-
onship games)! Or hone your skills in a Juggling Game! Either way, Play TV
Soccer brings the action off the field and into your own home!
WARNING: EPILEPSY AND SEIZURES
READ BEFORE OPERATING YOUR PLAY TV
A few people may experience epileptic seizures when viewing flashing lights or
patterns in our daily environment. These persons may experience seizures
while watching TV pictures or playing video games. Players who have not had
any seizures may nonetheless have an undetected epileptic condition.
Consult your physician before playing video games if you have an epileptic con-
dition or experience any of the following symptoms while playing video games:
altered vision, eye or muscle twitching, other involuntary movements, loss of
awareness of your surroundings, mental confusion and/or convulsions.
SETTING UP
BATTERY INSTALLATION
On the back of the main unit, open the battery compartment and insert four (4)
AA batteries as indicated inside the compartment (alkaline batteries recom-
mended). Replace the battery compartment door.
NOTE: Batteries in the Main Unit should give you about 10 hours of game play
(if alkaline batteries are used). The game will not operate normally when the
batteries begin to run low. The screen may be blurred and resetting the game
may not work. Be sure to install fresh batteries. There is also no memory func-
tion. All game data will be erased when the power is turned off or batteries are
replaced.
Loosen the screw on the Kick Sensor battery compartment with a screwdriver.
Insert one CR2032 battery into each kick sensor, aligning the positive (+) and
negative (-) terminals as indicated. Replace the cover and tighten the screw.
NOTE: If the Kick Sensors are not activated by a kicking motion or by pressing
the Start Button for 15 minutes, the Kick Sensors will automatically go into
"sleep mode" to conserve battery power. They can be turned on again by press-
ing the On / Off Switch.
ADULT SUPERVISION IS RECOMMENDED WHEN INSTALLING
BATTERIES.
KICK SENSORS
With the Kick Sensor on the front
of your ankle, wrap its strap
around your ankle and insert the
end through the loop. Tighten
and fasten the Velcro strap
against itself. Be sure the sensor
faces the Main Unit and is not
blocked by any clothing or other
obstructions.
TV CONNECTION
NOTE: To connect Play TV Soccer directly to a TV, the TV must be equipped
with audio and video input jacks. They are commonly found on the front of the
TV near the contrast, color, and picture adjustment controls or on the rear of the
TV near the antenna and cable/satellite jacks.
If your TV has audio and video input jacks, insert the yellow video plug from the
Main Unit into the video-in (yellow) jack on your TV, the white audio plug into
the left audio-in (white) jack, and the red audio plug into the right audio-in (red)
jack. Then set the TV to the appropriate video input mode (see your TV's oper-
ating manual for details).
Please Note: If your TV is not stereo, you can either plug the white audio plug
into the audio-in jack and leave the red audio plug disconnected, or if you would
like to hear the sounds from both the left and right audio channels, you can use
a 2 into 1 audio cable (available at your local electronics store) to allow you to
connect both the white and red plugs to the single audio-in jack.
If your TV does not have audio and video input jacks, you may connect Play TV
Soccer through a VCR connected to your TV.
CONNECTING TO A VCR
To connect Play TV Soccer to your VCR, insert the yellow video plug from the
Main Unit into the video-in (Yellow) jack on your VCR, the white audio plug into
the left audio-in (white) jack, and the red audio
plug into the right audio-in (red) jack. Then set the VCR to the appropriate
video input mode (see your VCR's operating manual for details).
Please Note: If your VCR is not stereo, you can either plug the white audio
plug into the audio-in jack and leave the red audio plug disconnected, or if you
would like to hear the sounds from both the left and right audio channels, you
can use a 2 into 1 audio cable (available at your local electronics store) to allow
you to connect both the white and red plugs to the single audio-in jack.
ADULT SUPERVISION IS RECOMMENDED WHEN CONNECTING CABLES
TO A TV AND VCR.
FEATURES:
Main Unit
ON / OFF SWITCH
- This switch turns the unit on and off.
X BUTTON -
Press this to cancel or return to the previous screen.
O BUTTON -
Press this to move to the next screen (pressing the Start Button
on the Kick Sensor will do the same).
DIRECTIONAL BUTTONS -
Use these to make a selection.
INFRARED RECEIVER -
This receives the signal from your Kick Sensors.
RESET -
Using a blunt object, press this button to reset the game.
Just be careful, this will erase your current game.
FEATURES:
Kick Sensor
A. ON / OFF SWITCH -
This turns
the sensor on and off (this also
wakes it from "sleep mode").
B. START BUTTON -
Press this
to move to the next screen (O
Button on the main unit does the
same).
C.BATTERY COVER -
Contains
the unit's batter.
HOW IT ALL WORKS
The Kick Sensors send out an infrared signal. The Main Unit senses this signal
and the movement of your leg while you make kicking motions.
HELPFUL HINTS
Be sure the Main Unit is placed flat on the floor with the receiver
pointing straight toward the player without any obstructions in
between.
When two players are playing, be sure that both players keep their
kicks within the unit's receiving area (as shown above). Kicks
outside this area may not register.
Play no further than 6 feet from the Main Unit for the best performance. Play
no closer than 20 inches to the Main Unit to avoid kicking it during game play.
Be sure your Kick Sensor remains on the front of your ankle at all
times.
The use of TV and Video remote controls may interfere with game
play.
CAUTION
Be careful not to kick objects or people in and around the play area.
In two-player games, keep a safe distance between both players.
Always keep a safe distance between yourself and the Main Unit.
Do not run or walk with the Kick Sensor strapped to your ankle.
Do not use the Kick Sensor for anything other than game play.
Do not play on a slick surface.
NOW IT'S TIME TO PLAY!
GETTING STARTED
At the Title Screen, press the O Button to get to the Main Menu.
Then use the Direction Buttons to choose SHOOT OUT, TOURNAMENT, or
JUGGLING. Press the O Button again to choose a game, or press the Start
Button on the kick sensor to select a game.
PLAYERS
Use the same buttons to select the number of players that wish to
play. If you select more than two players, take turns using either of
the Kick Sensors.
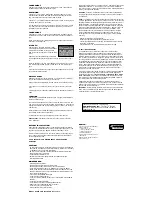
SHOOT OUT
You have 10 chances to score a goal. See how many times you can make it
into the net! This changes color depending on the difficulty in kicking the ball.
SCORE -
current player's score
HIGH SCORE -
the highest score since the game has been turned on (100 or
more).
BALLS REMAINING -
The number of balls you
have left to kick. One of your players will appear
in a "screen within a screen." He'll make several
passes then pass the ball to you.
Be sure to time it right, then kick the ball for a
goal!
HELPFUL HINT:
For the best shot, kick the ball
when it's in the center of the screen. Then after
you have the timing down, try aiming left and
right!
You will also receive more points for scoring sev-
eral goals in a row. Harder shots from angles or
from farther away are also worth more points.
After you have kicked all ten balls, a screen will
appear showing each player's score.
Model 71044
1 to 2 Players or 1 to 4 Sharing Kick Sensors / Ages 8 and up
INSTRUCTION MANUAL
P/N 82369600 Rev.A
E
A
C
B
TM


