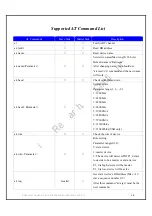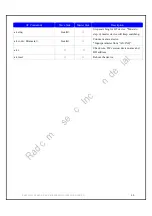
RB8762CJF Designer’s Guide (RRD2Z50‐20190314001‐A09‐C2)
30
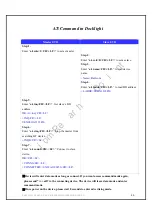
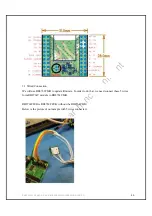
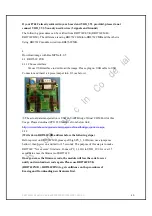
If your 8762C already soldered in your board and VDD_3V3 provided, please do not
connect VDD_3V3. You only need 4 wires (3 signals and Ground)
The following procedures can be verified from RB8762CEVK (RB8
RB8762CHM). The difference is using RB8762CHM into RB8762CMB and the other is
Using RB8762C module wired into RB8762CMB.
4.
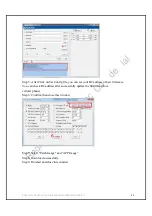
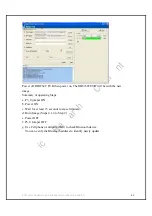
Download image with BeeMPTool2.0.5
4.1
RB8762C EVK
4.1.1
Choose interface
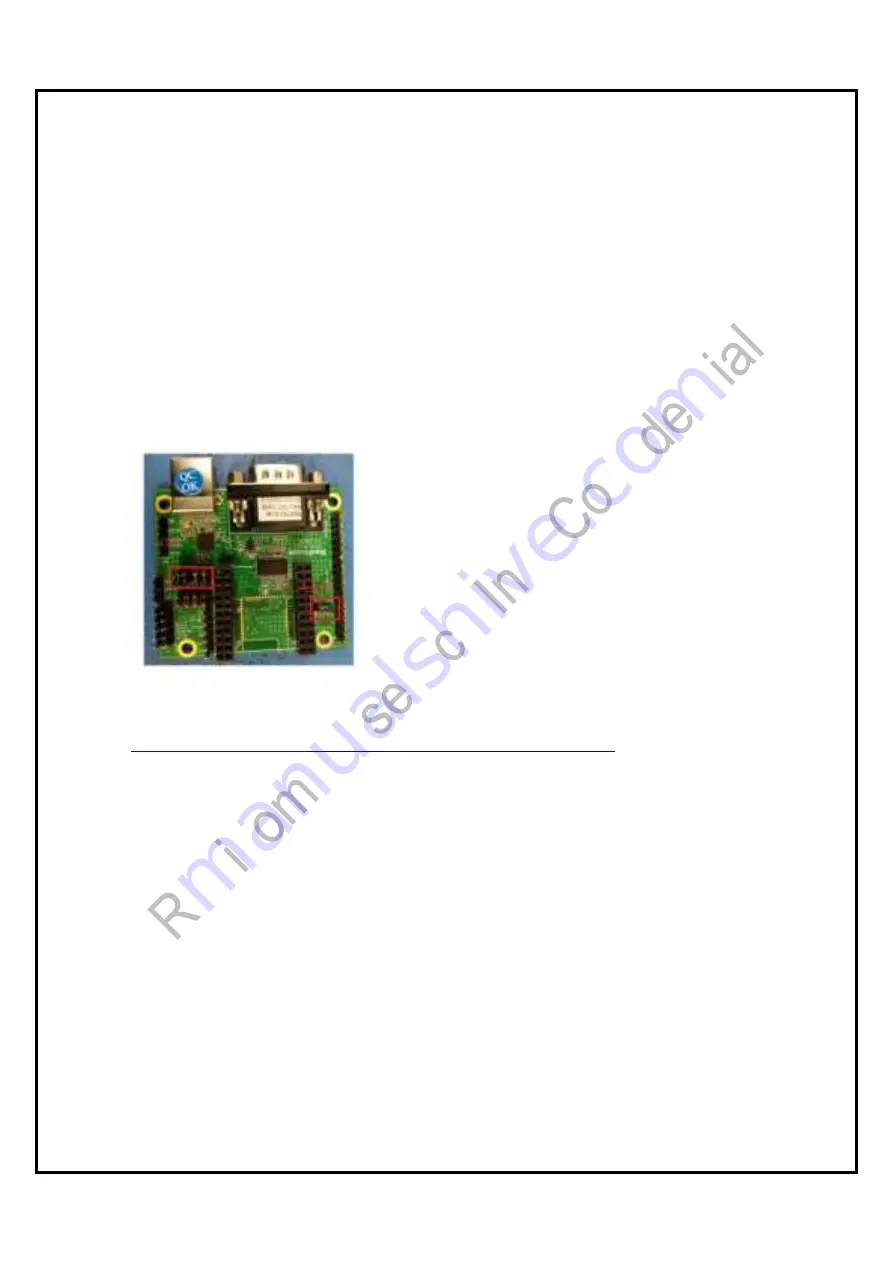
We use USB interface to download the image. Please plug on USB cable to USB
Connector and insert a 4 piece jumper into J13 (as below).
※
The actual data transportation is USB to UART Bridge Virtual COM Port for this
Usage. Please download CP2102 USB drive from below link:
http://www.silabs.com/products/mcu/pages/usbtouartbridgevcpdrivers.aspx
4.1.2
(Write down RB8762C BD address before the following steps.)
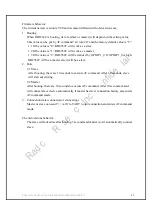
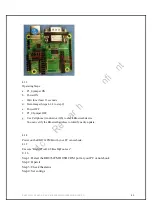
Before power on RB8762CMB, please pull high P0_3_LOG (can use a jumper as
bellow), then power on and last for 15 seconds. The purpose of this step is to make
RB8762C “Not execute” firmware. Connect P0_3_LOG to VDD_3V3 for over 15
seconds to erase the firmware of RB8762C.
Once you erase the firmware code, the module will lose the code forever
until you download new code again. Please use RB8762CEVK
(RB8 RB8762CHM) to get confidence on the procedures of
Erasing and Downloading new firmware first.


