11
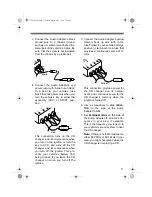
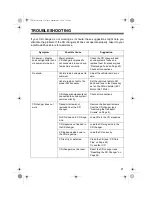
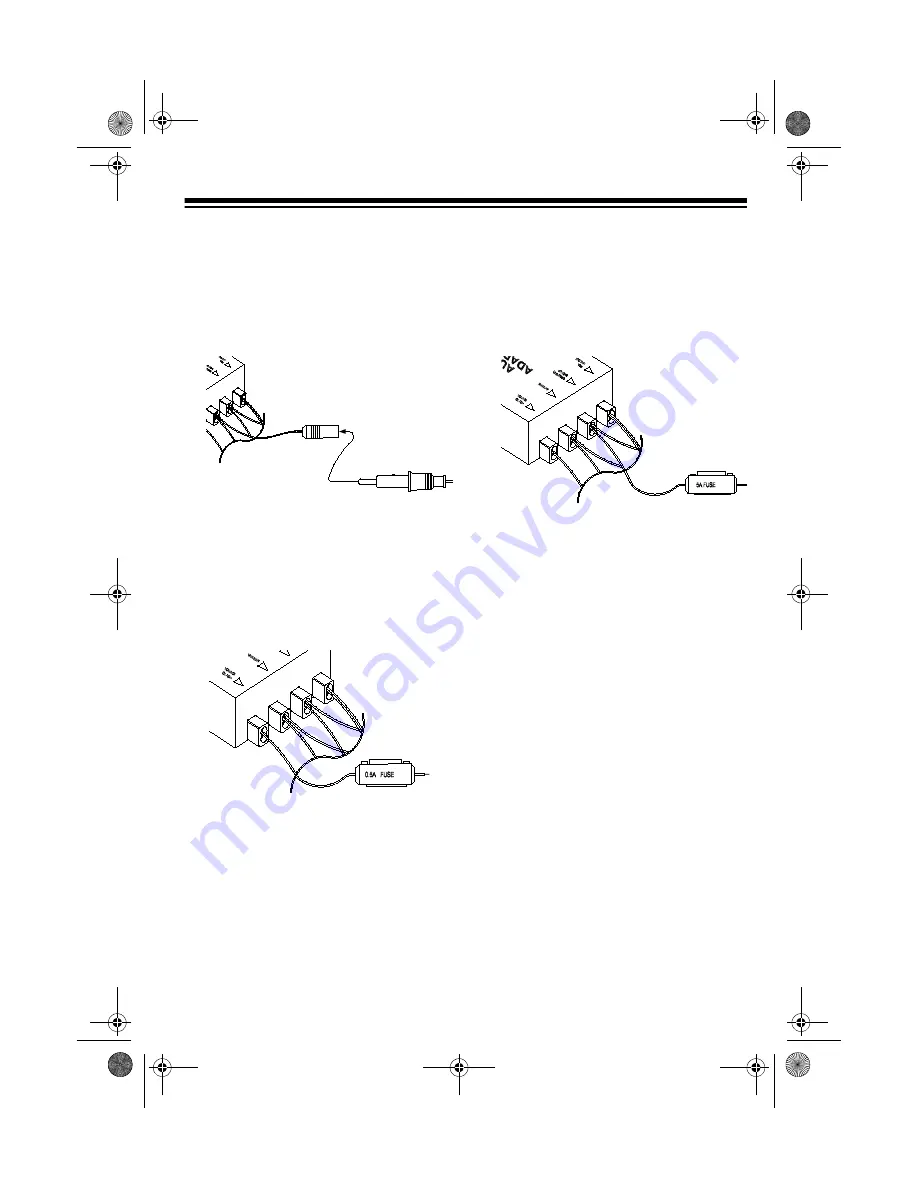
3. Connect the Audio Adapter’s black
ground wire to a chassis ground,
such as a metal screw attached to a
metal part of the vehicle’ s frame. Be
sure that the screw is not insulated
from the chassis by a plastic part.
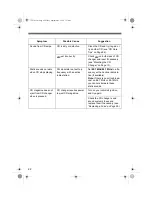
4. Connect the Audio Adapter’s red
power wire (with inline fuse holder)
to a point in your vehicle’s fuse
block that has power only when you
turn the vehicle’s key to either the
accessory (ACC) or START posi-
tion.
This connection turns on the CD
changer and its components when
you turn on the ignition or turn the
key to ACC, and turns off the CD
changer and its components when
you turn off the ignition. This pre-
vents your vehicle’s battery from
being drained if you leave the CD
changer on when you turn off the
ignition.
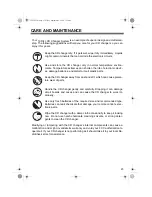
5. Connect the Audio Adapter’s yellow
memory back up wire (with in-line
fuse holder) to your vehicle battery’s
positive (+) terminal or to a fuse that
provides a continuous source of 12
volts.
This connection provides power for
the CD changer and its compo-
nents, and continuous power for the
CD changer’s memory when the
ignition is turned off.
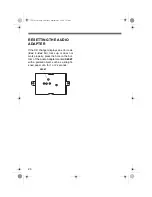
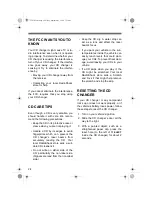
6. Use a screwdriver to slide
ISOLA-
TOR
on the side of the Audio
Adapter to
OFF
.
7. Set
88.7MHz/89.1MHz
on the side of
the Audio Adapter to an active fre-
quency in your area, if available.
This is the frequency you tune on to
your vehicle’s sound system to hear
the CD changer.
Note: If there is no FM broadcast on
either 88.7 MHz or 89.1 MHz in your
area, you might hear static when the
CD changer is not playing a CD.
Black
Red
Yellow
12-2182.fm Page 11 Friday, September 3, 1999 7:31 AM


