


11
Operation
display after about 5 seconds if you do not
press any buttons.
Adjusting the Sound
1. Press
VOL +
or
VOL –
to adjust the vol-
ume or repeatedly press
SEL
until
VOL
appears on the display. Then adjust the
volume by pressing
VOL +
or
VOL –.
Warning: To protect your hearing, do
not listen at high volume levels. Slowly
increase the volume to a comfortable lis-
tening level.
Note: The player is initially set to vol-
ume mode.
2. Repeatedly press
SEL
until
BAS
appears, then press
VOL +
or
VOL –
to
adjust the bass level.
3. Repeatedly press
SEL
until
TRE
appears, then press
VOL +
or
VOL –
to
adjust the treble level.
4. Repeatedly press
SEL
until
BAL
appears, then press
VOL +
or
VOL –
to
adjust the left/right sound balance.
BAl
(balance left) or
BAr
(balance right)
appears.
5. Repeatedly press
SEL
until
FAd
appears. Then press
VOL +
or
VOL –
to
adjust the sound balance between the
front and rear speakers.
FAF
(fade
front) or
FaR
(fade rear) appears.
6. To increase bass output, press
LOUD.
LOUD
appears. To return bass output to
normal, press
LOUD
again and
LOUD
disappears.
To temporarily silence the CD player, press
MUTE.
MUTE
appears. To resume listening,
press
MUTE
again and
MUTE
disappears.
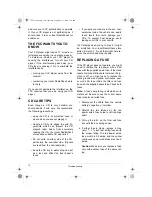
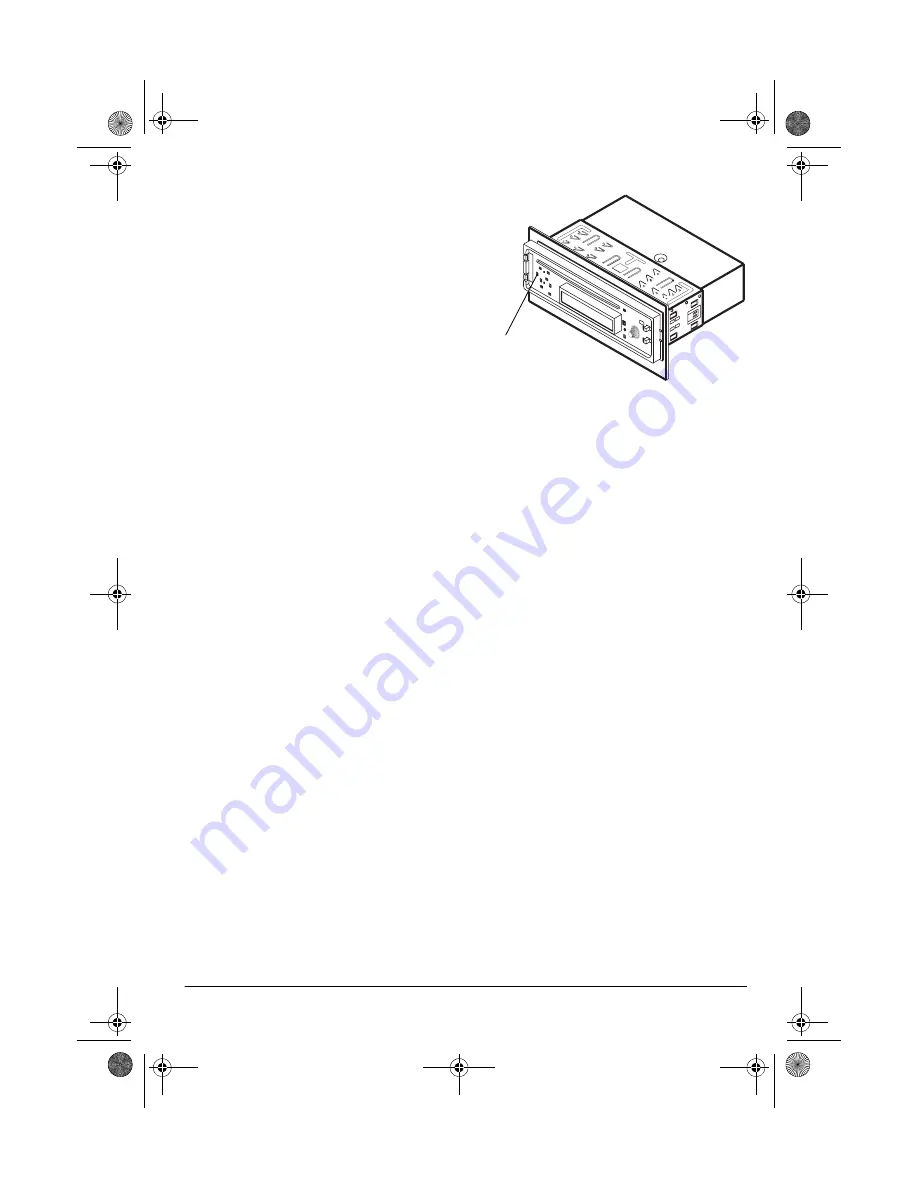
Resetting the Display
Use a ballpoint pen to press
RESET
at the top
left side of the inside panel:
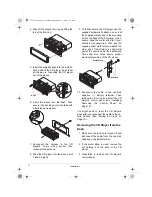
• during initial installation, once all wiring
is completed
• if the stereo’s controls do not operate
• if an error symbol (
ER-1
through
ER-8
)
appears on the display
RADIO OPERATION
1. Press
PWR
. The radio automatically
tunes to the last station and band
selected.
2. Press
BND
to select the desired band,
either FM (
FM
appears) or AM (
AM
appears).
3. Rotate
TUNE
to adjust the frequency.
Notes:
• In FM mode, the tuner stops on both
strong and weak stations. To limit seek
tuning to only strong stations, press
LOC
until
LOC
appears.
• To improve reception of weak FM sta-
tions, press
M/S
until
ST
disappears.
The sound is no longer in stereo, but the
reception should improve. To return to
stereo sound, press
M/S
again and
ST
RESET
12-2158.fm Page 11 Wednesday, September 13, 2000 1:50 PM


