3
Preparation
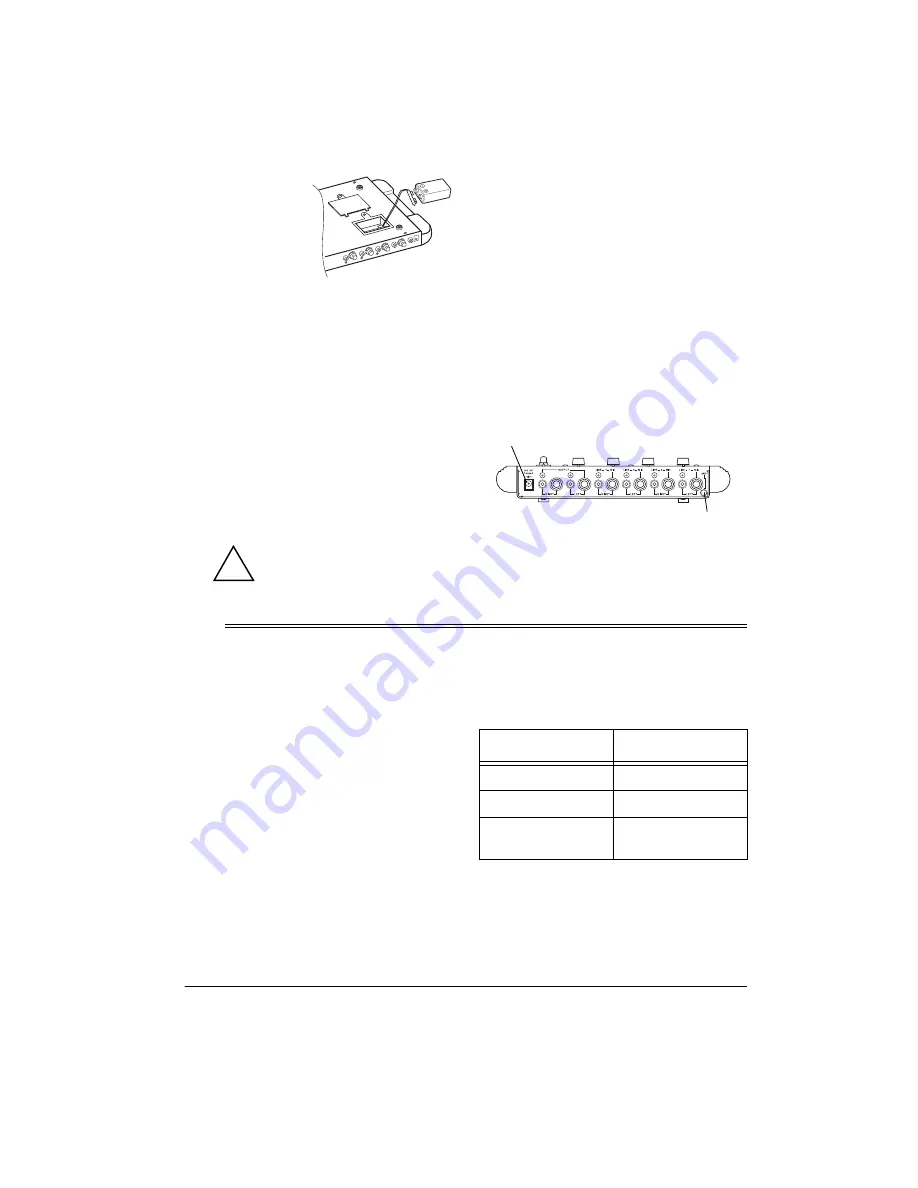
2. Attach the bat-
tery snap in
the battery
compartment
to the 9-volt
battery's termi-
nals. Then
place the battery in the compartment.
3. Replace the cover and tighten the bat-
tery compartment cover's screw.
Replace the battery when the BATTERY
LOW indicator on the mixer's upper right cor-
ner lights.
USING AC POWER
You can power the mixer using an optional
9V AC adapter (not supplied).
Cautions:
You must use a Class 2 power
source that supplies 9V DC
and delivers at least 300 mA.
Its center tip must be set to negative and
its plug must fit the mixer’s
DC 9V
jack.
Using an adapter that does not meet
these specifications could damage the
mixer or the adapter.
• Always connect the AC adapter to the
mixer before you connect it to AC power.
When you finish, disconnect the adapter
from AC power before you disconnect it
from the mixer.
Follow these steps to connect the adapter.
1. Insert the AC adapter's barrel plug into
the
DC 9V
jack on the back of the mixer.
2. Plug the AC adapter's power module
into a standard AC outlet.
ˆ
Preparation
PRESETTING THE
CONTROLS
Presetting the Mixer
Warning: A sudden high output from the
mixer could damage the audio devices con-
nected to the mixer and your hearing, espe-
cially if you use headphones.
To avoid accidentally overdriving a channel
or prematurely mixing in an audio input, ad-
just the mixer's controls to these settings be-
fore you turn on power.
!
DC 9V
Jack
GND
Terminal
Control
Setting
POWER
OFF
CHANNEL 1, 2, 3, 4
0 (Minimum)
MODE STEREO/
MONO
MONO


