43-3904
User’s Guide
Caller ID Trim Phone
2
3
4
5
6
7
Thank you for purchasing your Caller ID Trim Phone from
RadioShack
. Please read this user’s guide before installing,
setting up, and using your new phone.
Setup
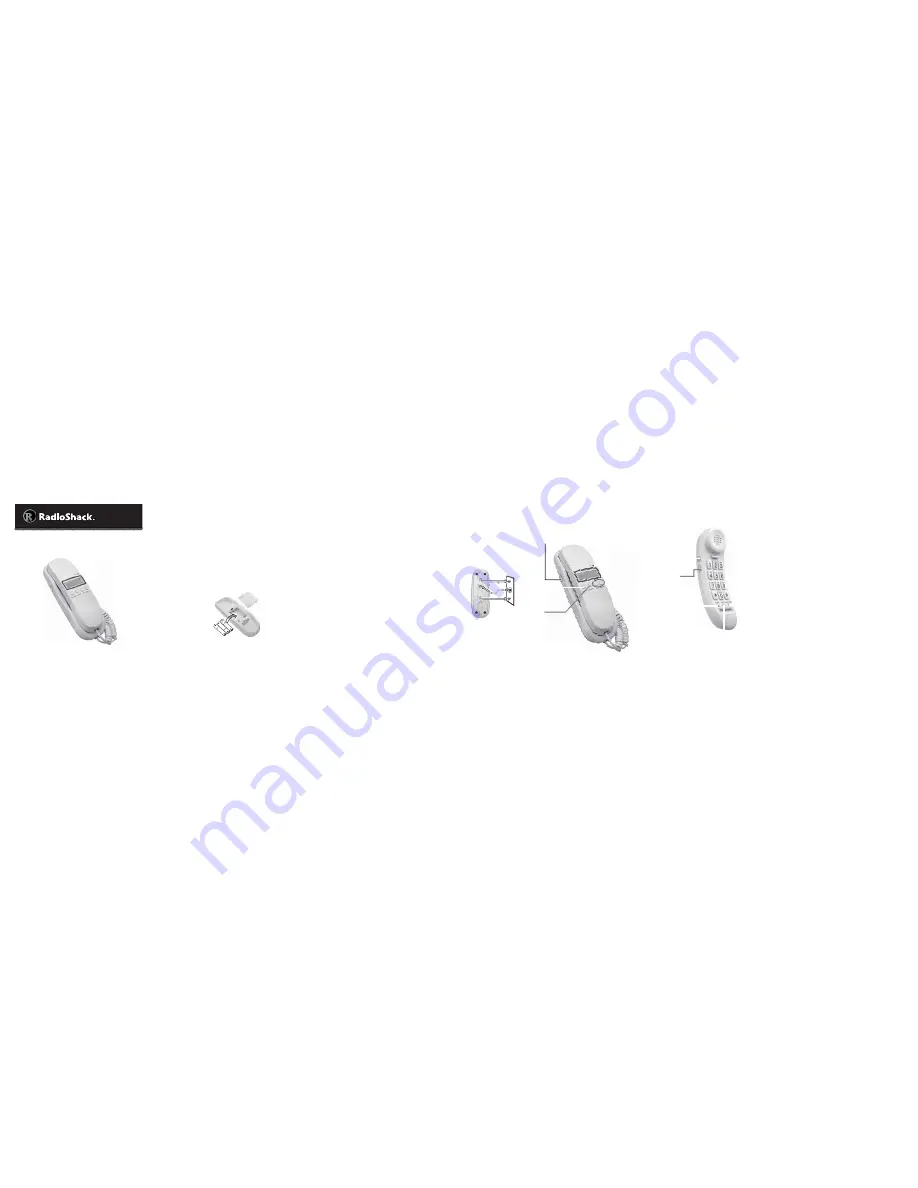
Package contents
UÊ /ÀÊ* iÊ
UÊ i`ÊÀ`
UÊ ÇvÌÊÓ£ÎÊV®ÊiÊÀ`Ê UÊ ÇÊ£nÊV®ÊiÊÀ`
UÊ 1ÃiÀ½ÃÊÕ`iÊ
UÊ +ÕVÊ-Ì>ÀÌ
Features
UÊ >iÀÊÊ`ë>Þ
UÊ -ÌÀiÃÊvÀ>ÌÊvÀÊÊÕ«ÊÌÊV>Ã
UÊ -«>ViÃ>Û}Ê`iÃ}ÊvÀÊÕÃiÊÊ>Êy>ÌÊÃÕÀv>ViÊÀÊÕÌi`Ê
Ê>ÊÜ>
UÊ i>À}>`ÊV«>ÌLi
1
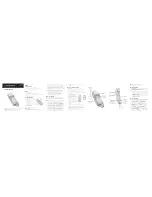
Install batteries
9ÕÀÊ«
iÊÀiµÕÀiÃÊÌ
ÀiiÊÊ
L>ÌÌiÀiÃÊÌÊÃÕ««i`®ÊvÀÊ«ÜiÀ°
1.
Ê 1ÃiÊ>Êy>Ì i>`ÊÃVÀiÜ`ÀÛiÀÊ
ÌÊ««ÊÕ«ÊÌ
iÊL>ÌÌiÀÞÊ
V«>ÀÌiÌÊVÛiÀÊÊÌ
iÊ
«
iÊL>Ãi°
2.
Ê ÃiÀÌÊL>ÌÌiÀiÃ]Ê>ÌV }ÊÌ iÊ
«>ÀÌÞÊÃÞLÃʳÊ>`Êq®Ê
>Ài`ÊÃ`i°
3.
Ê ÃiÊÌ iÊL>ÌÌiÀÞÊV«>ÀÌiÌ°
n
Battery Notes:
UÊ 7 iÊÌ iÊÜÊL>ÌÌiÀÞÊVÊ>««i>ÀÃÊÊÌ iÊ`ë>ÞÊÀÊÌ iÊ
display dims, replace the batteries.
U
You must install the batteries before connecting the
telephone to the wall jack. If no batteries are installed,
the telephone and Caller ID still work but without display.
UÊ ,i«>ViÊÌ iÊL>ÌÌiÀiÃÊÜÌ ÊÌÜÊÕÌiÃ]ÊÀÊÌ iÊ>iÀÊ
ID and telephone menory information may be lost.
U
Dispose of batteries promptly and properly. Do not burn
or bury them.
U
Use only fresh batteries of the required size and type.
UÊ ÊÌÊÝÊ`Ê>`ÊiÜÊL>ÌÌiÀiÃ]Ê`vviÀiÌÊÌÞ«iÃÊ
of batteries (standard, alkaline, or rechargeable), or
rechargeable batteries of different capacities.
U
If you do not plan to use the phone with battery for
a long time, remove the battery. Batteries can leak
chemicals that can damage electronic parts.
2
Make connections
1ÃiÊÌ
iÊVi`ÊVÀ`ÊÌÊViVÌÊÌ
iÊÌii«
iÊL>ÃiÊ>`Ê
>`ÃiÌ°Ê1ÃiÊÌ
iÊÇvÌÊÓ£ÎÊV®ÊÀÊÇÊ£nÊV®ÊiÊVÀ`ÊÌÊ
ViVÌÊÌ
iÊiÊ>VÊÊÌ
iÊLÌÌÊvÊÌ
iÊL>ÃiÊ>`Ê>ÊÜ>Ê>V°
n
Notes
:
UÊ
Your telephone connects directly to a modular telephone
line jack. If your telephone wiring does not have a
modular jack, you can update the wiring yourself using
jacks and adapters (available at your local
RadioShack
store), or have the telephone company update the
wiring for you. You must use compatible modular jacks
Ì >ÌÊ>ÀiÊV«>ÌÊÜÌ Ê*>ÀÌÊÈnÊvÊÊ,ÕiÃÊ>`ÊÌ iÊ
requirements adopted by the ACTA. The telephone
cord and modular plug provided is Part 68 compliant for
connecting to the telephone company network.
UÊ vÊÞÕÀÊ iÊ >ÃÊëiV>ÞÊÜÀi`Ê>>ÀÊiµÕ«iÌÊ
connected to the telephone line, be sure that installing
the telephone does not disable your alarm equipment.
If you have questions about what will disable your alarm
equipment, contact your telephone company or a
qualified installer.
3
Place or mount your phone
On a flat surface
1.
Ê -iiVÌÊ>ÊV>ÌÊÌ >ÌÊÃÊi>ÀÊ>ÊÜ>Ê>VÊLÕÌÊÕÌÊvÊÌ iÊ
Ü>ÞÊvÊÀ>Ê>VÌÛÌiÃ
2.
Ê ,ÕÌiÊÌ iÊÇÊvÌÊÓ£ÎÊV®ÊiÊVÀ`ÊÌ ÀÕ} ÊÌ iÊ}ÀÛiÊÊ
Ì
iÊLÌÌÊvÊÌ
iʫ
i]Ê>`ÊÃiVÕÀiÊÌ
iÊiÊVÀ`ÊÕ`iÀÊ
Ì
iÊÌ>Lð
On a wall plate (not included)
1.
Ê 1Ã}ÊÌ iÊÇÊ£nÊV®ÊiÊ
VÀ`]ÊViVÌÊÌ
iÊiÊ>VÊÊ
Ì
iÊLÌÌÊvÊÌ
iÊÌii«
iÊ
L>ÃiÊ>`Ê>ÊÜ>Ê>V°
2.
Ê }ÊÌ iÊÕÌ}Ê iÃÊÊ
Ì
iÊL>VÊvÊÌ
iʫ
iÊÜÌ
Ê
Ì
iÊ
i>`ÃÊvÊÌ
iÊÃVÀiÜÃÊÊÌ
iÊ
Ü>Ê«>Ìi]Ê>`ÊÃ`iÊÌ
iʫ
iÊ
`ÜÊÕÌÊÌÊVÃÊÃiVÕÀiÞ°
On a wall
1.
Ê ÀÊÌÜÊ iÃÊÎ¥ÊÊnÓ°xÊ®Ê>«>ÀÌ]ÊiÊLiÜÊÌ iÊ
Ì iÀ°Ê
2.
Ê / Ài>`Ê>ÊÃVÀiÜÊÌÊÃÕ««i`®ÊÌÊi>V Ê i]ÊiÌÌ}ÊÌ iÊ
i>`ÃÊiÝÌi`Ê>LÕÌÊ
3
/
16
ÊÊ{°nÊ®ÊvÀÊÌ iÊÜ>°Ê iÊ
ÃÕÀiÊÌÊÕÃiÊÃVÀiÜÃÊÜÌ
Ê
i>`ÃÊÌ
>ÌÊwÌÊÌÊÌ
iÊiÞ
iÊ
ÃÌÃÊÊÌ
iÊLÌÌÊvÊÌ
iÊL>Ãi°
3.
Ê ÜÊÌ iÊÃÌi«ÃÊvÀÊÕÌ}ÊÊ>ÊÜ>Ê«>Ìi°
AA
AA
AA
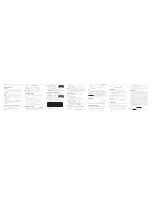
VOLUME NORM/HI
`ÕÃÌÊÌ
iÊ
>`ÃiÌÊ
ÛÕi°
TONE/PULSE
-iiVÌÊÌiÊÀÊ«ÕÃiÊ
`>}°
G
REVIEW
ଣ
-VÀÊÌ
ÀÕ}
Ê
ÃÌÀi`ÊV>iÀÊÊ
ÀiVÀ`ð
NEW
}
ÌÃÊÜ
iÊ
Ì
iÀiÊÃÊ>Ê
V}ÊV>°
MUTE
*ÀiÃÃÊ>`Ê
`ÊÌÊ
Ì>ÊÜÌ
ÕÌÊÌ
iÊ
V>iÀÊ
i>À}ÊÞÕ°
FLASH
vÊÞÕÊ
>ÛiÊ>Ê7>Ì}]Ê
«ÀiÃÃÊ
FLASH
ÊÌÊ>ÃÜiÀÊ
>ÊV}ÊV>ÊÜÌ
ÕÌÊ
`ÃViVÌ}ÊÌ
iÊ
VÕÀÀiÌÊV>°Ê*ÀiÃÃÊ>}>Ê
ÌÊÀiÌÕÀÊÌÊÌ
iÊwÀÃÌÊV>°
REDIAL/PAUSE
UÊ>ÊÌ iÊ>ÃÌÊ
«
iÊÕLiÀÊ
iÌiÀi`ÊÕ«ÊÌÊ
ÎÓÊ`}Ìî°
UÊ``Ê>Ê«>ÕÃiÊ
Ü iÊ`>}°
RINGER ON/OFF
/ÕÀÊV}ÊV>Ê
À}Ê
ON
ÊÀÊ
OFF
°
CALL BACK
>ÊÌ
iÊ
ÃiiVÌi`ÊV>iÀÊ
ÊÀiVÀ`°
DELETE
À>ÃiÊÌ
iÊ
ÃiiVÌi`ÊV>iÀÊ
ÊÀiVÀ`°
Keypad (0~9)
n
Note:
The USOC number of the jack to be installed is
,££ÊÀÊ,££7ÊvÀÊ>ÊÜ>Ê«>ÌiÊ>V®°
4
Set dialing mode
-iÌÊ
TONE/PULSE
ÊvÀÊÌ iÊÌÞ«iÊvÊÃiÀÛViÊÞÕÊ >Ûi°ÊvÊÞÕÊ>ÀiÊ
ÌÊÃÕÀiÊÜ V ÊÃiÀÛViÊÞÕÊ >Ûi]Ê`ÊÌ ÃÊëiÊÌiÃÌ°
1.
Ê -iÌÊ
TONE/PULSE
ÊÌÊ
TONE
°ÊvÌÊÌ iÊ >`ÃiÌÊ>`ÊÃÌiÊ
vÀÊ>Ê`>ÊÌi°
2.
Ê *ÀiÃÃÊ>ÞÊÕLiÀÊiÝVi«ÌÊä°ÊvÊÞÕÀÊ« iÊÀiµÕÀiÃÊÌ >ÌÊ
ÞÕÊ`>Ê>Ê>VViÃÃÊV`iÊ]ÊvÀÊiÝ>«i®ÊLivÀiÊÞÕÊ`>Ê
>ÊÕÌÃ`iÊÕLiÀ]Ê`ÊÌÊ`>ÊÌ
iÊ>VViÃÃÊV`i°
U
vÊÌ iÊ`>ÊÌiÊÃÌ«Ã]ÊÞÕÊ >ÛiÊÌÕV ÌiÊÃiÀÛVi°Ê-iÌÊ
TONE/PULSE
ÊÌÊ
TONE
°
U vÊÌ iÊ`>ÊÌiÊVÌÕiÃ]ÊÞÕÊ >ÛiÊ«ÕÃiÊÃiÀÛVi°Ê-iÌÊ
TONE/PULSE
ÊÌÊ
PULSE
°
5
Change settings
vÌiÀÊ
>Û}ÊÃÌ>i`ÊL>ÌÌiÀiÃÊ>`ÊViVÌi`ÊÌ
iÊVi`ÊVÀ`]Ê
ÞÕÊV>ÊÃiÌÊ>}Õ>}i]ÊÊVÌÀ>ÃÌ]Ê>Ài>ÊV`i]ÊÌi]Ê>`Ê`>Ìi°
1.
Ê *ÀiÃÃÊ>`Ê `ÊLÌ Ê
G
>`
Gଣ
ÊvÀÊ>LÕÌÊvÕÀÊÃiV`ÃÊ
ÕÌÊ
ENTER LANGUAGE
Ê>««i>ÀÃÊ
ENTER LANGUAGE
Ê>ÃÊ
>««i>ÀÃÊÜ iÊÞÕÊwÀÃÌÊViVÌÊÌ iÊVi`ÊVÀ`®°Ê
2.
Ê *ÀiÃÃÊ
G
À
ଣGG
ÃiiVÌÊ
ENG
Ê}Ã ®]Ê
ESP
Ê-«>Ã ®]Ê
ÀÊ
FRA
ÊÀiV ®]ÊÌ iÊ«ÀiÃÃÊ
DELETE
ÊÌÊVwÀ°Ê
LCD
CONTRAST
Ê>««i>Àð
3.
Ê *ÀiÃÃÊ
G
À
ଣ
ÊÌÊÃiiVÌÊ>ÊVÌÀ>ÃÌÊiÛiÊ£qx®]Ê>`ÊÌ iÊ
«ÀiÃÃÊ
DELETE
ÊÌÊVwÀ°Ê
ENTER AREA CODE
Ê>««i>Àð
4.
Ê 1ÃiÊ
G
À
ଣ
Ê>`Ê
DELETE
ÊÌÊÃiÌÊÌ iÊÌ ÀiiÊ>Ài>ÊV`iÊ
`}ÌðÊ
ENTER TIME DATE
Ê>««i>ÀÃ]Ê>`ÊÌ iÊ ÕÀÊ`}ÌÊy>à ið
5.
Ê 1ÃiÊ
G
À
ଣ
Ê>`Ê
DELETE
ÊÌÊÃiÌÊ ÕÀÊ
AM
ÊÀÊ
PM
Ê>ÃÊ
>««i>Àî]ÊÕÌi]ÊÌ ]Ê>`Ê`>Þ°


