13
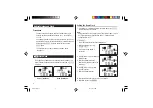
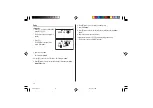
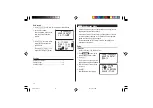
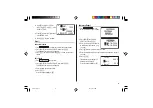
5. Press
m
.
The End time will automatically change to 30 minutes after the Start
time. (However, the End time will remain within the specified day.)
6. Enter 11:00AM for the End time, and press
m
.
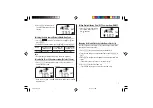
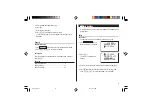
7. Press
<
or
>
to select
“Yes” or “No” for Alarm setting,
and press
m
.
If you select “Yes”, the Schedule
Alarm will sound at the time set in
Reminder minutes before the Start time. If you select “No”,
Schedule Alarm will not sound.
Note:
• If you select “No” in step 7, “PLAN”
will appear instead.
Go step 9 to continue.
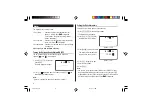
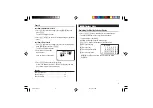
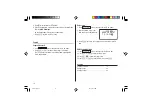
8. Enter the appropriate time for
Reminder and press
m
.
Schedule Alarm will sound at the
entered time before the Start time.
You can select any number from
00 to 99.
Note:
• Enter the number in two-digit format.
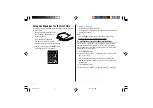
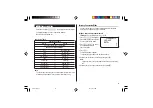
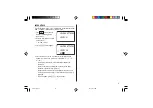
START : 10 : 00 AM
END
: 11 : 00 AM
ALARM :
<
YES
>
REM I NDER :
00 M I N . BEFORE
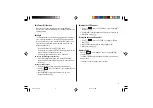
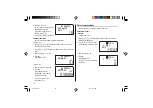
END
: 11 : 00 AM
ALARM :
<
NO
>
REM I NDER :
00 M I N . BEFORE
PLAN : 0
– – – – –
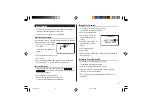
END
: 11 : 0
S
0 AM
ALARM :
<
YE
>
REM I NDER :
05 M I N . BEFORE
PLAN : 0
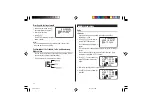
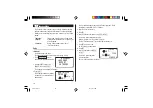
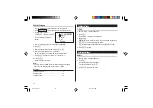
9. Enter the name of the scheduled item into the PLAN field. (Project
meeting)
Up to 96 alphanumeric characters can be entered.
10.Press
x
to store the schedule listing.
Note:
• When the Home clock time reaches a Reminder time, the Schedule
Alarm will sound for approx. 30 seconds even when the power is
turned off. Press any key to stop the Alarm sounding. When
x
is pressed, the listing can be seen in detail in the Schedule mode.
Search
Sequential search
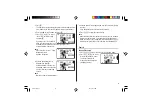
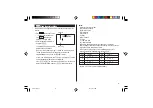
1. Press
g
once or twice to enter the Schedule mode.
2. Press
<
or
>
to search
for the target schedule listing.
The listings stored in the
Organizer will be displayed in
chronological order.
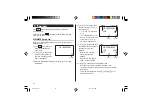
8 – 12 – 2004
START : 12 : 1
5
PM
END
: 12 : 45 PM
ALARM : YES
REM I NDER :
EL6996(E).p65
03.6.3, 8:12 PM
13


