background image

4

Installation

ˆ

Installation

USING AC POWER

You can power the phone using the supplied
9V, 300mA AC adapter.

Cautions:

You must use a Class 2 power
source that supplies 9V DC
and delivers at least 300mA.

Its center tip must be set to positive and
its plug must fit the phone's 

DC 9V

300mA 

jack. The supplied adapter meets

these specifications. Using an adapter
that does not meet these specifications
could damage the phone or the adapter.

• Always connect the AC adapter to the

phone before you connect it to AC
power. When you finish, disconnect the
adapter from AC power before you dis-
connect it from the phone.

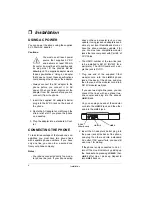
1. Insert the supplied AC adapter’s barrel

plug into the 9V DC jack on the back of
the phone. 

2. Route the AC adapter’s cord through the

strain relief slot if you place the phone
on a desktop. 

3. Plug the adapter into a standard AC out-

let.

CONNECTING THE PHONE

To take full advantage of the telephone’s ca-
pabilities, you must have two phone lines
with separate phone numbers. If you have
only one line, you can order a second one
from your phone company. 

Notes: 

• Your phone connects directly to a modu-

lar phone line jack. If your phone wiring

does not have a modular jack, you can
update it using jacks and adapters avail-
able at your local RadioShack store, or
have the phone company update it for
you. You must use compatible modular
jacks that are compliant with Part 68 of
FCC Rules.

• The USOC number of the two-line jack

to be installed is RJ14C (RJ14W for a
wall plate). The USOC number of a sin-
gle line jack is RJ11C.

1. Plug one end of the supplied 7-foot

modular cord into the 

LINE1/2

 phone

jack at the back of the phone, and plug
the other end of the modular cord into a
RJ14C modular wall jack. 

If you use two single-line jacks, you can
connect the lines with an optional two-
line coupler and plug into the phone’s

LINE1/2

 jack. 

Or, you can plug one end of the modular
cord into the 

LINE1/2

 jack, and the other

end into the 

LINE 2

 jack.

2. Insert the AC adapter’s barrel plug into

the power jack at the back of the phone,
and plug the other end into a standard
AC outlet. If AC power fails, you can still
use Line 1 for dialing. 

If the phone is only connected to Line 1,
turn off the Line 2 indicator by picking up
the handset and pressing 

LOWER

, then

LINE 2, 

after Line 1 picks up. Repeat to

turn 

LINE 2

 back on.

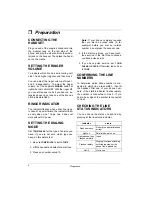
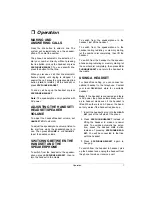
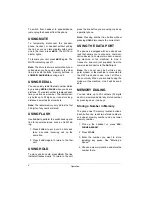
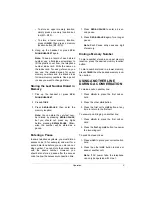
!

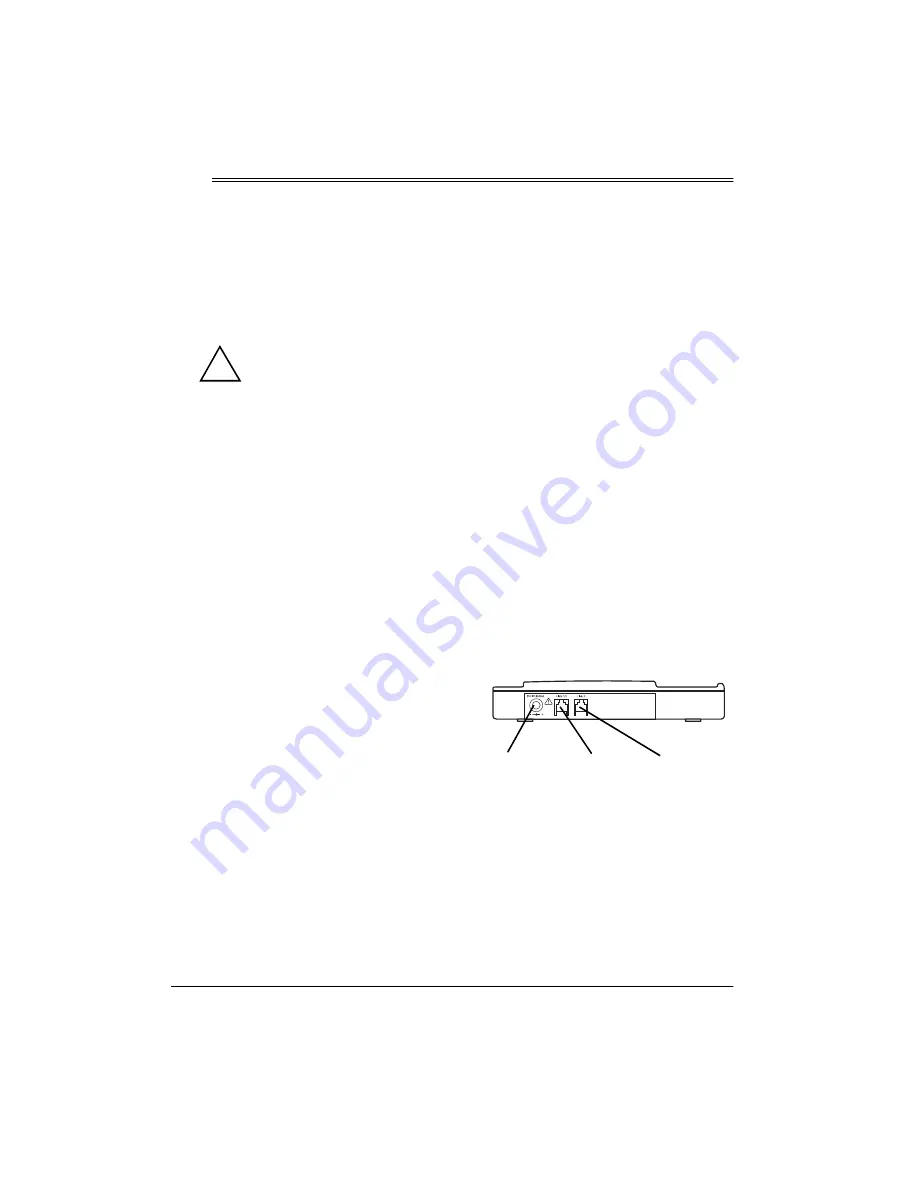
LINE 2

LINE 1/2

DC 9V 
300mA Jack

Summary of Contents for ITZA 2

Page 1: ...THIS MANUAL IS AVAILABLE FOR FREE COMPLIMENTS OF BUYMEBUYME COM TO ORDER THIS PRODUCT PLEASE CALL TOLL FREE 1 877 992 8963 OR VISIT WWW BUYMEBUYME COM...

Page 2: ...ing the Line Numbers 6 Checking the Line Status Indicators 6 Operation 7 Making and Answering Calls 7 Adjusting the Handset Headset Speaker Volume 7 Switching Between the Handset and the Speakerphone...

Page 3: ...Owner s Manual Please read before using this equipment 2 Line Phone...

Page 4: ...r oth er device on the line add up all the RENs If the total is more than five your phones might not ring In rural areas a total REN of three might impair ringer operation If ringer opera tion is impa...

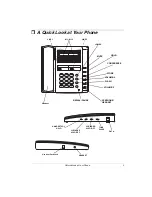
Page 5: ...ck Look at Your Phone DATA TONE PULSE L2 RINGER HI LO OFF HANDSET VOL HI LO HEADSET M1 M10 MUTE CONFERENCE VOLUME VOLUME SPKPHONE HEADSET HOLD LINE 1 LINE 2 Handset Cord Jack LOWER STORE FLASH REDIAL...

Page 6: ...hone connects directly to a modu lar phone line jack If your phone wiring does not have a modular jack you can update it using jacks and adapters avail able at your local RadioShack store or have the...

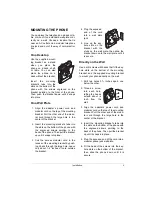
Page 7: ...cord in the recess of the mounting bracket by push ing it back through the large hole Leave only about 1 2 inches of cord outside the bracket 4 Plug the exposed end of the cord into a wall plate jack...

Page 8: ...have do this simple test 1 Be sure TONE PULSE is set to TONE 2 Lift the handset and listen for a dial tone 3 Press any number except 0 Note If your phone company requires that you dial an access code...

Page 9: ...urn the handset to the cradle To switch from the speakerphone to the handset just lift the handset To switch from the speakerphone to the handset during redialing or memory dialing let the number dial...

Page 10: ...SH again to return to the first call USING HOLD To place a call on hold press HOLD The line indicator flashes slowly To return to the call press the line button you are using or pick up a parallel pho...

Page 11: ...ccess code 9 for example and wait for a second dial tone before you can dial an out side number You can store the access code with the phone number However you should also store a pause after the acce...

Page 12: ...re talking a third party can pick up a parallel phone and join in the conversation unless they are using the same model 2 Line Phone CONFERENCE CALLS 1 Make or answer a call 2 Press HOLD to make a cal...

Page 13: ...have resolved the problem Lightning Your telephone has built in protection circuits to reduce the risk of damage from surges in telephone line current These protection cir cuits meet or exceed the FC...

Page 14: ...of a product defect during the warranty period take the product and the RadioShack sales receipt as proof of purchase date to any RadioShack store RadioShack will at its option un less otherwise prov...

Reviews: