Note:
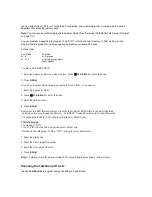
If one or more of the IDs you stored are incorrect,
Error
flashes twice
and the scanner beeps several times, then the scan list numbers appear at the top of the
display. To correct the entry, delete at least one of the incorrect
IDs (see “Deleting a Stored Talk Group ID List”).
To remove a scan list from active scanning, use the number keys to enter the scan
list’s number. The scan list number turns off, and the IDs in that list are not scanned.
Note:
One of the ten scan lists must always be active. You cannot remove all of them.
To restore a scan list to active scanning, use the number keys to enter the number of the list again.
Press
SRCH
to return to the previously selected function.
Priority Talk Group ID Scanning
You can assign a priority to a favorite ID so during scanning the scanner checks that ID
more frequently than the others in the list. Each of the ten memory locations reserved for
storing lists (see “Using Talk Group ID Lists” on Page XX) can have only one priority ID,
and the ID assigned that priority in List 1 has the highest priority of all.
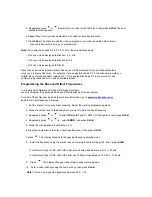
To assign a priority to an ID, press and hold
PRI
.
P
appears.
To turn priority ID scanning on or off, repeatedly press
PRI
during ID scanning or manual operation.
PRI
appears when priority scanning is turned on.
Note:
Priority ID scanning does not operate when priority IDs are locked out.
See “Locking Out Talk Group IDs” on Page XX.
SCANNING TYPE I AND HYBRID TRUNKED SYSTEMS
Your scanner is preset to scan Type II system IDs. When you scan trunked frequencies, each Type II user ID
you see appears as an even number without a dash (example 2160). Your scanner can also scan Type I
trunked systems. Each Type I ID appears as a three- or four-digit number, followed by a hyphen, followed by a
one- or two-digit number (example 200-14).
If you notice a mix of odd- and even-user IDs (examples 6477, 2160, 6481, 6144, and 1167), then you are
probably monitoring either a Type I or hybrid (a combination of Type I and Type II user IDs) system with the
S-Bit function turned off (see “Types of Trunking Systems” on Page XX and “Turning the Status Bit Ignore
(S-Bit) On or Off” on Page XX).
Subfleet information is included with the frequency list for a Type I system. To enter the
provided map, see “Programming a Fleet Map” on Page XX.
Note:
To locate suitable fleet map information, review the contents of website
www.trunkscanner.com
.
If you do not already know the size codes used, you will have to guess. Since you do not have to
figure out all the blocks at one time, this is not as hard as it might seem.
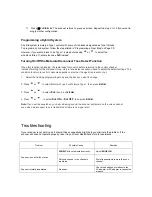
Select a size code for a block, then press
SRCH
and listen to the conversations. If you are
receiving most of the replies, then you have probably selected the right size
code and can program the next block of the map. There are 16 preset fleet maps to choose from,
and it is best to start with these when setting up a Type I or hybrid trunk scanning bank.
If none of the following preset fleet maps allow you to follow complete conversations, then you
probably need to program your own fleet map (see “Programming a Fleet Map” on Page XX).


